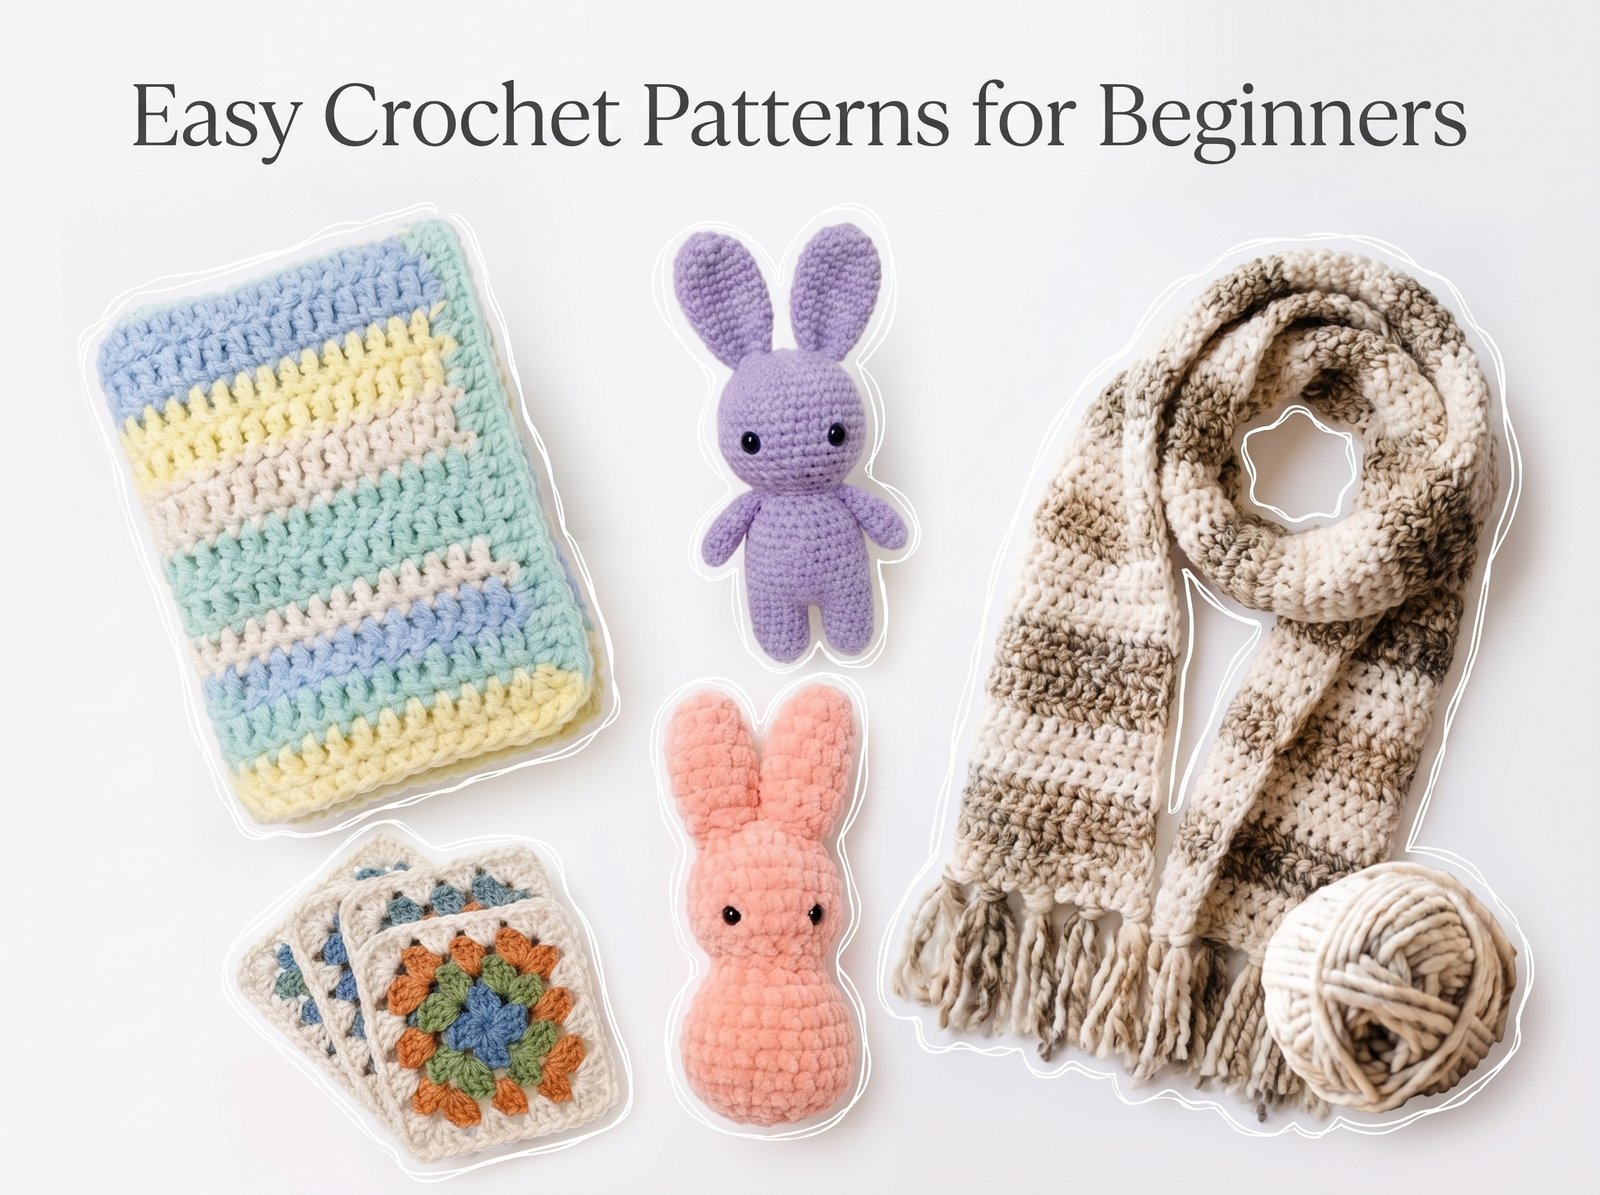
Easy Crochet Patterns for Beginners — Full Instructions
If you’ve ever finished a “beginner” pattern and ended up with something lumpy, uneven, or nothing like the photo, the problem usually isn’t your hands — it’s the pattern. A lot of what gets labeled “easy” online still assumes you already know how to read gauge, count stitches accurately, or fix tension on the fly.
The patterns below are grouped by what you’ll actually learn from each one, not just by project type. Work through them roughly in order and you’ll come out the other side knowing every core stitch you need for 90% of crochet patterns you’ll ever pick up.
What “beginner” actually means on this list
Every pattern here meets three conditions:
- Uses only basic stitches (chain, single crochet, half double crochet, double crochet) — no advanced techniques like tapestry crochet or Tunisian crochet
- Works up in under 4 hours for a first attempt
- Forgives minor tension inconsistency without ruining the finished shape
| Skill you’ll practice | Best pattern to start with |
| Chaining and counting | Basic Coaster Set |
| Single crochet in rows | Simple Dishcloth |
| Working in the round | Granny Square Blanket |
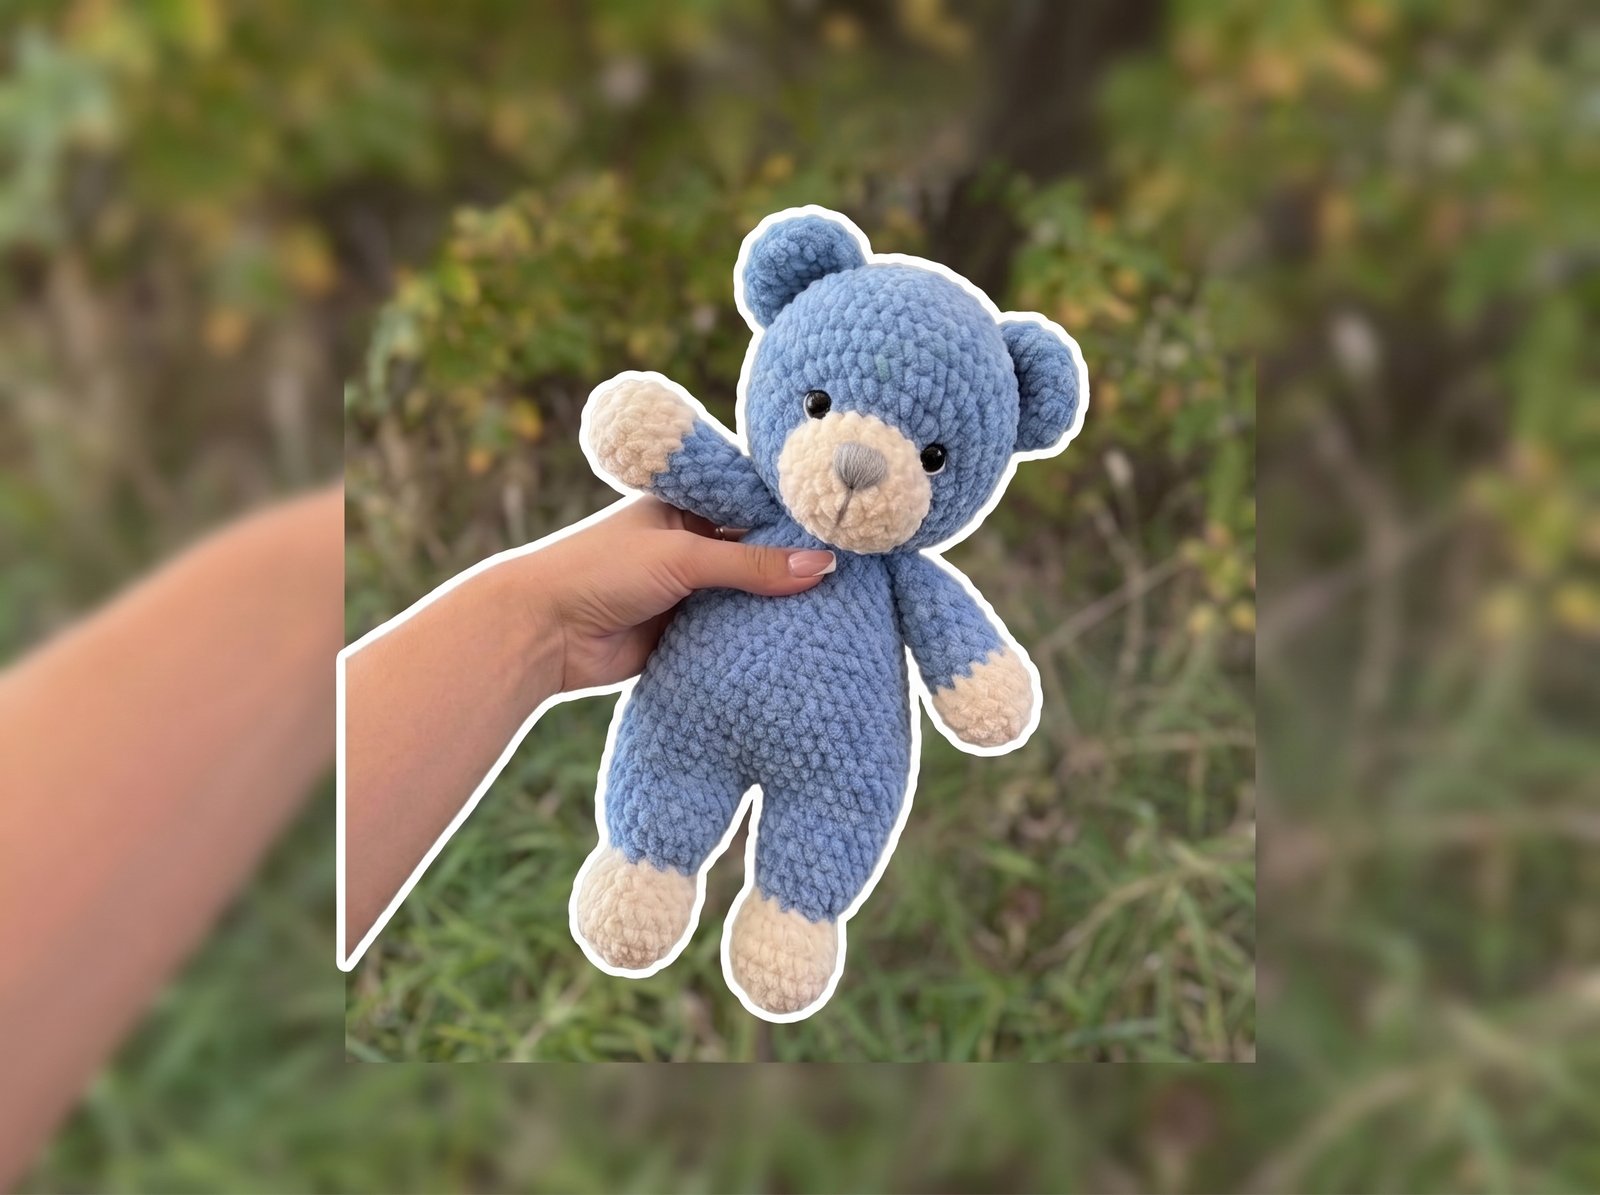
| Increasing/decreasing | Amigurumi Bear |
| Reading a size chart | Beginner Cardigan |
| Color changes | C2C Mini Blanket |
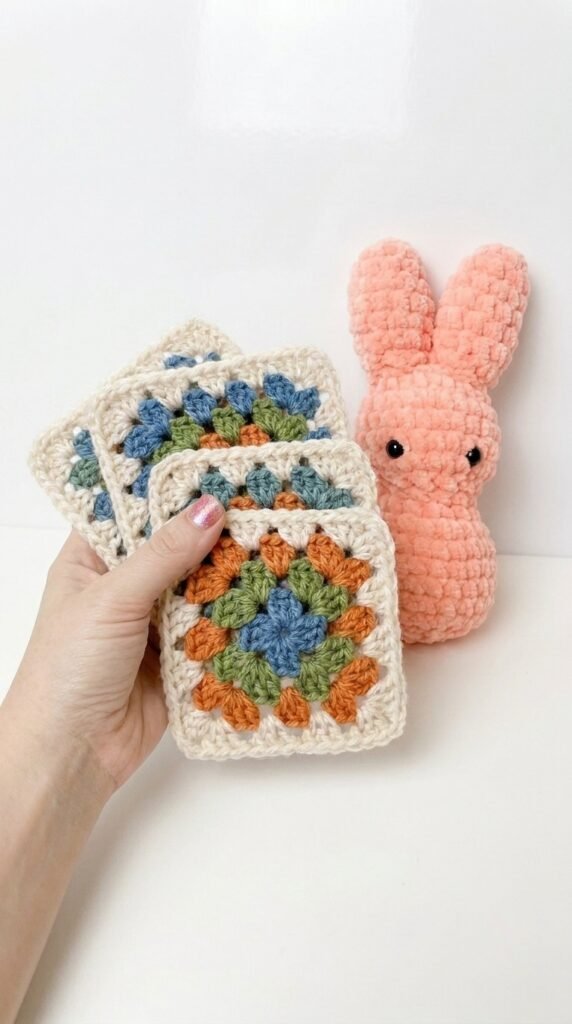
1. Granny Square Coaster Set
A single granny square worked to a small scale — this is where you build the muscle memory for working in the round, joining corners, and reading chain-space instructions, all in a project that takes under 20 minutes per piece.
Quick glance
| Time | Skill | Finished size | Hook |
| 15–20 min per coaster | Beginner | 4 in / 10 cm square | 4mm (G) |
Materials
- Worsted weight cotton yarn (cotton holds shape better than acrylic for coasters), ~15yd per coaster
- 4mm (G) crochet hook
- Yarn needle
Terms & abbreviations
| Abbrev | Term | Notes |
| ch | chain | — |
| dc | double crochet | — |
| sl st | slip stitch | used to join rounds |
| ch-sp | chain space | work stitches into the gap, not into a stitch |
| MR | magic ring | adjustable loop to start |
Gauge
Round 1 should measure roughly 2in / 5cm across. If it’s noticeably smaller, move up a hook size — undersized round 1 compounds into an undersized coaster by round 3.
Pattern
Round 1: MR, ch 3 (counts as first dc), 2 dc into ring, ch 2, [3 dc, ch 2] 3 times into ring, join with sl st to top of starting ch-3. (12 dc, 4 ch-2 corner spaces)
Round 2: Sl st into next ch-2 sp. Ch 3 (counts as first dc), (2 dc, ch 2, 3 dc) in same sp — this is your corner. Ch 1. *(3 dc, ch 2, 3 dc) in next ch-2 sp, ch 1. Repeat around, join to top of starting ch-3. (24 dc, 4 corners, 4 side ch-1 spaces)
Round 3: Sl st into next ch-2 sp. Ch 3, (2 dc, ch 2, 3 dc) in same sp. Ch 1, 3 dc in next ch-1 sp, ch 1. *(3 dc, ch 2, 3 dc) in next corner ch-2 sp, ch 1, 3 dc in next ch-1 sp, ch 1. Repeat around, join. (36 dc total)
Fasten off, weave in ends.
Stitch count checkpoints
| Round | Total dc |
| 1 | 12 |
| 2 | 24 |
| 3 | 36 |
If your count is off after round 1, stop and recount before continuing — every later round builds directly on this one.
Finishing
Block flat under a damp towel for a crisper square edge (optional but recommended for coasters, since they sit flat on a table). Make 4–6 to match a full set.
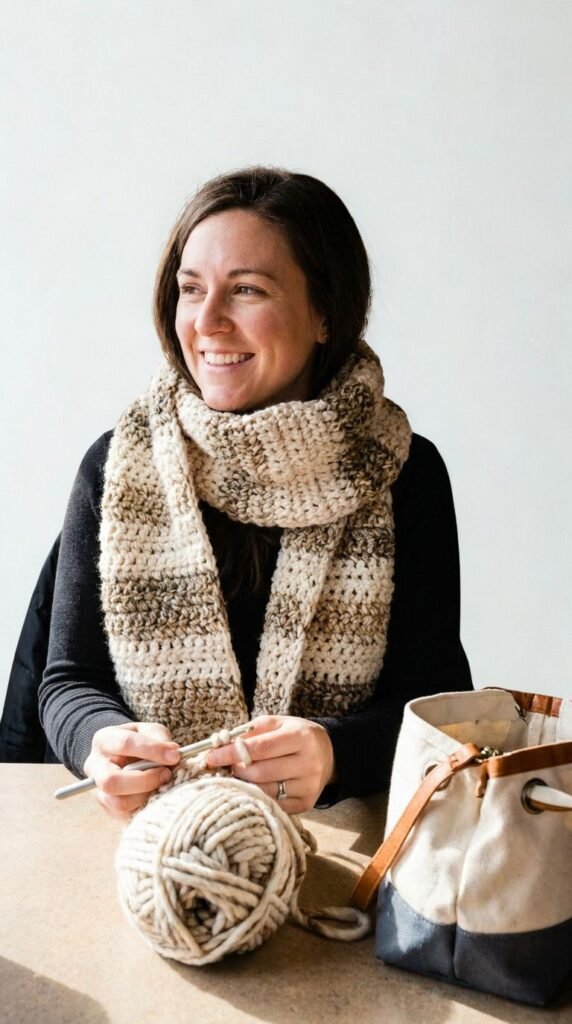
2. Chunky One-Skein Scarf
No shaping, no increases or decreases — just straight rows in half double crochet. This is the fastest way to learn even tension because mistakes in a straight rectangle are easy to spot and easy to fix.
Quick glance
| Time | Skill | Finished size | Hook |
| 2–3 hrs | Beginner | 8 in x 60 in | 9mm |
Materials
- 1 skein super bulky yarn (approx. 100g / 120yd, e.g. Bernat Blanket or similar)
- 9mm (M/N) crochet hook
- Yarn needle
Terms & abbreviations
| Abbrev | Term | Notes |
| ch | chain | — |
| hdc | half double crochet | — |
| sk | skip | — |
| turn | turn work | at end of each row |
Gauge
6 sts x 4 rows = 4in in hdc. Gauge matters less here than in wearables with fitted sizing, but if your fabric feels stiff/board-like, size up a hook; if it’s loose and floppy, size down.
Pattern
Foundation: Ch 16.
Row 1: Hdc in 3rd ch from hook (the skipped 2 chains count as your first hdc) and in each ch across. Turn. (14 hdc)
Row 2 onward: Ch 2 (counts as first hdc — do not work into it directly), hdc in each st across. Turn.
Repeat Row 2 until you have about 4–6 yards of yarn left, ending after a full row.
Final row: Work as normal, then fasten off leaving a 6in tail.
Finishing
Weave in both ends. No blocking needed — bulky yarn holds its shape without it. If edges look slightly uneven, a light steam (iron on low, held an inch above the fabric, no direct contact) will relax them.
Common mistakes
| Mistake | Fix |
| Scarf narrows gradually | You’re missing the last stitch in the row — count sts every few rows |
| Scarf widens gradually | You’re adding an extra stitch into the turning chain — the ch-2 at the start of the row counts as a stitch, don’t work into it separately |
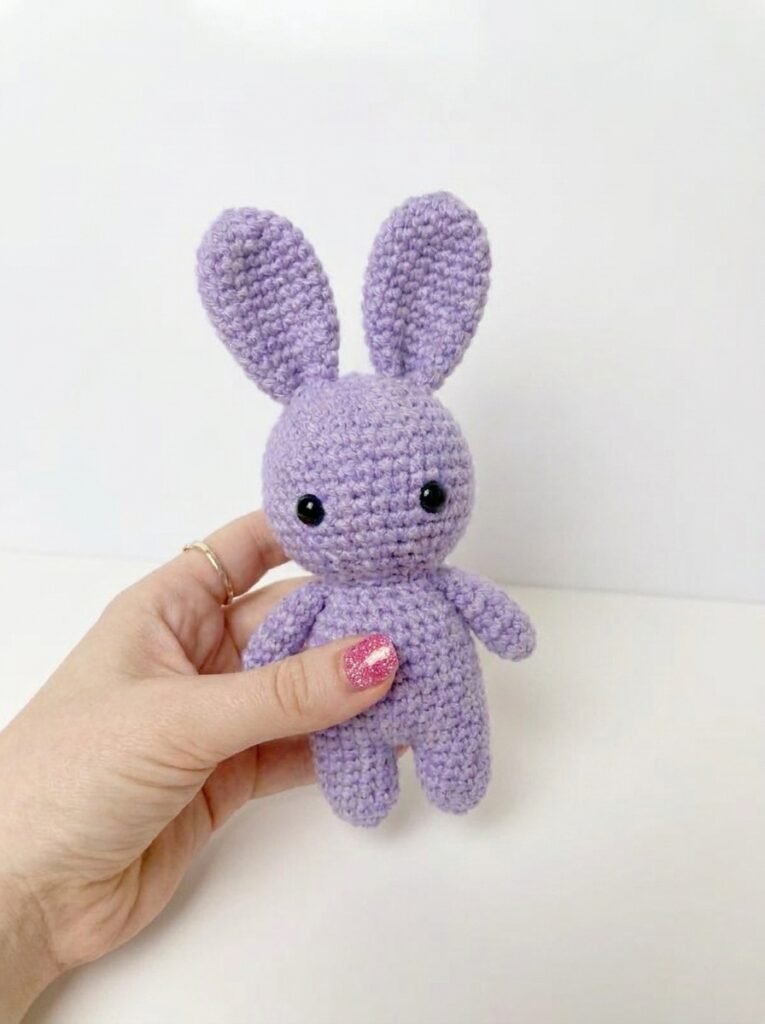
3. No-Sew Amigurumi Bunny
“No-sew” here means the body and head are worked as one continuous piece with no seam between them — only the two ears need attaching. This is a genuinely good first amigurumi project because it teaches magic ring, increasing, and decreasing without needing to join separate pieces into a full animal shape.
Quick glance
| Time | Skill | Finished size | Hook |
| 2–3 hrs | Beginner | approx. 5 in tall | 3.5mm |
Materials
- Worsted weight yarn, small amount (~50g), main color + small amount of contrast for face detail
- 3.5mm (E) crochet hook (sized down from yarn’s recommended hook for tighter stitches that hide stuffing)
- Polyester fiberfill stuffing
- Yarn needle
- Small amount of black yarn or embroidery floss for face
Terms & abbreviations
| Abbrev | Term | Notes |
| sc | single crochet | — |
| inc | increase | 2 sc worked into same stitch |
| dec | invisible decrease | insert hook into front loops only of next 2 sts, pull through both, then yarn over and pull through both loops |
| MR | magic ring | — |
| st(s) | stitch(es) | — |
| rnd(s) | round(s) | worked in continuous spiral, do not join/turn |
Use a stitch marker to track the start of each round — in continuous amigurumi rounds there’s no join stitch to reference.
Gauge
Gauge isn’t critical for amigurumi shape, but tight stitches (a hook 1–2mm smaller than the yarn’s suggested size) keep stuffing from showing through — this is the actual technique that makes the finished piece look clean like reference photos, more than the pattern itself.
Pattern — Body & Head (one piece)
| Rnd | Instruction | St count |
| 1 | 6 sc in MR | 6 |
| 2 | inc around | 12 |
| 3 | [sc 1, inc] x6 | 18 |
| 4 | [sc 2, inc] x6 | 24 |
| 5 | [sc 3, inc] x6 | 30 |
| 6–10 | sc around (5 rounds even, no shaping) | 30 |
| 11 | [sc 3, dec] x6 | 24 |
| 12 | sc around | 24 |
| 13 | [sc 2, dec] x6 | 18 |
| 14 | sc around — begin stuffing now | 18 |
| 15 | [sc 1, dec] x6 | 12 |
| 16 | dec around | 6 |
Fasten off, leaving a 6in tail. Cinch the last 6 stitches closed by threading the tail through the front loops of each and pulling tight.
Pattern — Ears (make 2)
| Rnd | Instruction | St count |
| 1 | 4 sc in MR | 4 |
| 2 | inc around | 8 |
| 3–5 | sc around | 8 |
Fasten off, leave a long tail for sewing.
Finishing
- Stuff firmly but not overpacked — overstuffing distorts the round shape and is the most common reason amigurumi ends up lumpy instead of smooth like the reference photo
- Sew ears to rounds 3–5 of the head, angled slightly outward
- Embroider a small V or two French knots for the nose/eyes rather than gluing on plastic safety eyes, to keep this project genuinely no-sew/no-hardware
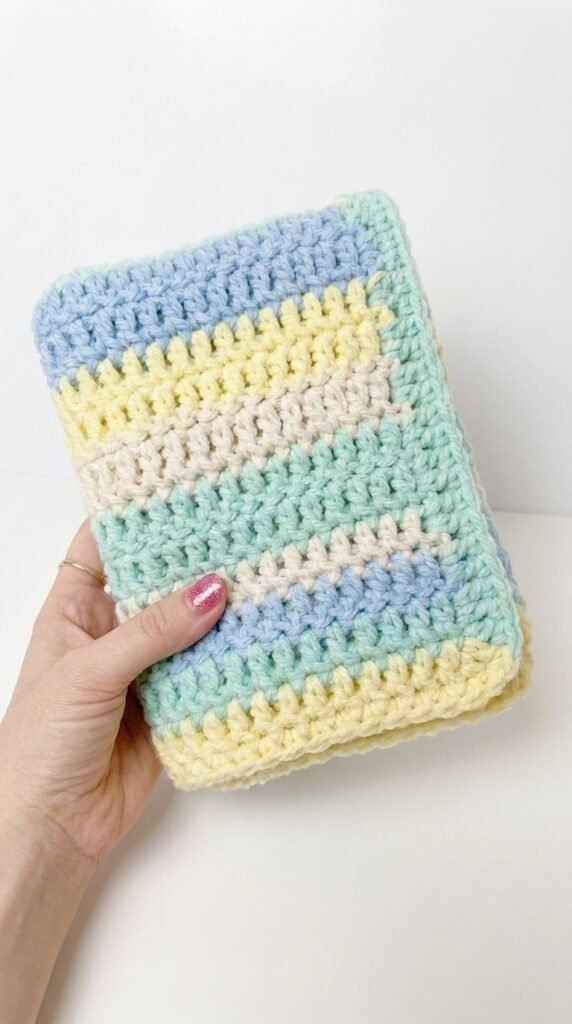
4. Basic Baby Blanket
A straightforward rectangle in half double crochet, sized for a stroller or bassinet blanket. No shaping at all — the only skill here is keeping consistent edge stitches over a longer project than the earlier three.
Quick glance
| Time | Skill | Finished size | Hook |
| 4–6 hrs | Beginner | 30 in x 30 in | 4.5mm |
Materials
- DK/light worsted weight baby yarn, approx. 900yd total (soft, machine-washable acrylic or acrylic-cotton blend recommended for baby items)
- 4.5mm (7) crochet hook
- Yarn needle
Terms & abbreviations
| Abbrev | Term | Notes |
| ch | chain | — |
| hdc | half double crochet | — |
| sc | single crochet | used for border only |
| st(s) | stitch(es) | — |
Gauge
16 sts x 20 rows = 4in in hdc. Check this before starting — a baby blanket is a large enough project that even a small gauge mismatch compounds into several inches of size difference by the time you finish.
Size chart
| Size | Chain count | Approx. finished size |
| Preemie | ch 84 | 20 x 20 in |
| Standard bassinet | ch 122 | 30 x 30 in |
| Stroller/toddler | ch 162 | 40 x 40 in |
Pattern (standard bassinet size)
Foundation: Ch 122.
Row 1: Hdc in 3rd ch from hook and in each ch across. Turn. (120 hdc)
Row 2 onward: Ch 2 (counts as first hdc), hdc in each st across. Turn.
Repeat until piece measures approximately 30in, ending after a full row.
Border round: Without turning, sc evenly around all 4 sides, working 3 sc into each corner stitch to keep corners from puckering. Join with a sl st to first sc.
Fasten off, weave in all ends.
Common mistakes
| Mistake | Fix |
| Blanket comes out rectangular instead of square | Row count doesn’t match chain count — measure width and length separately partway through, not just at the end |
| Corners pucker or curl | Not enough stitches worked into corners during the border round — 3 sc per corner is the fix, 1 sc will pull the corner in |
Write a review
 no image