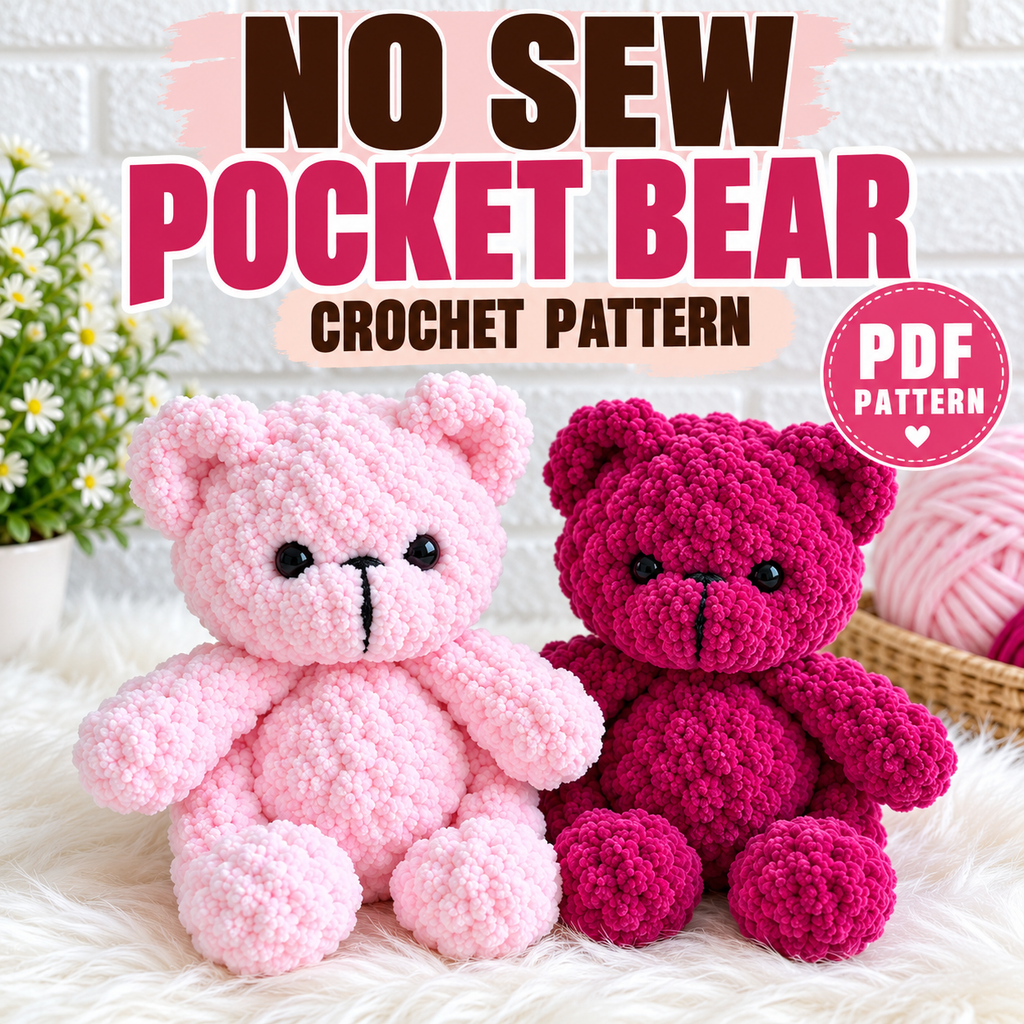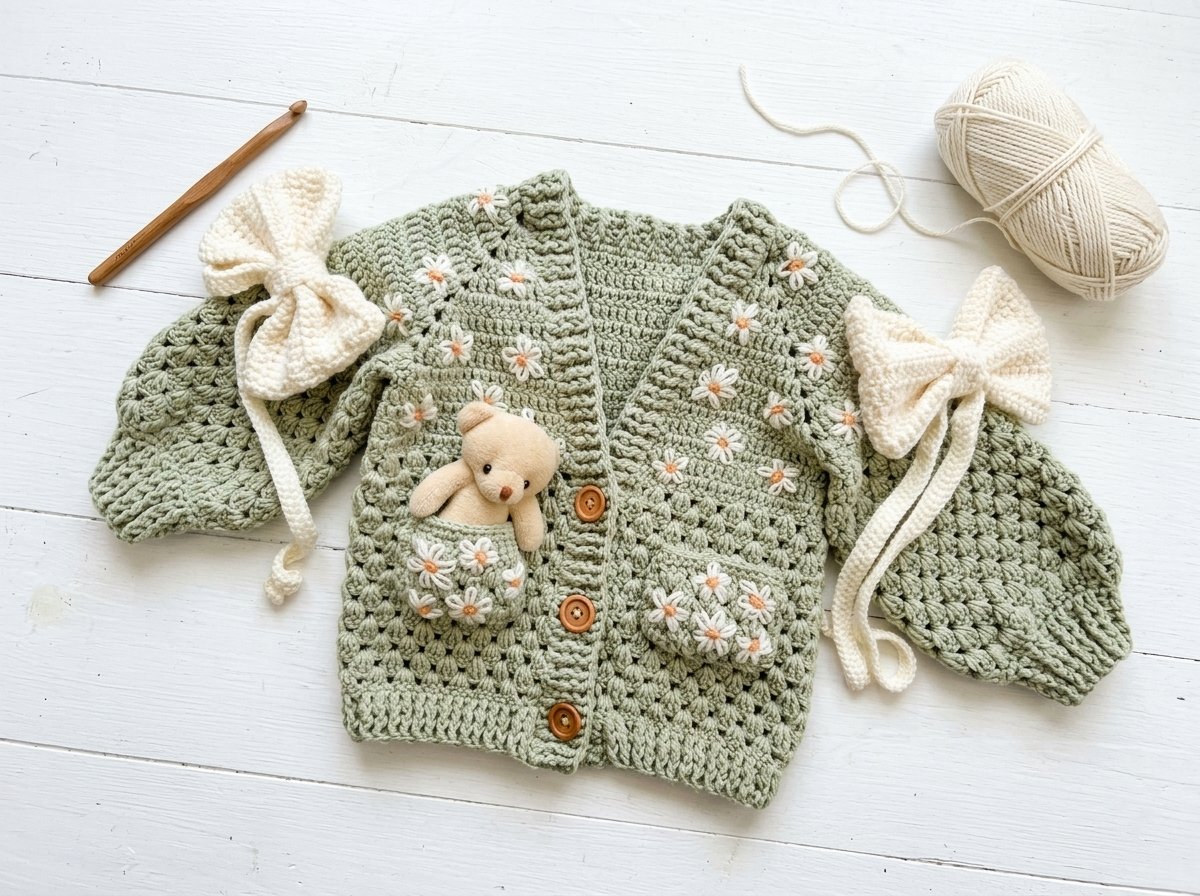
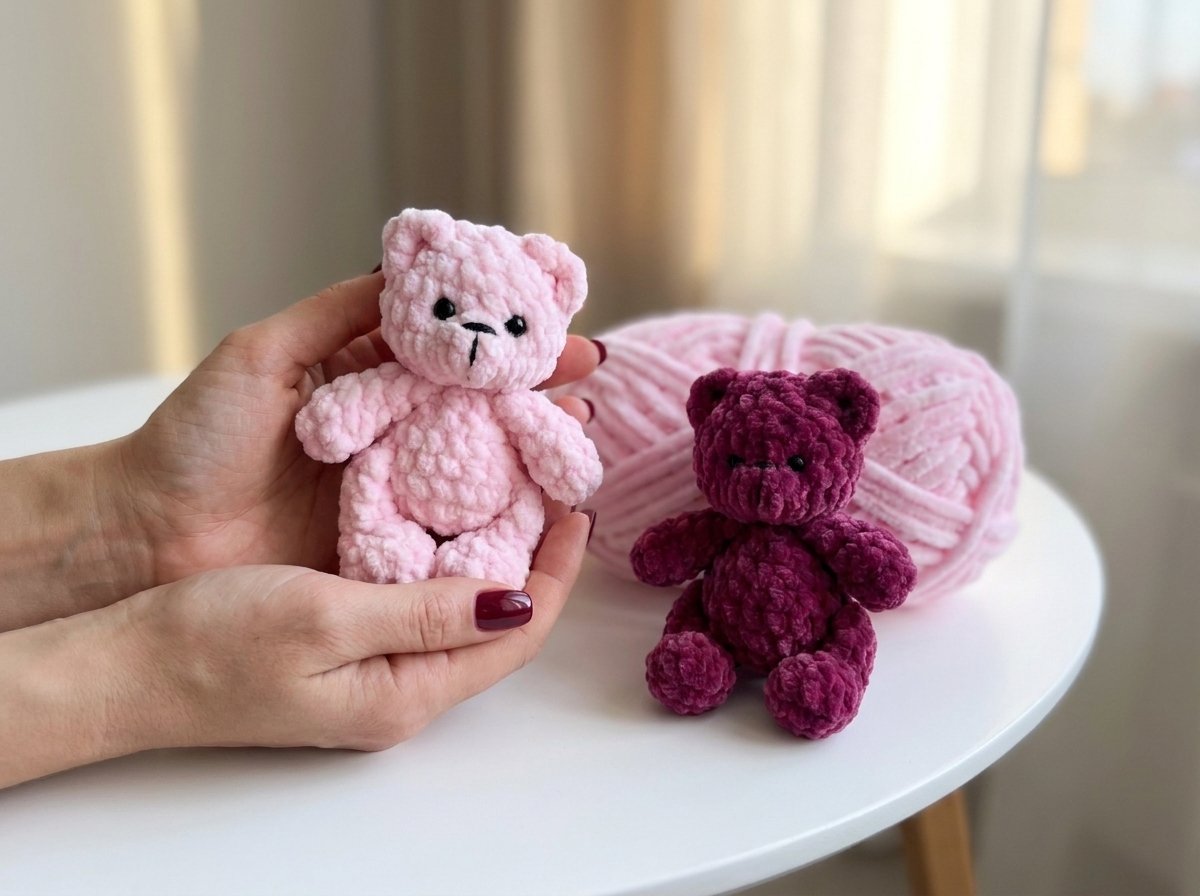
Pocket Bear Crochet Pattern – No-Sew Mini Teddy Bear Amigurumi Tutorial
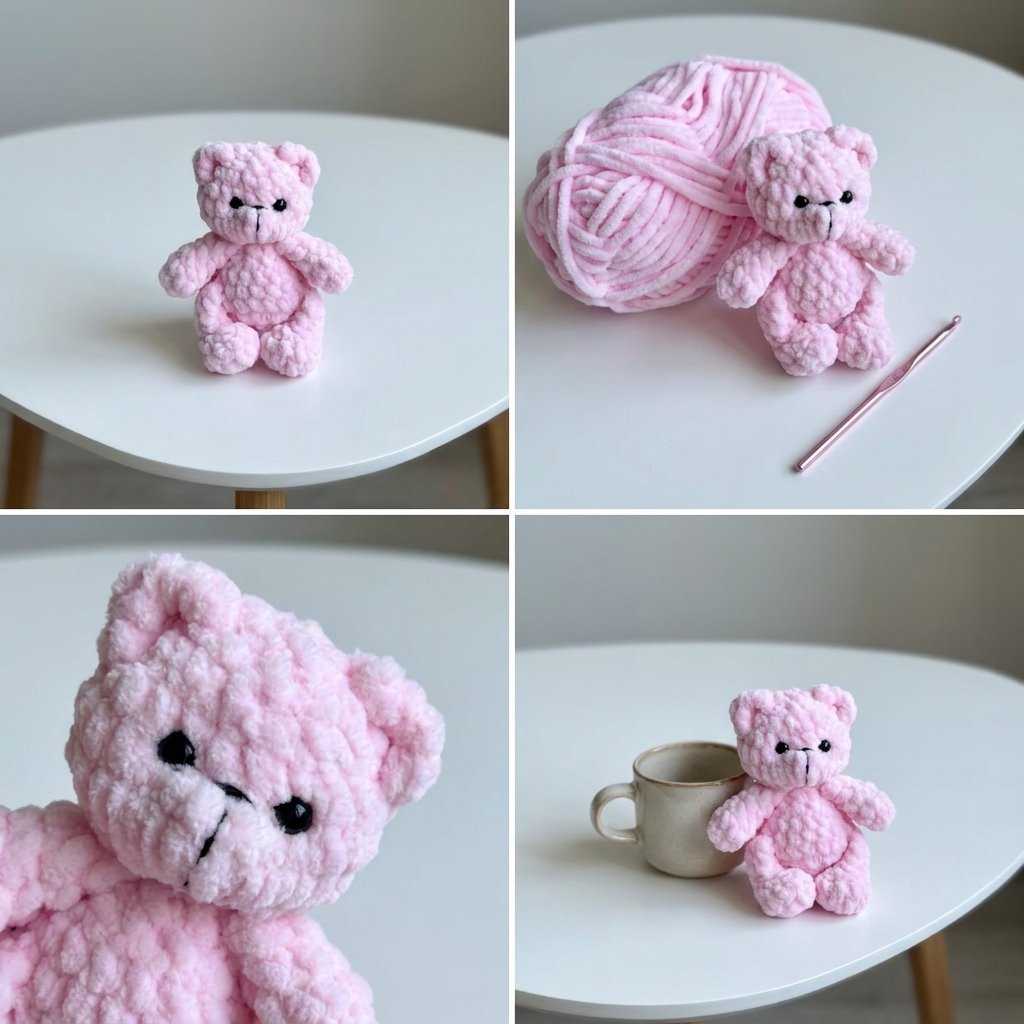
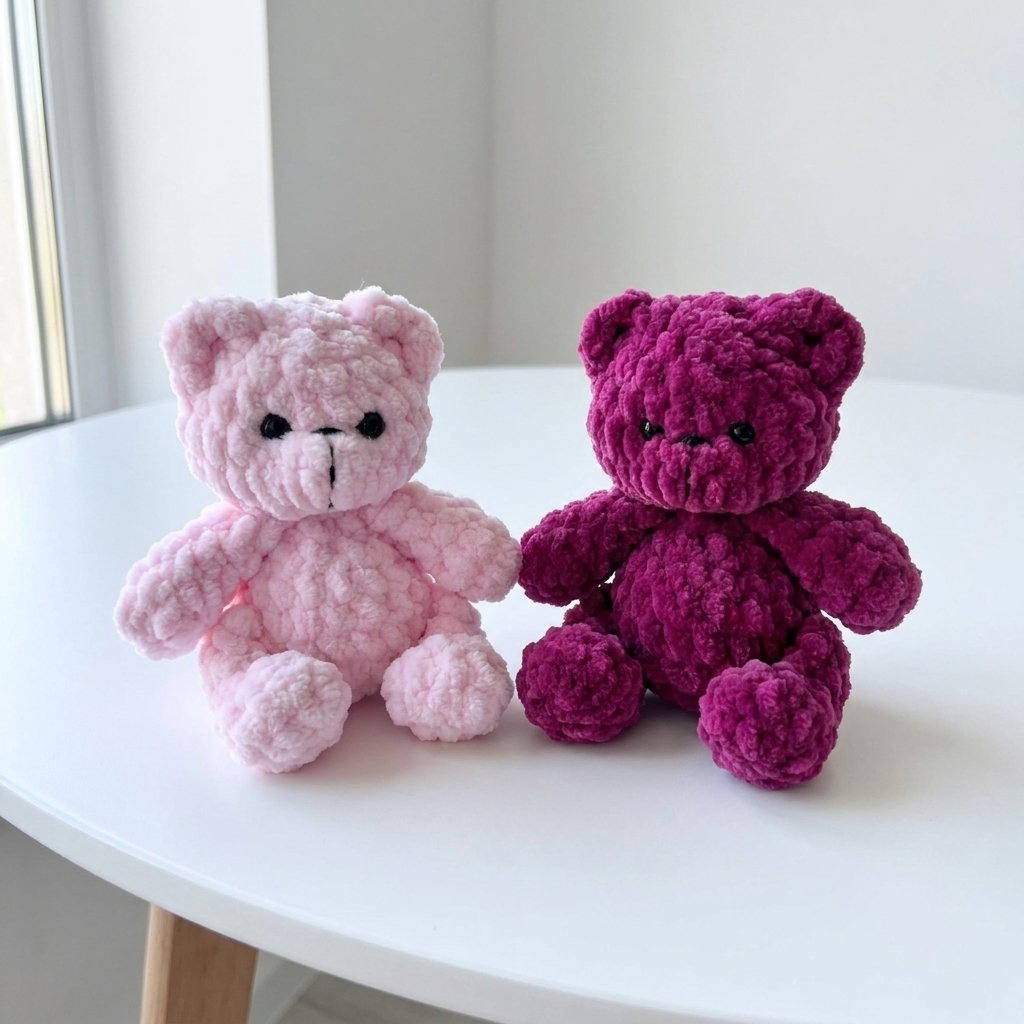
This little bear is proof that “no-sew” amigurumi isn’t just a marketing phrase — every single piece really does join as you go, with nothing left to stitch together at the end except a couple of embroidered details on the face. The arms and legs are made as flat little pouches, folded and closed with just a few single crochets, then attached directly into the body’s rounds as you build it. It’s a genuinely quick make, and the finished size is small enough to tuck into a pocket.
The part I love most is the face-shaping technique at the end — a single length of thread does double duty closing the head and sculpting a soft, flattened muzzle, which is what gives this bear such a sweet, expressive look without any extra sewn-on pieces.

Materials
| Item | Notes |
| Soft plush/chenille baby yarn | About 20g is plenty for one bear |
| Small amount of stuffing | About 5g |
| 4mm crochet hook | |
| Pair of 7mm safety eyes | |
| Thick black thread or embroidery floss | For the nose |
| Yarn/tapestry needle | |
| Stitch marker | |
| Scissors |
Abbreviations (US Terms)
| Abbreviation | Meaning |
| ch | chain |
| sc | single crochet |
| hdc | half double crochet |
| inc | increase (2 sc in the same stitch) |
| dec | decrease — worked through the front loop only of each of the next 2 stitches throughout this pattern |
| st(s) | stitch(es) |
| FLO | front loop only |
A Quick Note on the Foundation Start
Instead of a magic ring, this pattern starts each piece with a simple loop and 2 chain stitches, then works 6 sc into the first of those two chains. It’s a nice, fast alternative if you find magic rings fiddly — feel free to substitute a standard magic ring instead if you prefer; either way you’ll land on 6 stitches to begin.
Part 1: The Arms (Make 2)
| Round | Instructions | Stitch Count |
| 1 | Loop + ch 2, 6 sc into the first chain | 6 |
| 2 | (1 sc, inc) ×3 | 9 |
| 3 | (1 sc, dec) ×3 | 6 |
| 4–5 | 6 sc around (2 rounds) | 6 |
Turn the arm right side out and weave in the starting tail. Fold the arm flat and close the opening with 3 sc worked through both layers together (insert your hook through the front and back at once for each of these 3 stitches). Cut the yarn, pull it tight, tie a knot, and hide the end inside. Repeat to make a second arm.
GET PATTERN PDF ON ETSY