Balloon Dog Crochet Pattern – Easy & Beginner-Friendly Amigurumi Tutorial
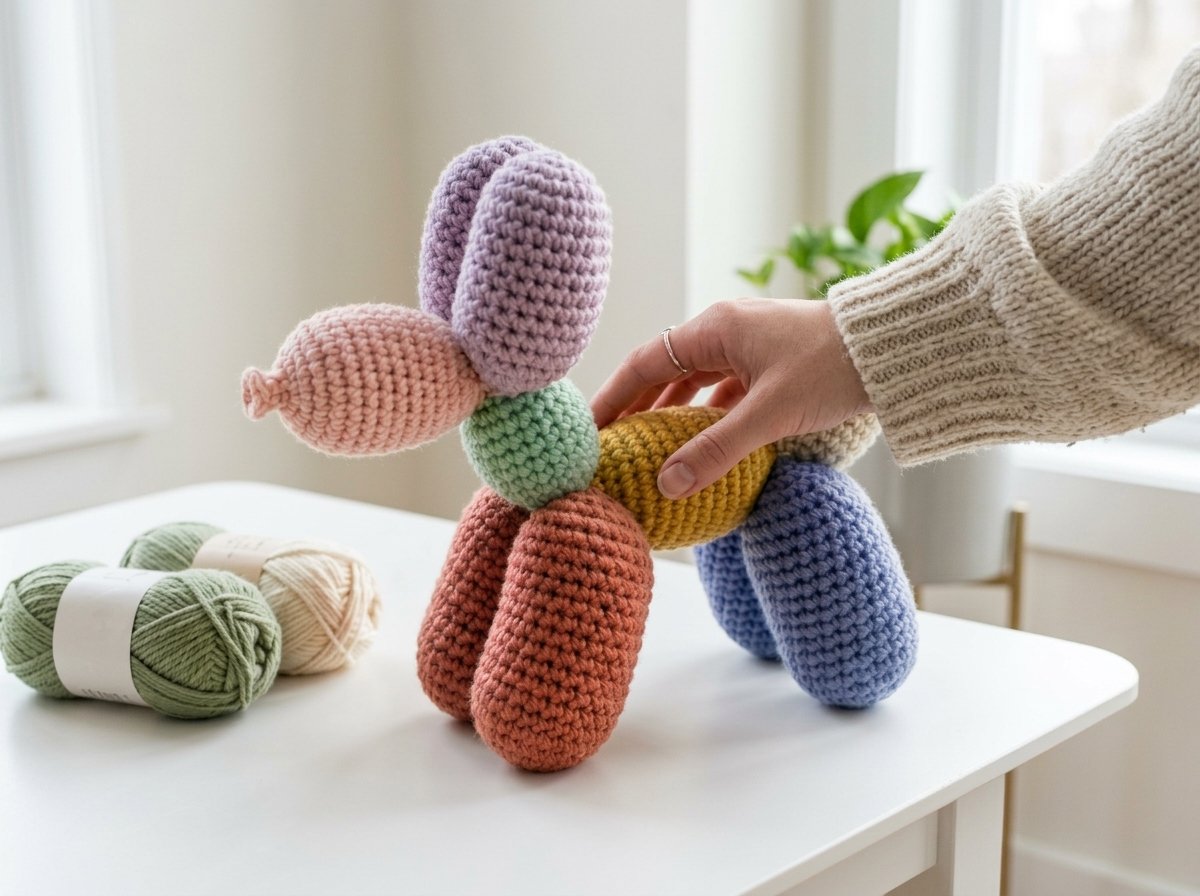
I’ve been seeing balloon animal amigurumi everywhere lately, and I finally sat down to make my own balloon dog. I used a free base pattern I found and reworked it with my own notes, so consider this my version — the exact yarn, hook, stuffing choices, and a few tweaks are all mine.
Even if you’re newer to crochet, don’t let the row count scare you off. It looks like a big project on paper, but it’s really just one simple shape repeated ten times. Once you’ve made one balloon “bulb,” you’ve basically made them all.
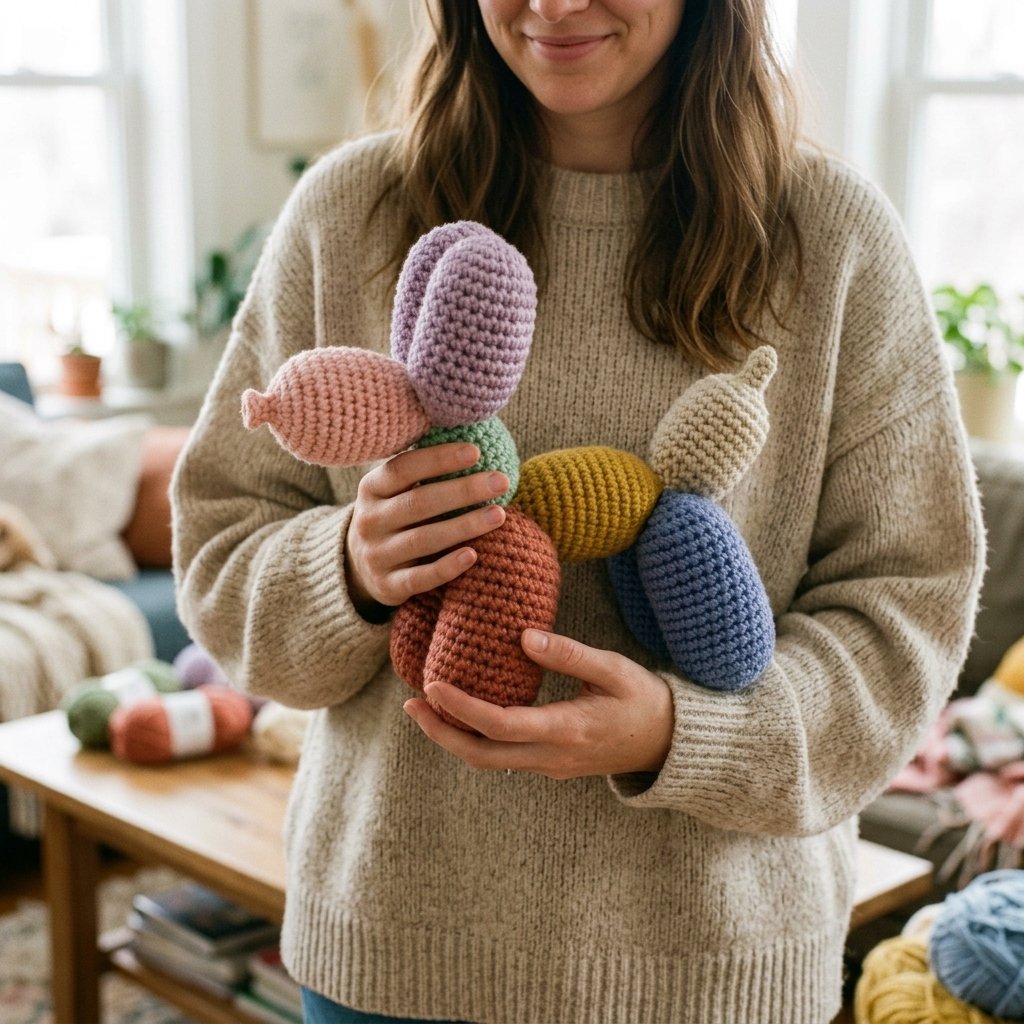
What You’ll Need
| Item | Notes |
| Yarn | I used a bulky/chunky weight yarn (a chenille-style bulky yarn) — gives that plump, glossy balloon look |
| Hook | 8mm |
| Stitch markers | Not optional in my book — you’ll be losing your place constantly otherwise |
| Darning needle | For weaving in ends at the very end |
| Polyfill stuffing | You’ll stuff each piece as you go, not at the end |
| Scissors | — |
Use whatever yarn/hook combo you like, just check the label for a recommended hook size and keep your stitches on the tighter side — loose stitches mean stuffing will show through.
The One Shape You Need to Learn
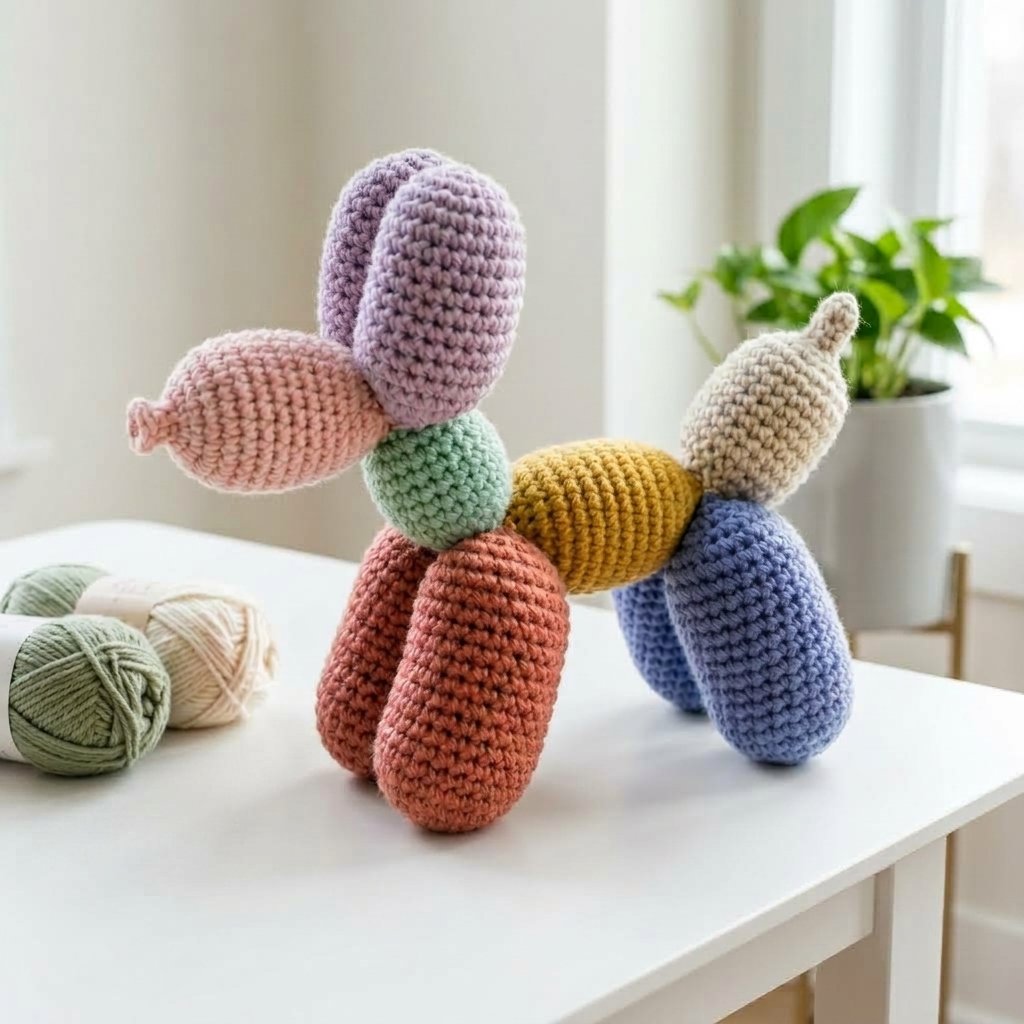
Every single piece of this dog — the tail, all four legs, the body, the neck, both ears, and the head — is built from the exact same “balloon bulb” shape. It’s just this sequence:
- Magic ring, chain 1 (doesn’t count as a stitch), 6 single crochet into the ring. Don’t close the ring yet.
- Work several rounds straight at 6 (no increases) — this forms the narrow “balloon knot” end.
- Increase round: 2 sc in every stitch (6 → 12)
- Increase round: 2 sc in every stitch (12 → 24)
- Work several rounds straight at 24 — this is the fat middle of the bulb
- Decrease round: sc2tog around (24 → 12) — stuff the piece here
- Decrease round: sc2tog around (12 → 6)
- Work a few rounds straight at 6 again — this becomes the little “joint” that tucks into the next piece
You never join or slip stitch at the end of a round — just keep spiraling around continuously. That’s what gives the finished piece that seamless, no-visible-seam look instead of a ring pattern climbing up the side.
A note for future me (and you): if your stitch count runs one off partway through a round, don’t panic — just quietly add or drop a decrease/increase to correct it on the next round. Nobody will ever see it once it’s stuffed.
Row-by-Row Breakdown by Piece
Since every piece uses the same formula above, the only thing that changes per piece is how many straight rounds you work at the 24-stitch stage (the “fat” middle) and at the final 6-stitch stage (the joint). Here’s how each piece breaks down:
| Piece | Straight rounds at 24 st | Straight rounds at 6 st (joint) | Stuff at… | Total rounds (approx.) |
| Tail | 10 | 4 | 12-st decrease round | ~23 |
| Leg (×4, made individually) | 14 | 4 | 12-st decrease round | ~22 each |
| Body | 10 | 4 | 12-st decrease round | ~18 |
| Neck | 8 | 4 | 12-st decrease round | ~16 |
| Ear (×2) | 10 | 4 | 12-st decrease round | ~18 each |
| Head | 8 | 1 (final round only) | 12-st decrease round | ~14 |
Order I worked in: tail → 2 legs → body → 2 more legs → neck → 2 ears → head, stuffing each piece as I finished its 12-stitch decrease round.
The head is the one exception to the formula — after the last decrease down to 6 stitches, you only work one round at 6 (not four), then do one final increase round back up to 12 stitches and leave a long tail for sewing. That last 12-stitch edge is what you’ll use to attach the head to the body.
Assembly
This is genuinely the fun part — no sewing needed if you build it right, just weaving.
- Take your head piece and fold the two ears over the top of it, then tuck the head/ears assembly down into the open 12-stitch top of the neck piece.
- Take the legs (the pair meant for the front) and fold them over the body, pulling the working yarn through to cinch them together.
- Repeat with the back legs, wrapping and pulling through the same way.
- Weave in your two yarn tails by looping around a few times inside the seam rather than knotting — it disappears completely and won’t work loose.
That’s it — only two ends to weave in on the entire project, which is one of my favorite things about this design.
A Few of My Own Notes
- Stuffing firmness is 100% personal preference. I like mine on the softer side so the dog is squishable, but you can pack it firm if you want it to hold a stiffer pose.
- If you want the legs to actually hold the dog standing upright, you can tack them down with a few small stitches of thread after assembly — I angled mine a bit and it stands, just not perfectly.
- Thicker bulky yarn = a bigger, chunkier finished dog. If you go with a thinner worsted weight and a smaller hook, everything scales down proportionally — just keep the ratios of straight rounds the same.