Crochet Bitten Oreo Pattern – Easy, Quick, and Beginner Friendly
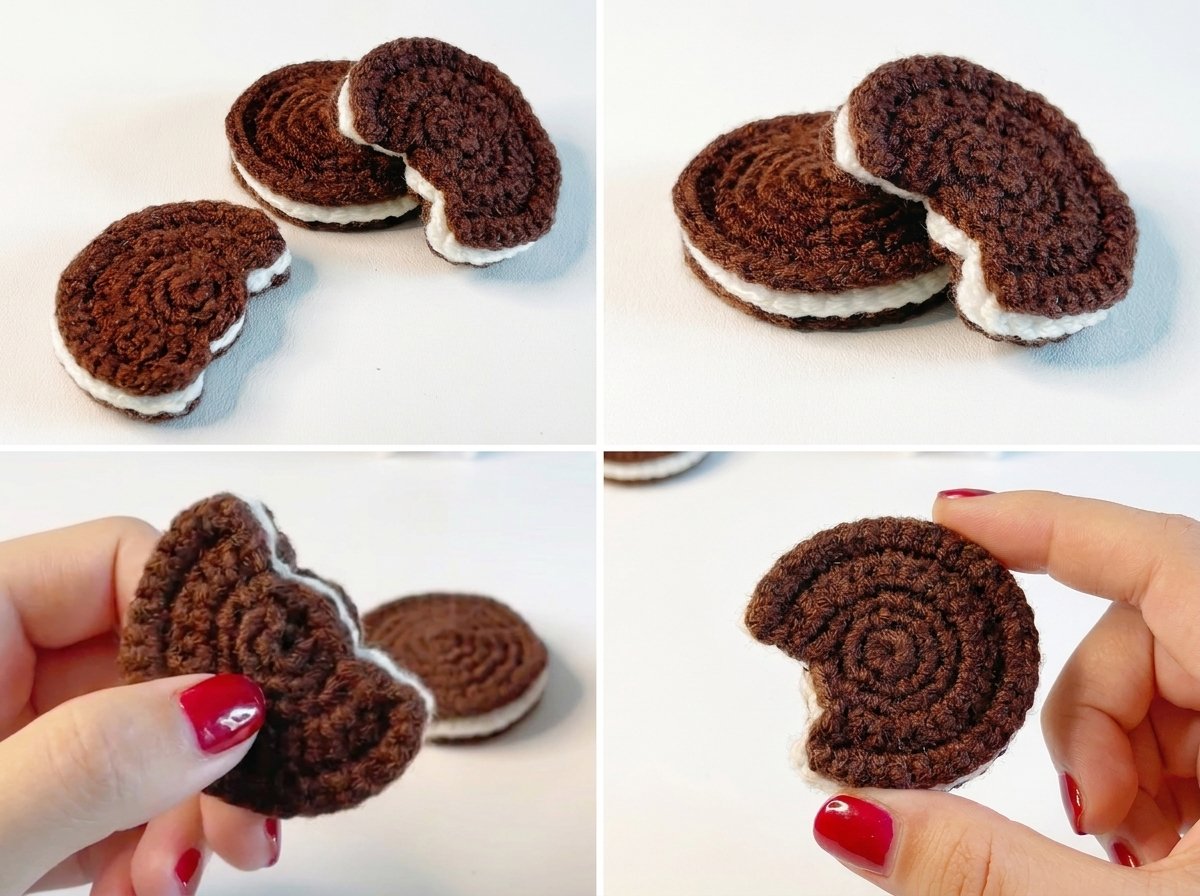
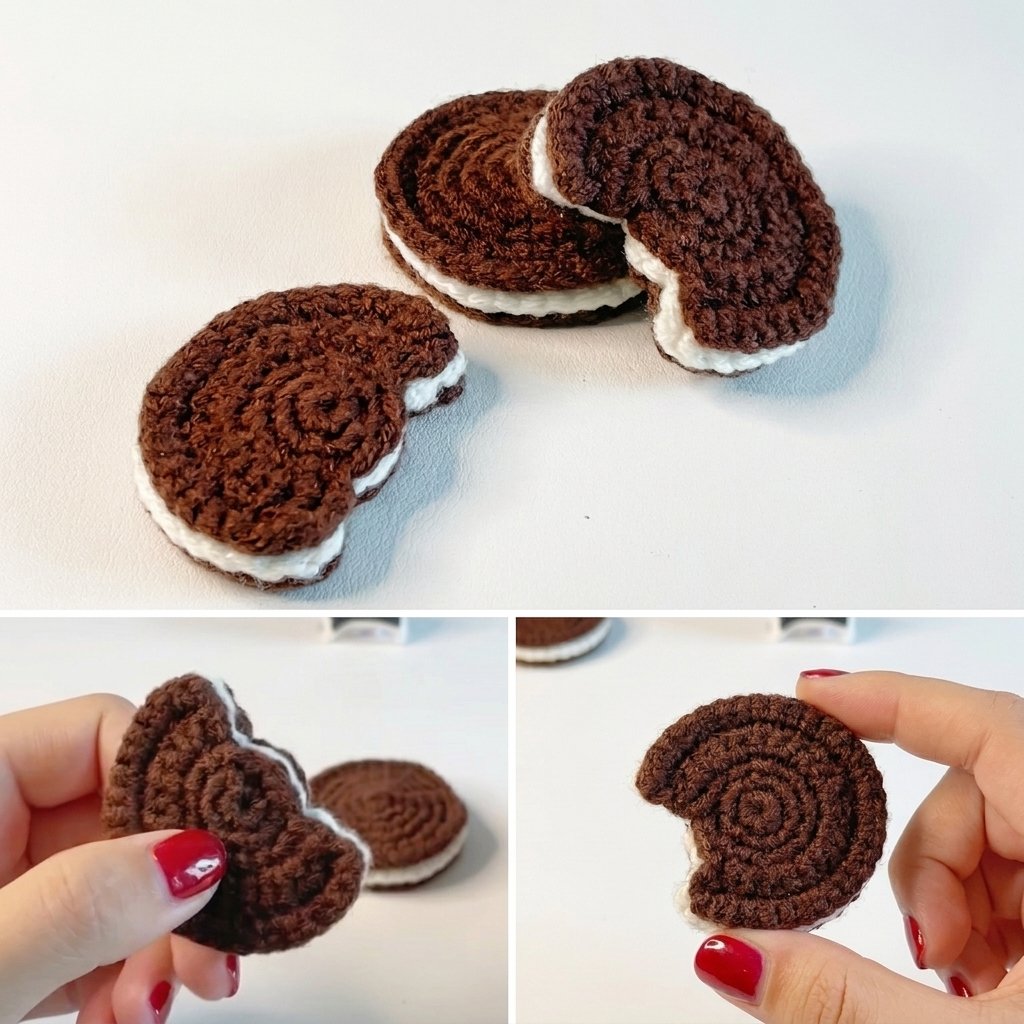
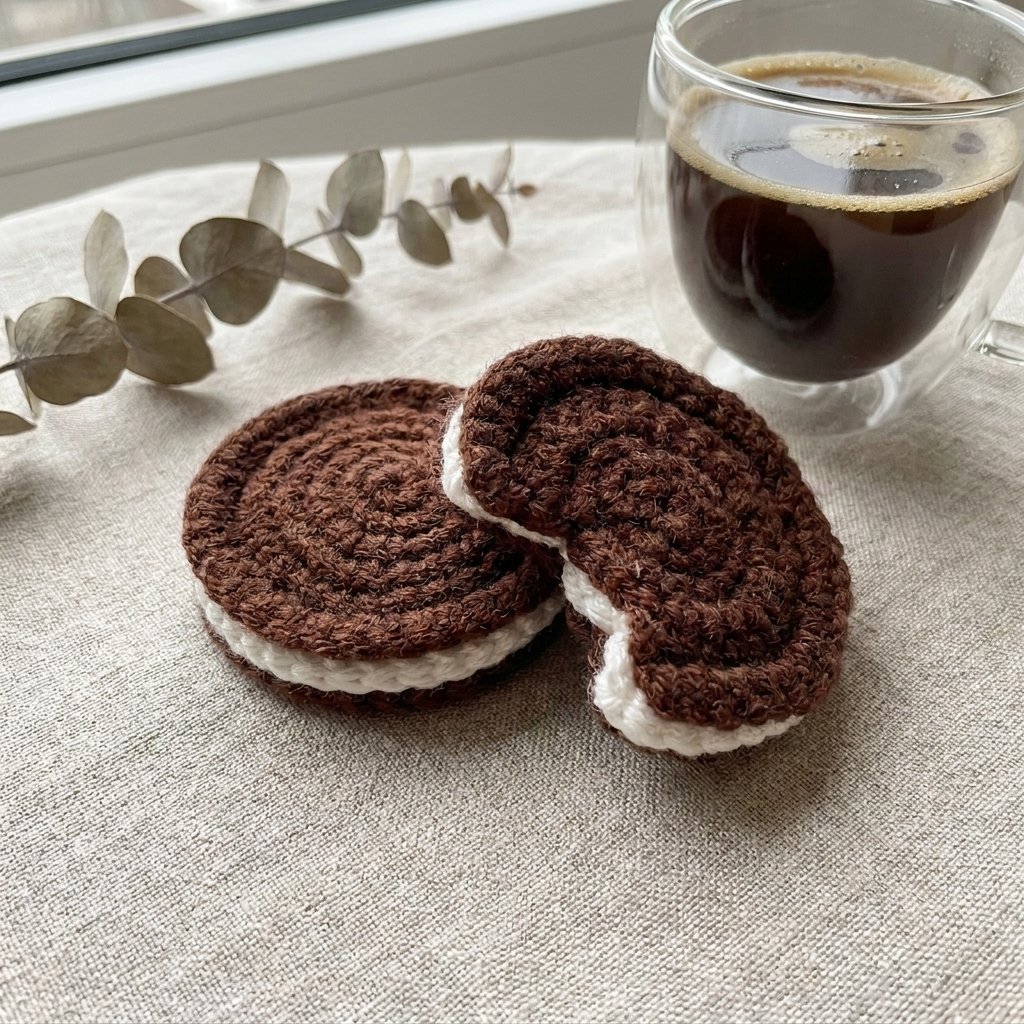
If you’ve been looking for a fun, fast weekend project that also happens to be ridiculously cute, this one’s for you. Today I’m walking you through how to crochet a mini Oreo cookie — and not just the perfect, whole version. We’re making three variations: one with a single bite taken out, one that’s half bitten off, and a complete, untouched cookie. All three use nothing but single crochet, so if you’ve only just picked up a hook, you’re in the right place.
The best part? Once you understand the base pattern, you can whip up a whole plate of these little guys in an afternoon. They make adorable keychains, bag charms, or just a shelf decoration that never goes stale.
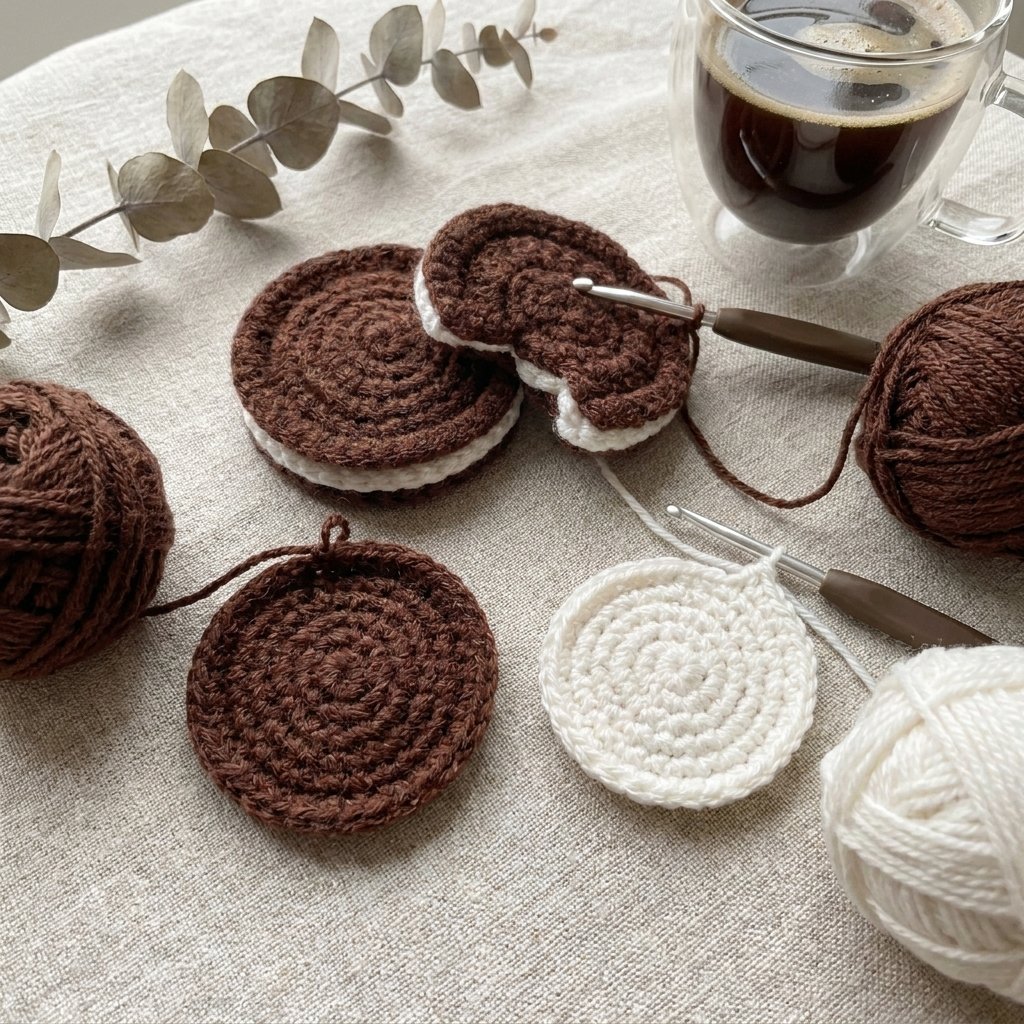
What You’ll Need
| Supply | Notes |
| Crochet hook | 3.0mm |
| Yarn | Cookie brown + cream/white (worsted weight works well) |
| Yarn needle | For weaving in ends and sewing pieces together |
| Scissors | — |
| Fabric glue (optional) | If you’d rather glue than sew the layers together |
| Stitch marker (optional) | Helpful for tracking rounds, though not used in the original tutorial |
Abbreviations Used
| Abbreviation | Meaning |
| sc | single crochet |
| inc | single crochet increase (2 sc in the same stitch) |
| st(s) | stitch(es) |
| rnd | round |
Every piece of this Oreo — whether it’s a cookie layer or the cream filling — starts life the exact same way, with a magic ring and two identical rounds. Once those two rounds are done, the pattern branches off depending on whether you want a whole cookie, a single bite, or a half-bitten one.
The Shared Base: Rounds 1 and 2
This part is identical no matter which version of the Oreo you’re making, so get comfortable with it — you’ll be repeating it for every single piece.
| Round | Instructions | Stitch Count |
| 1 | Work 6 sc into a magic ring, then join with a slip stitch | 6 sts |
| 2 | Ch 1, then work an inc (2 sc) in every stitch around, join with a slip stitch | 12 sts |
A quick tip if you’re newer to amigurumi: the magic ring lets you crochet your first round into an adjustable loop, then cinch it closed afterward so there’s no hole in the center. If that trick is new to you, it’s worth searching up a slow, step-by-step video on it before diving in, since getting it right makes everything that follows much neater.
Once you’ve hit 12 stitches at the end of round 2, you’re ready to branch off into whichever shape you’re making.
Pattern A: The Single-Bite Oreo
This is the star of the tutorial — a cookie that looks like someone snuck a small nibble out of the edge. From round 3 onward, you’ll stop joining with a slip stitch and instead simply turn your work at the end of each round, then chain 1 to start the next. This is what creates that subtle curve and the “bite” shape rather than a perfectly flat circle.
| Round | Instructions | Stitch Count |
| 3 | Ch 1, [1 sc, inc] repeat 6 times, join with slip stitch | 18 sts |
| 4 | Turn, ch 1, [2 sc, inc] repeat 5 times, then 1 sc | 21 sts |
| 5 | Turn, ch 1, [3 sc, inc] repeat 5 times, then 1 sc | 26 sts |
| 6 | Turn, ch 1, [4 sc, inc] repeat 5 times, then 1 sc | 31 sts |
Once you’ve completed round 6 and reached 31 stitches, it’s time to fasten off. If you plan on using glue to assemble your Oreo, trim your yarn tail to about 5cm. If you’re sewing the pieces together (which is what we’ll cover below), leave a longer tail of roughly 20cm to work with.
To complete a full single-bite Oreo, you’ll need to make this exact piece twice in your cookie color (for the top and bottom) and once in cream (for the filling in between).
Pattern B: The Half-Bitten Oreo
Want an Oreo that looks like it’s already lost half its cookie? This version follows the same opening two rounds, but the increase pattern shifts to create a more dramatic curve.
| Round | Instructions | Stitch Count |
| 3 | Ch 1, [1 sc, inc] repeat 4 times, then 1 sc | 13 sts |
| 4 | Turn, ch 1, [2 sc, inc] repeat 4 times, then 1 sc | 17 sts |
| 5 | Turn, ch 1, [3 sc, inc] repeat 4 times, then 1 sc | 21 sts |
| 6 | Turn, ch 1, [4 sc, inc] repeat 4 times, then 1 sc | 25 sts |
Just like before, fasten off once you reach the final stitch count, choosing your tail length based on whether you’re gluing or sewing.
Pattern C: The Complete Oreo
Feeling like a whole, un-bitten cookie instead? Good news — you don’t need a new pattern at all. Simply take the increase pattern from either version above and repeat it a full 6 times per round instead of 4 or 5, working all the way around in a continuous circle without turning. This keeps the piece flat and symmetrical, with no bite-shaped curve.
Weaving in Your Ends
Before sewing everything together, each finished piece needs its yarn ends tucked away neatly. Here’s the general approach:
- Thread your needle with the yarn tail and identify a nearby spot to anchor it.
- Pass the needle through that spot and pull it back through the original area to form a small knot, securing the yarn.
- Weave through a few nearby stitches randomly to lock the end in place further.
- Trim the excess yarn close to the fabric.
One small but important detail: for the cookie piece that will sit on the outside of your finished Oreo, you’ll need to guide the yarn end through to the opposite side before weaving it in, since you don’t want any visible tails on the side people will actually see. For the cream layer and the inner cookie piece, the standard weave-in method works fine since those sides stay hidden inside the sandwich.
If you’re planning to glue your Oreo together rather than sew it, you can weave in all your ends now and skip straight to gluing. If you’re sewing, leave the final yarn tail on your top piece unwoven — you’ll need it for the next step.
Sewing the Pieces Together
Time to assemble your Oreo sandwich. Lay out your three pieces — two cookie layers and one cream layer — and take a moment to double-check which side of each piece should face outward before you start.
If you’re using glue, this part is simple: align your three layers and glue them in place, letting them dry fully before handling.
If you’re sewing, here’s the process:
- Locate the matching stitch on your cream piece and your back cookie piece, and pass the needle through both.
- Pull the yarn snug to draw the layers together.
- Move to the next stitch along that same round, and this time pass your needle through all three layers at once (both cookie pieces and the cream filling).
- Continue around the whole piece, working stitch by stitch, until you reach the bitten-off section.
- For the gap where the “bite” is, simply pass your needle back and forth near the edges a few times to neaten and secure that area, since there’s no full round of stitches to sew through there.
- Once you’ve sewn all the way around, weave in this final tail by inserting your needle through the middle of the cookie and cream layers, bringing it out at a point on the outside, then back into a neighboring hole. Pull gently taut so the tail disappears inside the piece when trimmed.
And that’s it — your Oreo is complete! The exact same sewing method applies to the half-bitten version, and for the complete, whole Oreo, you’ll sew all the way around in one continuous round since there’s no gap to leave open.
A Few Final Tips
- Don’t rush the magic ring. A tidy start makes the whole piece look more polished, so if it feels shaky at first, it’s worth practicing separately before starting your Oreo.
- Keep tension consistent. Since this pattern relies purely on single crochet, even tension is what gives your finished piece that smooth, rounded cookie shape.
- Mix and match. Once you’re comfortable with the base technique, try varying your “cookie” color to make other sandwich treats using the same skeleton pattern.
Made your own batch of bitten Oreos? I’d love to see how they turned out — drop a comment below and let me know if this pattern felt too fast, too slow, or just right, since your feedback genuinely shapes what I work on next. And speaking of what’s next: I’m deciding between a cat keychain holder or a granny-square cat AirPods case for next week’s tutorial — let me know in the comments which one you’d rather see!
Happy hooking!