How to Crochet a Pencil Case Pouch – Easy Any-Size Crochet Tutorial for Beginners
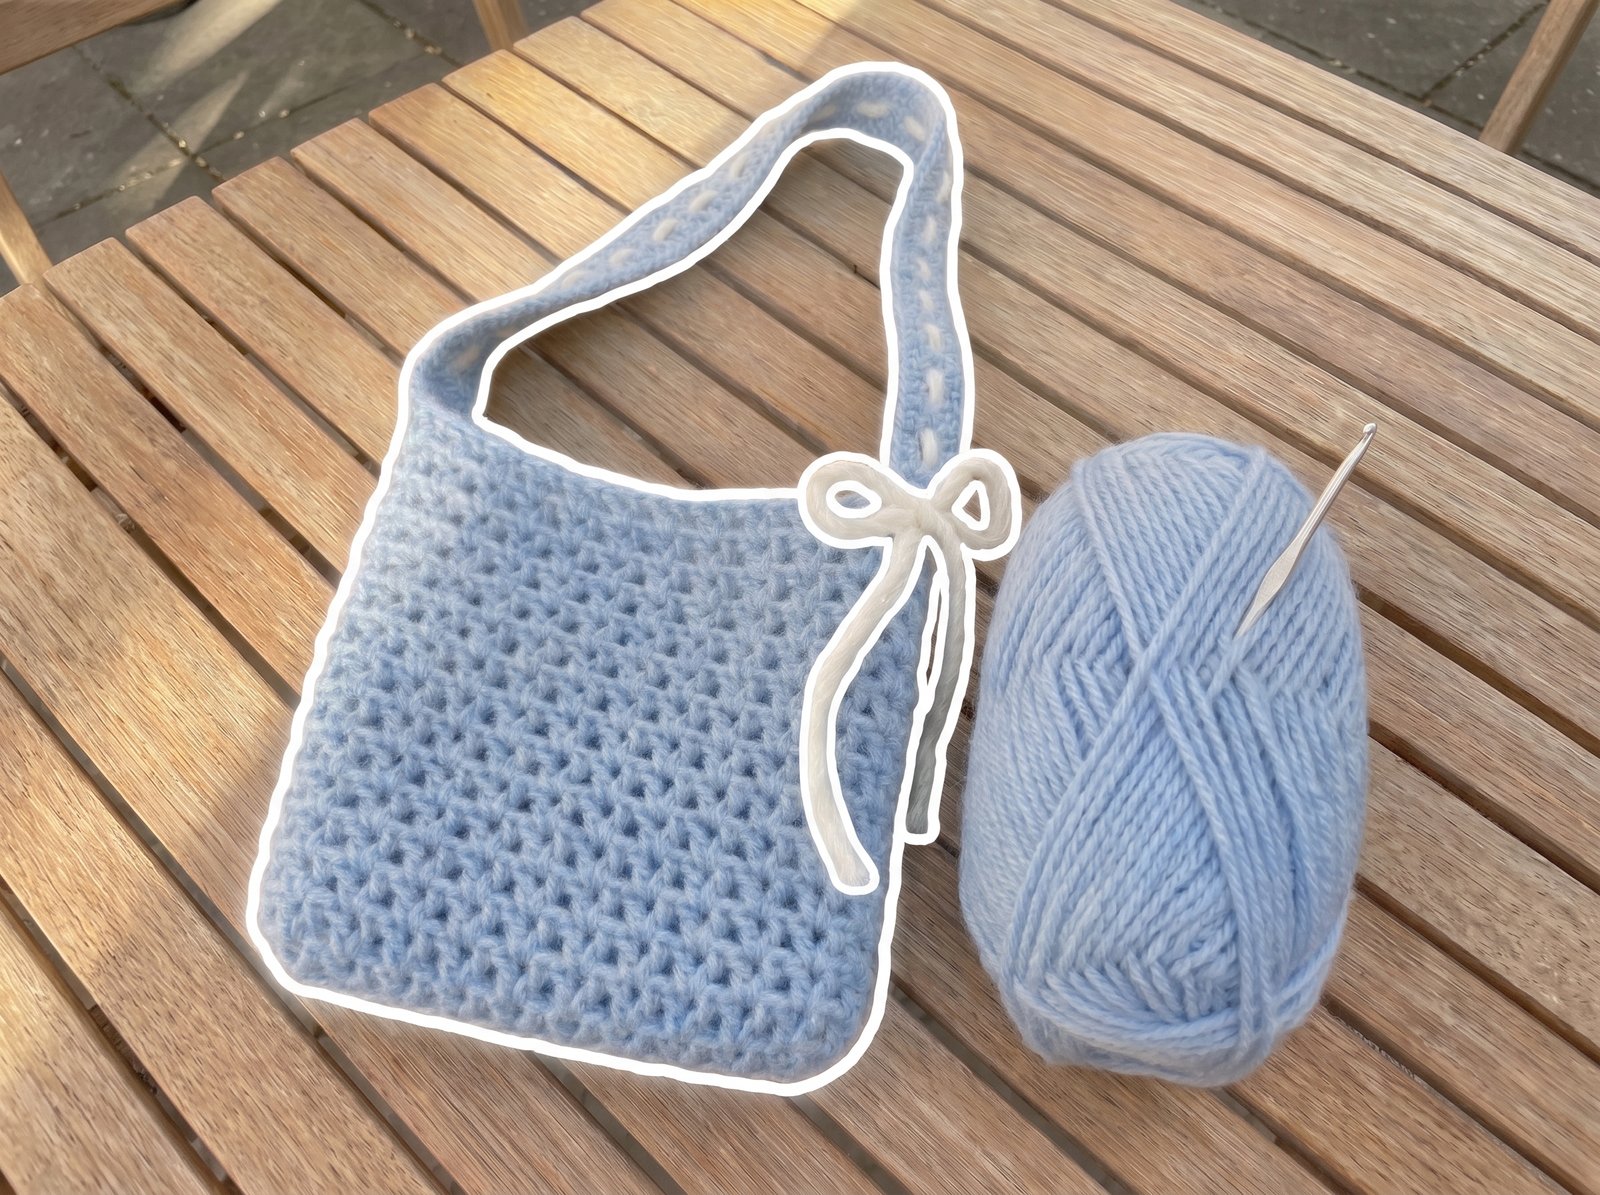
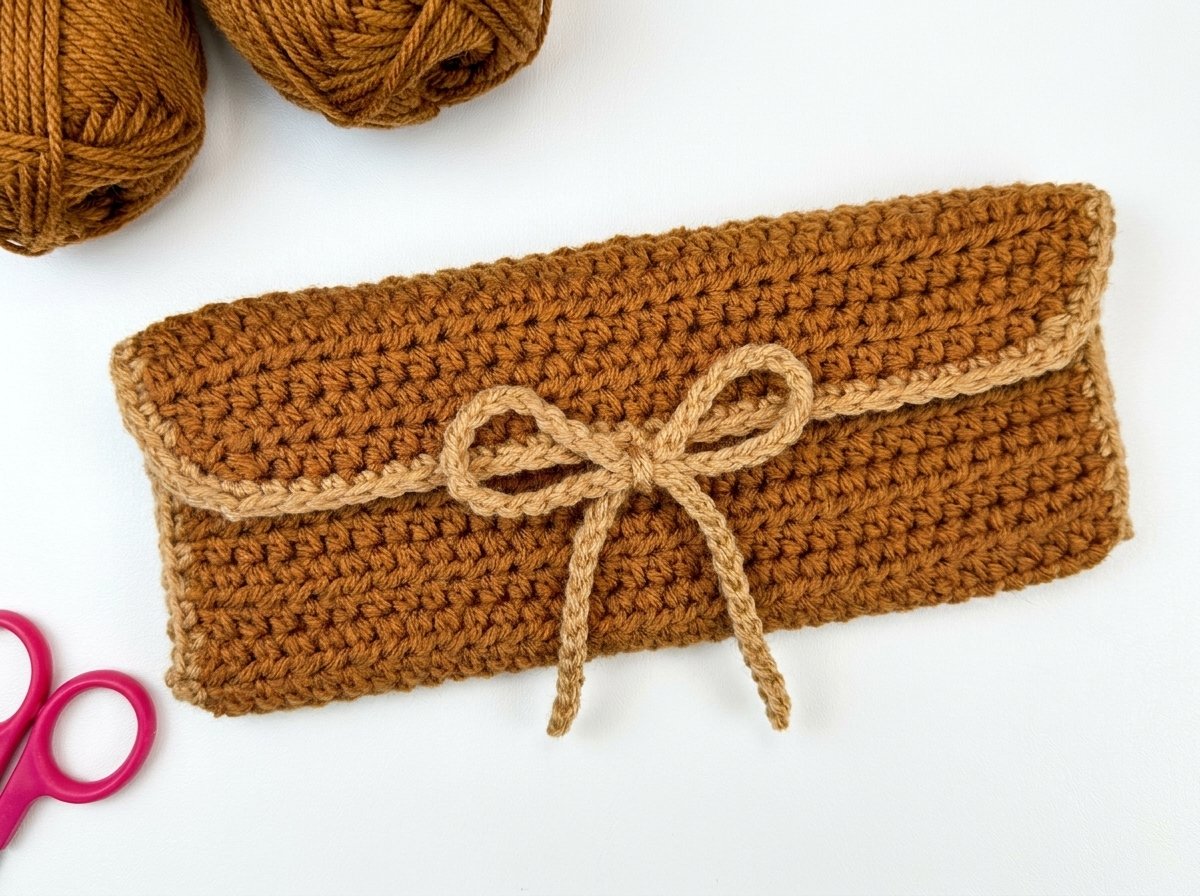
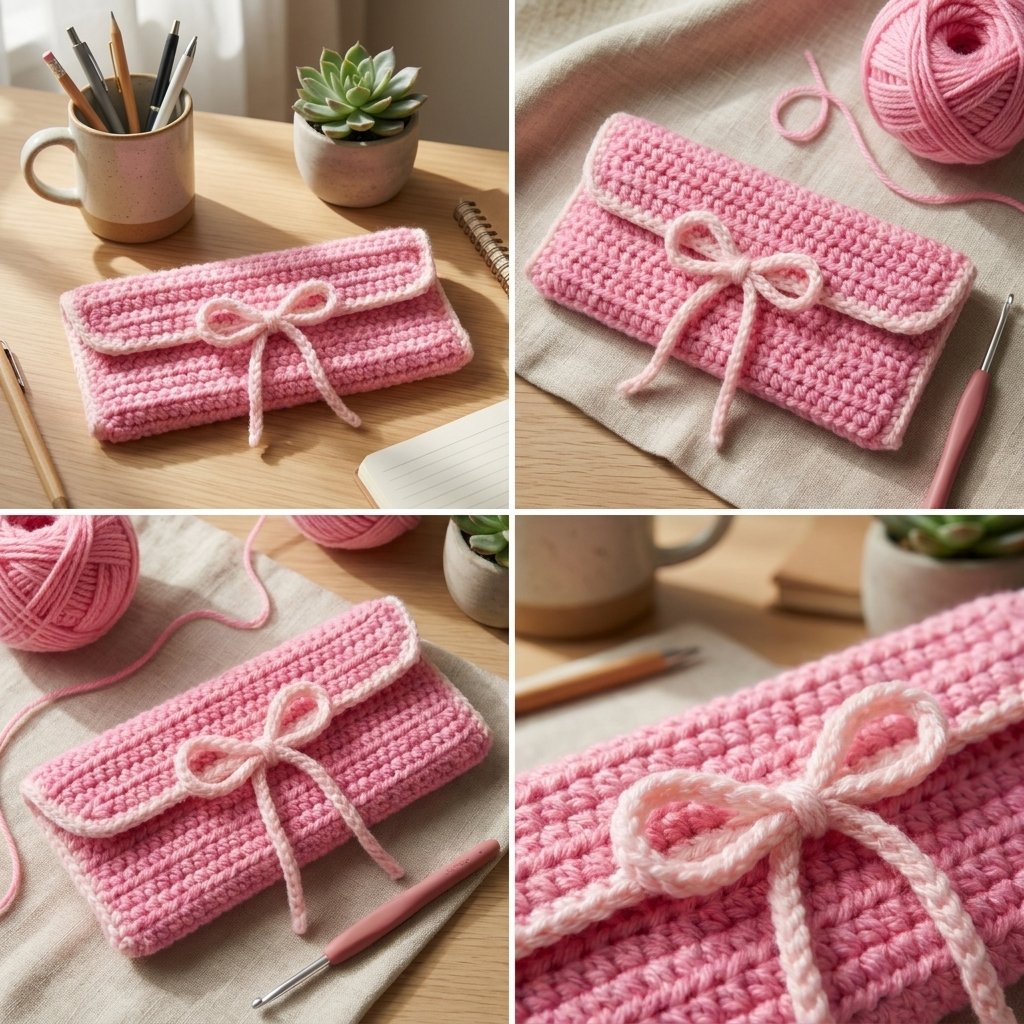
A simple envelope-style pouch built from one long rectangle, folded and sewn up the sides, with a two-part chain tie that lets you open the bag fully instead of being stuck with a fixed loop closure. Genuinely adjustable to any size — pencils and pens, crochet hooks, or just about anything else you’d want a soft pouch for.
Quick glance
| Time | Skill | Size | Hook |
| 2–3 hrs | Beginner | Fully adjustable | 4mm |
Materials
- Worsted weight yarn — main color, plus a contrast color for the border and ties (optional; same color works fine too)
- 4mm crochet hook
- Scissors, tapestry needle
Terms & abbreviations
| Abbrev | Term | Notes |
| ch | chain | — |
| hdc | half double crochet | used for the entire body of the bag |
| sc | single crochet | used only for the border |
| dec | hdc2tog | decrease, used to round off the flap |
| sl st | slip stitch | — |
| st(s) | stitch(es) | — |
| row(s) | row(s) | worked flat, turning after each one |
Sizing note
This pattern scales entirely by your own measurements — there’s no fixed stitch count. Your starting chain sets the width (make it wide enough to comfortably fit whatever you’re storing), and your total row count determines the length: you’ll need roughly double your desired bag height, plus extra for the flap, since the rectangle folds in half to form the body.
Pattern
Foundation: Chain to about 8in long (or your own preferred width).
Row 1: Hdc in the 2nd chain from your hook and in each chain across.
Row 2 onward: Chain 1, turn. Hdc in every stitch across, going under both loops at the top of each stitch. Keep the same stitch count every row — check the last stitch of each row carefully, since it’s easy to miss and causes the work to narrow gradually if skipped.
Repeat this row until your rectangle is long enough to fold into a bag with a flap (23 rows was used for the pictured pouch, but this is entirely dependent on your own gauge and desired size — fold your work periodically to check).
Rounding off the flap (optional but recommended)
Once your rectangle is long enough, work a few more rows shaping the flap’s closing edge:
Each shaping row: Chain 1, turn. Work a decrease (hdc2tog) at the very start of the row, hdc across to the last 2 stitches, then work another decrease to finish the row.
Repeat this shaping row 2–3 times to taper the flap into a gently rounded edge, or skip this entirely for a simple straight-edged flap.
Border
Switch to your contrast color if desired. Attach yarn anywhere along the outer edge of your rectangle.
Border round: Chain 1, then sc evenly all the way around the entire perimeter — about 1 sc per row along the side edges, and roughly 1 sc per stitch along the top and bottom edges (these edges won’t have perfectly defined stitches to work into, so space them as evenly as you can by eye). At every corner, work 2–3 sc into the same corner stitch — this is what keeps the edges from curling.
Join with a slip stitch to your first sc, fasten off, and weave in the end.
Assembly
- Lay your rectangle with the wrong side facing up, rounded flap edge at the top.
- Fold the bottom portion up to form the body of the bag, checking the proportions look right before sewing.
- Using your border yarn color and a tapestry needle, sew up both side seams — work back and forth along each edge from the fold up to the top opening.
Closure Ties
- Locate the middlemost stitch along the front edge of the flap. Attach yarn there.
- Chain to a length long enough to tie in a bow, then fasten off. Weave the tail back down the chain to hide it, or trim it short (leaving a small bit past the knot so it doesn’t unravel).
- Fold the flap down to find the matching stitch on the body directly beneath your first tie. Attach a second strand of yarn there and chain to the same length as your first tie.
- Tie the two chains together in a bow to close your pencil case — since it’s two separate ties rather than one continuous loop, the bag still opens fully when you need it.
Common mistakes
| Mistake | Fix |
| Rectangle narrows gradually over many rows | The very last stitch of each row is easy to miss — check your stitch count periodically, not just at the end |
| Border curls at the corners | Make sure you’re working 2–3 sc into each actual corner stitch, not just continuing at the same spacing as the sides |
| Ties end up different lengths | Chain both ties while comparing them side by side, rather than eyeballing the second one separately |
| Bag doesn’t close evenly | Confirm the second tie’s stitch is directly below the first one on the folded-down flap before attaching |
Finishing
Weave in any remaining ends. Fill your finished pouch with pencils, crochet hooks, or anything else that needs a soft, adjustable home.