Easy Snuggle Bear Crochet Pattern (Free & Beginner Friendly)
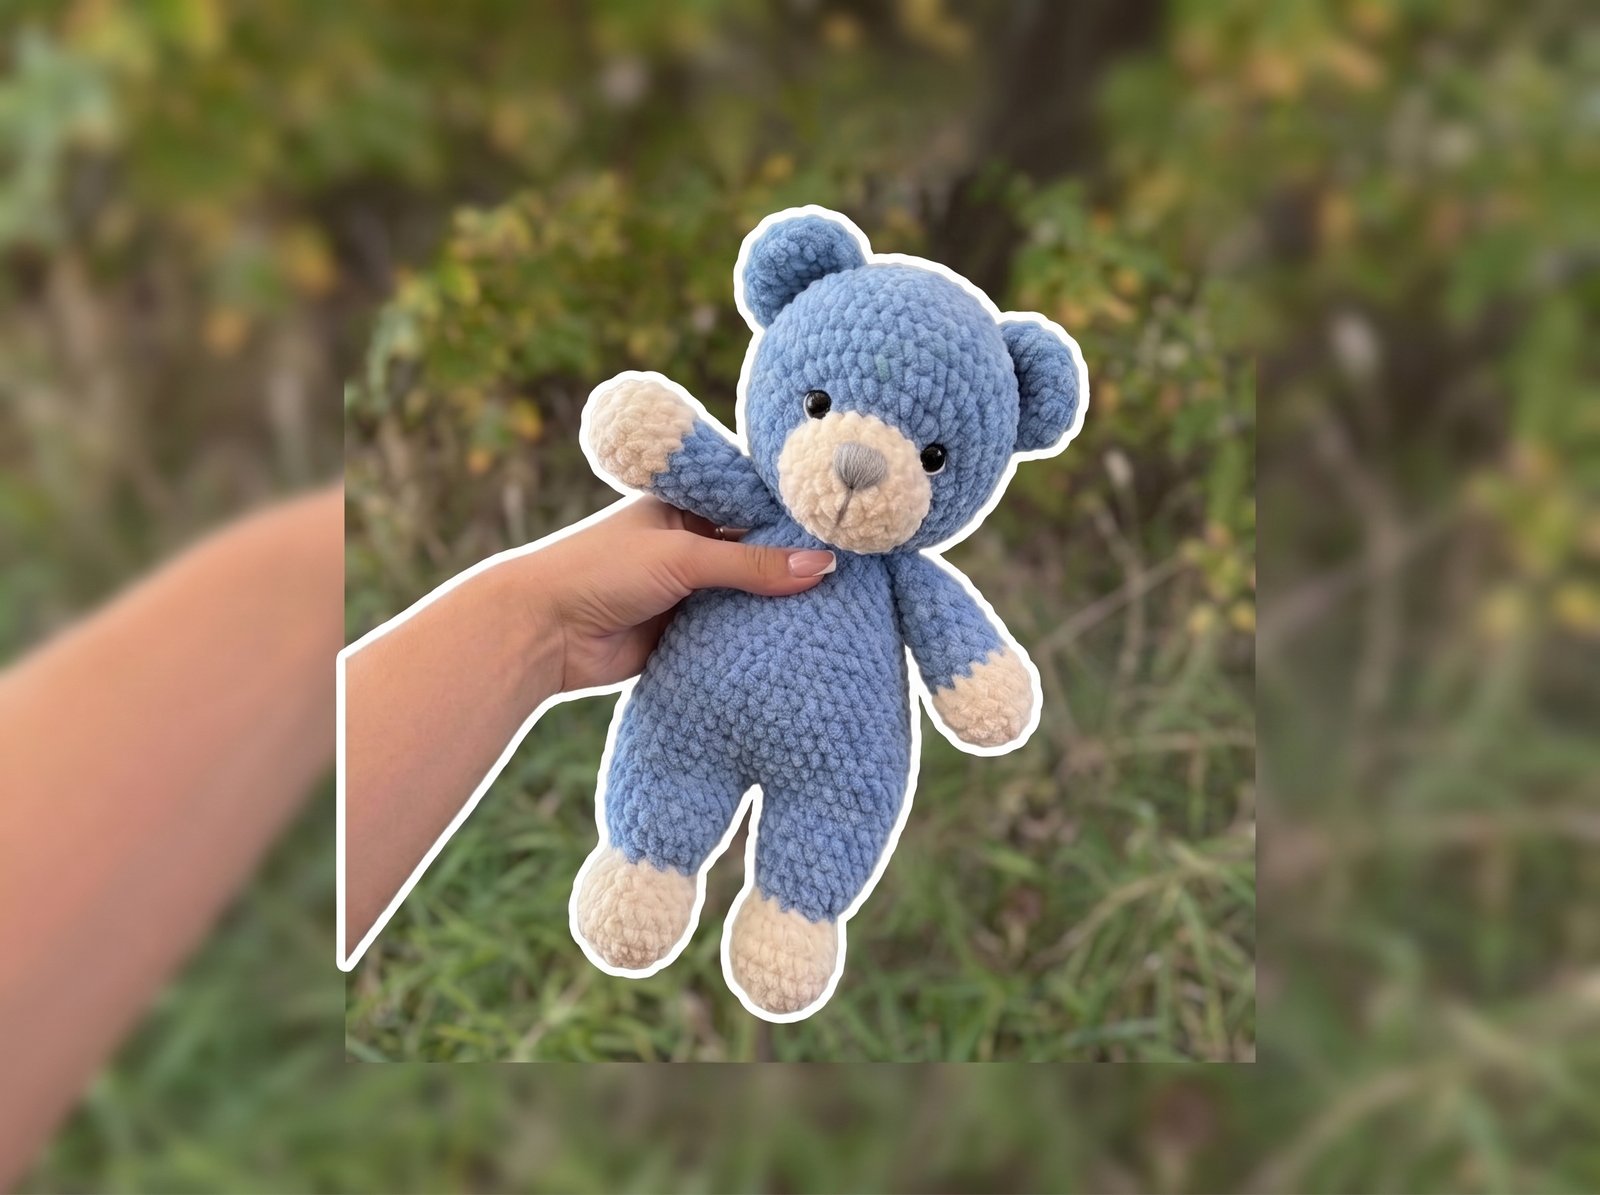
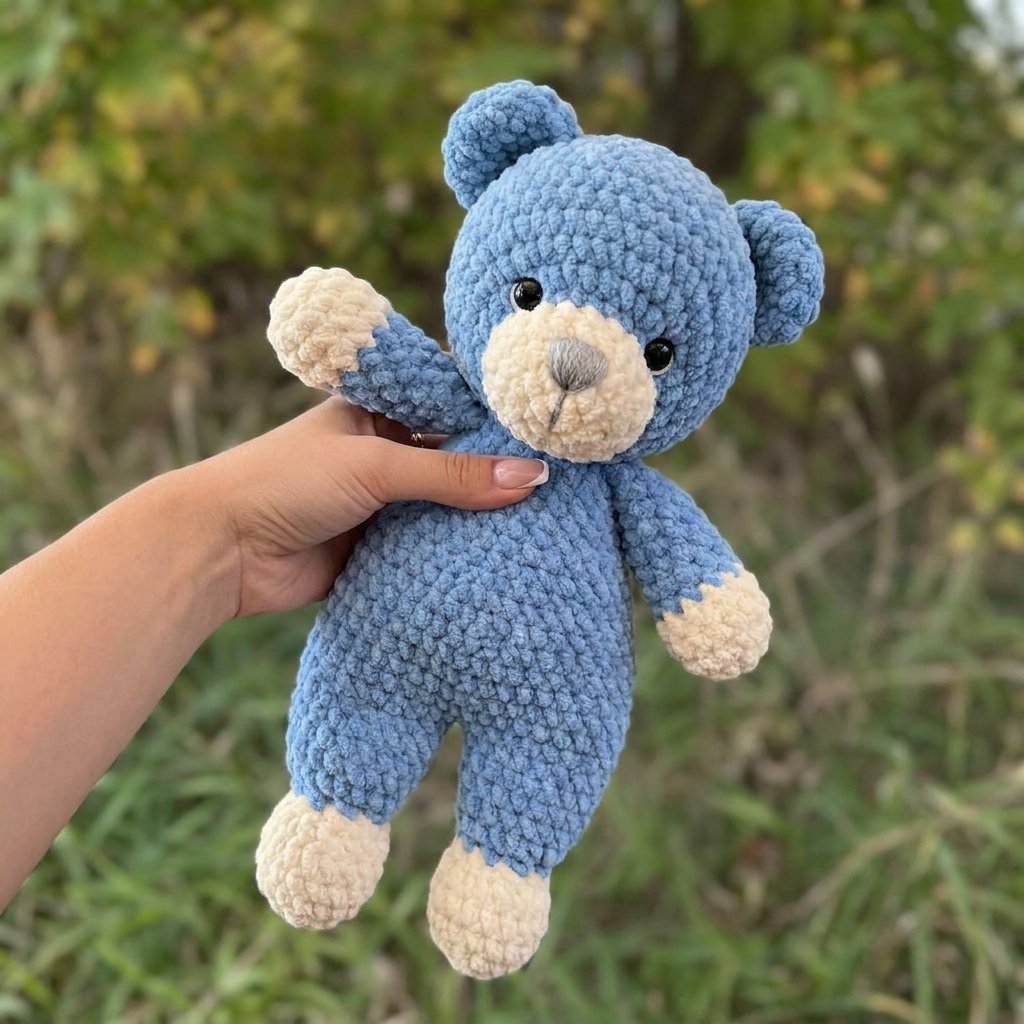
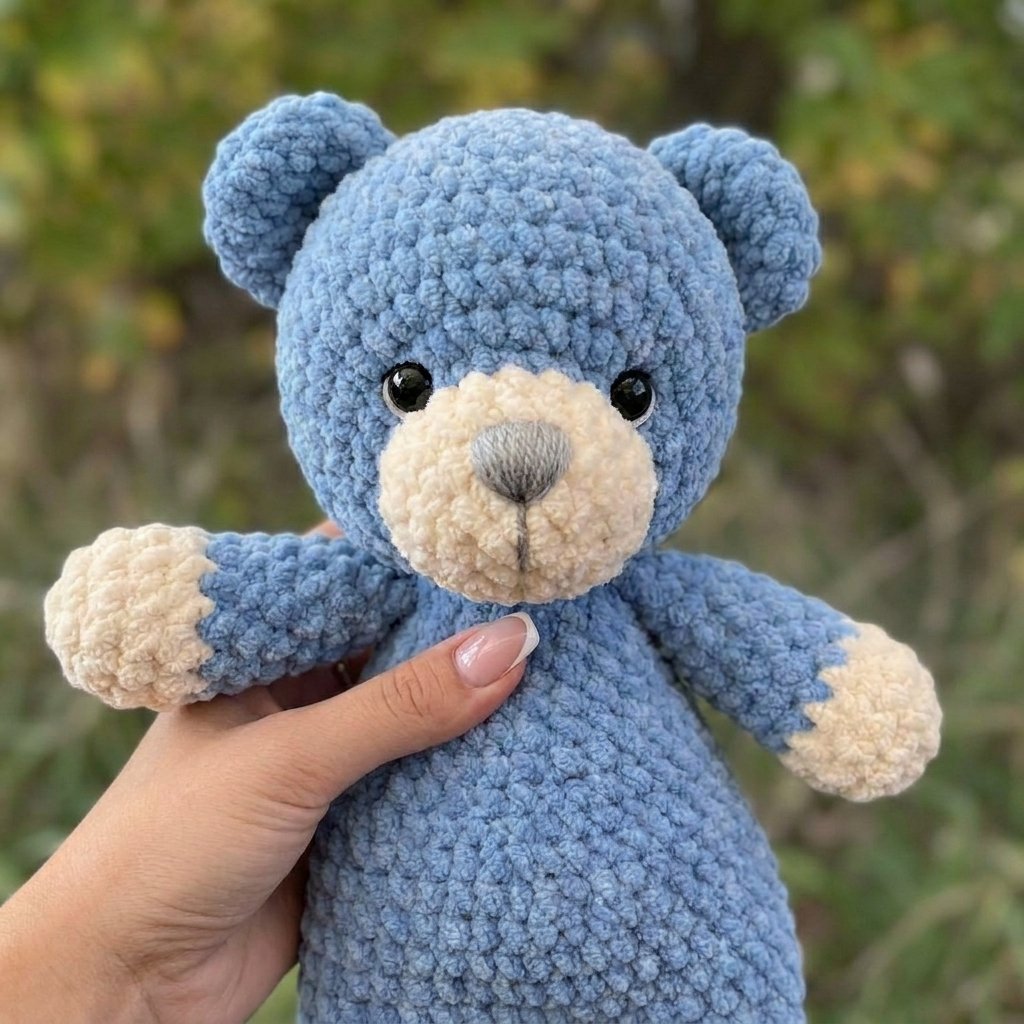
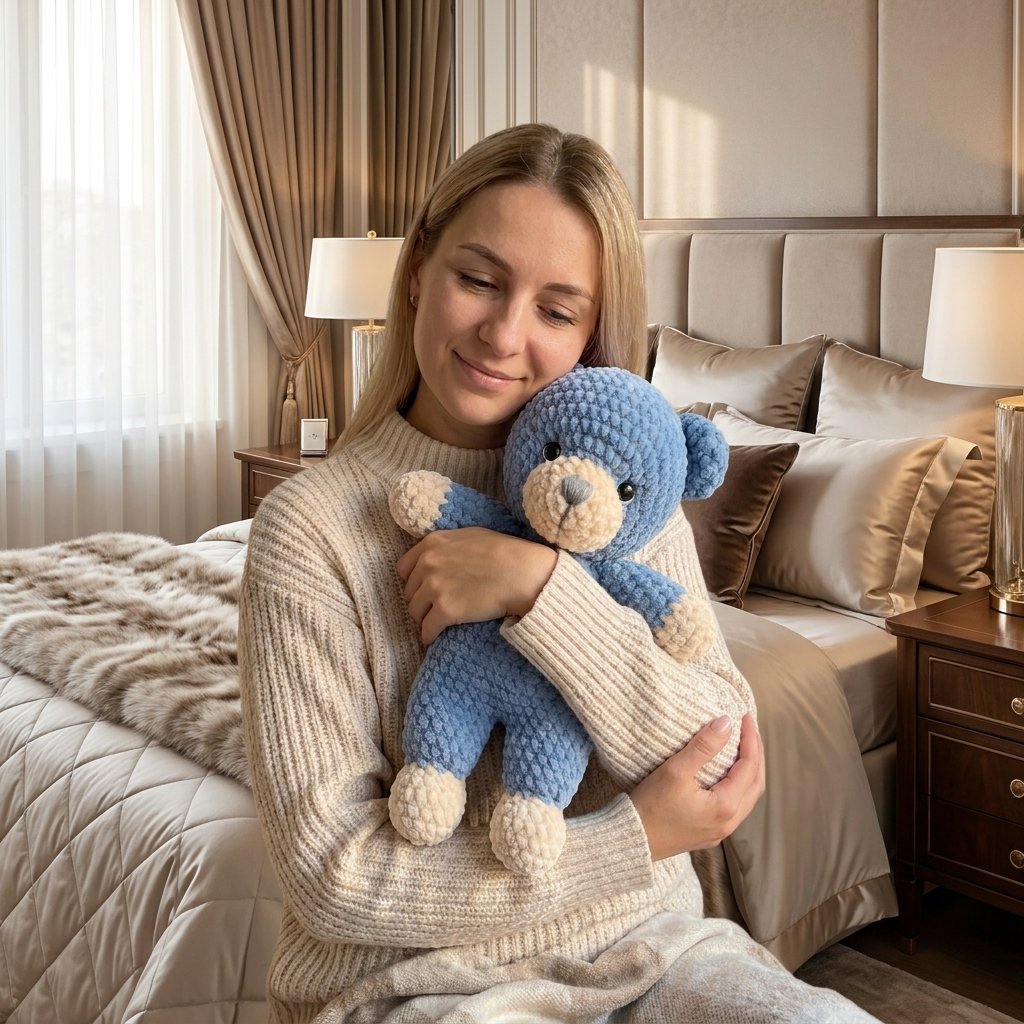
A soft, floppy-limbed amigurumi bear worked in chenille-style yarn for that velvety, huggable texture. Unlike a stiffly-stuffed amigurumi, this one is built with lightly-stuffed limbs specifically so it drapes and cuddles rather than sitting rigid — that’s what gives it the “snuggle” quality in the reference photo rather than looking like a standard toy.
Quick glance
| Time | Skill | Finished size | Hook |
| 4–5 hrs | Beginner–Intermediate | approx. 10 in tall | 5mm (H) |
Materials
- Chenille/velvet-style yarn (e.g. Bernat Baby Velvet or similar soft weight-4 chenille) — main brown color, small amount cream/off-white for muzzle and paws
- 5mm (H) crochet hook — sized down slightly from the yarn’s suggested hook for tighter, gap-free stitches (important with chenille, since loose stitches let stuffing show through more than with standard yarn)
- Polyester fiberfill stuffing
- Two 10mm safety eyes
- Small amount of gray or black yarn/embroidery floss for the nose and mouth
- Yarn needle, stitch marker
Terms & abbreviations
| Abbrev | Term | Notes |
| sc | single crochet | — |
| inc | increase | 2 sc in same st |
| dec | invisible decrease | insert into front loops only of next 2 sts |
| MR | magic ring | — |
| BLO | back loop only | used for the muzzle join for a subtle seam line |
| st(s) | stitch(es) | — |
| rnd(s) | round(s) | continuous spiral — use a stitch marker, there’s no join stitch to track |
Gauge
Gauge isn’t critical for the overall shape, but tight, even tension matters more than usual with chenille yarn — it’s forgiving on camera but unforgiving on stuffing showthrough if stitches run loose. If you can see fill through the fabric, size down your hook.
Part 1 — Head
| Rnd | Instruction | St count |
| 1 | 6 sc in MR | 6 |
| 2 | inc around | 12 |
| 3 | [sc 1, inc] x6 | 18 |
| 4 | [sc 2, inc] x6 | 24 |
| 5 | [sc 3, inc] x6 | 30 |
| 6 | [sc 4, inc] x6 | 36 |
| 7–12 | sc around (6 rounds even) | 36 |
| 13 | [sc 4, dec] x6 | 30 |
| 14 | [sc 3, dec] x6 | 24 |
| 15 | [sc 2, dec] x6 — begin stuffing firmly now | 18 |
| 16 | [sc 1, dec] x6 | 12 |
| 17 | dec around | 6 |
Fasten off, cinch closed. Set aside.
Part 2 — Muzzle (cream)
| Rnd | Instruction | St count |
| 1 | 6 sc in MR | 6 |
| 2 | inc around | 12 |
| 3 | [sc 1, inc] x6 | 18 |
| 4–5 | sc around | 18 |
Fasten off, leave a long tail. Lightly stuff before sewing on.
Part 3 — Ears (make 2, brown)
| Rnd | Instruction | St count |
| 1 | 6 sc in MR | 6 |
| 2 | inc around | 12 |
| 3–4 | sc around | 12 |
Fasten off, flatten (do not stuff) and leave a tail for sewing — ears should lie flat against the head.
Part 4 — Body
| Rnd | Instruction | St count |
| 1 | 6 sc in MR | 6 |
| 2 | inc around | 12 |
| 3 | [sc 1, inc] x6 | 18 |
| 4 | [sc 2, inc] x6 | 24 |
| 5–13 | sc around (9 rounds even) | 24 |
| 14 | [sc 2, dec] x6 — stuff firmly now | 18 |
| 15 | sc around | 18 |
Fasten off, leaving a long tail for sewing to the head.
Part 5 — Arms (make 2)
Worked in brown, switching to cream for the paw.
| Rnd | Instruction | St count | Color |
| 1 | 6 sc in MR | 6 | cream |
| 2 | inc around | 12 | cream |
| 3–4 | sc around | 12 | cream |
| 5 | [sc 1, dec] x4 | 8 | switch to brown |
| 6–16 | sc around (11 rounds even — this length is what gives the floppy, huggable drape) | 8 | brown |
Fasten off, leaving a tail. Stuff only the paw section lightly — leave the long brown section unstuffed or very lightly filled so the arm bends and drapes rather than standing stiff.
Part 6 — Legs (make 2)
Same construction as the arms, slightly longer.
| Rnd | Instruction | St count | Color |
| 1 | 6 sc in MR | 6 | cream |
| 2 | inc around | 12 | cream |
| 3–5 | sc around | 12 | cream |
| 6 | [sc 1, dec] x4 | 8 | switch to brown |
| 7–20 | sc around (14 rounds even) | 8 | brown |
Fasten off, leaving a tail. Same lightly-stuffed approach as the arms.
Stitch count checkpoints (all pieces)
| Piece | Checkpoint round | Count |
| Head | Rnd 6 (widest point) | 36 |
| Body | Rnd 4 (widest point) | 24 |
| Muzzle | Rnd 3 | 18 |
| Ears | Rnd 2 | 12 |
| Arms | Rnd 4 (before color switch) | 12 |
| Legs | Rnd 5 (before color switch) | 12 |
Assembly
- Sew the muzzle to the lower-center of the head face, stuffed lightly so it sits slightly raised off the face.
- Attach safety eyes just above the top edge of the muzzle, spaced about 4–5 stitches apart.
- Embroider the nose (small triangle or oval in gray/black) at the top-center of the muzzle, with a straight stitch line down to a small V for the mouth.
- Sew ears flat against the sides of the head, angled slightly forward.
- Sew the head to the top of the body, keeping the neck join snug so the head doesn’t flop independently of the body — this is what lets the whole bear be picked up by the head or body interchangeably, as shown in the reference photo.
- Sew arms to the upper sides of the body, and legs to the lower sides — position them so the limbs hang naturally rather than sticking straight out.
Common mistakes
| Mistake | Fix |
| Stuffing shows through fabric | Hook is too large for the yarn — size down and re-check tension |
| Limbs stick out stiffly instead of draping | Overstuffed the brown sections — they should be barely filled, just enough to hold shape |
| Head flops loosely at the neck | Seam wasn’t tight enough — go around the neck join twice when sewing for a firmer attachment |
| Muzzle looks flat instead of raised | Not stuffed before attaching — always lightly stuff the muzzle piece itself, separately from the head |
Finishing
Weave in all ends deep into the stuffing so none show through the chenille texture. Brush the finished bear very lightly with a soft brush or your fingers if the yarn allows — this fluffs the chenille slightly and softens the visible stitch definition for a more huggable finished look, similar to the reference photo.
Write a review
 no image