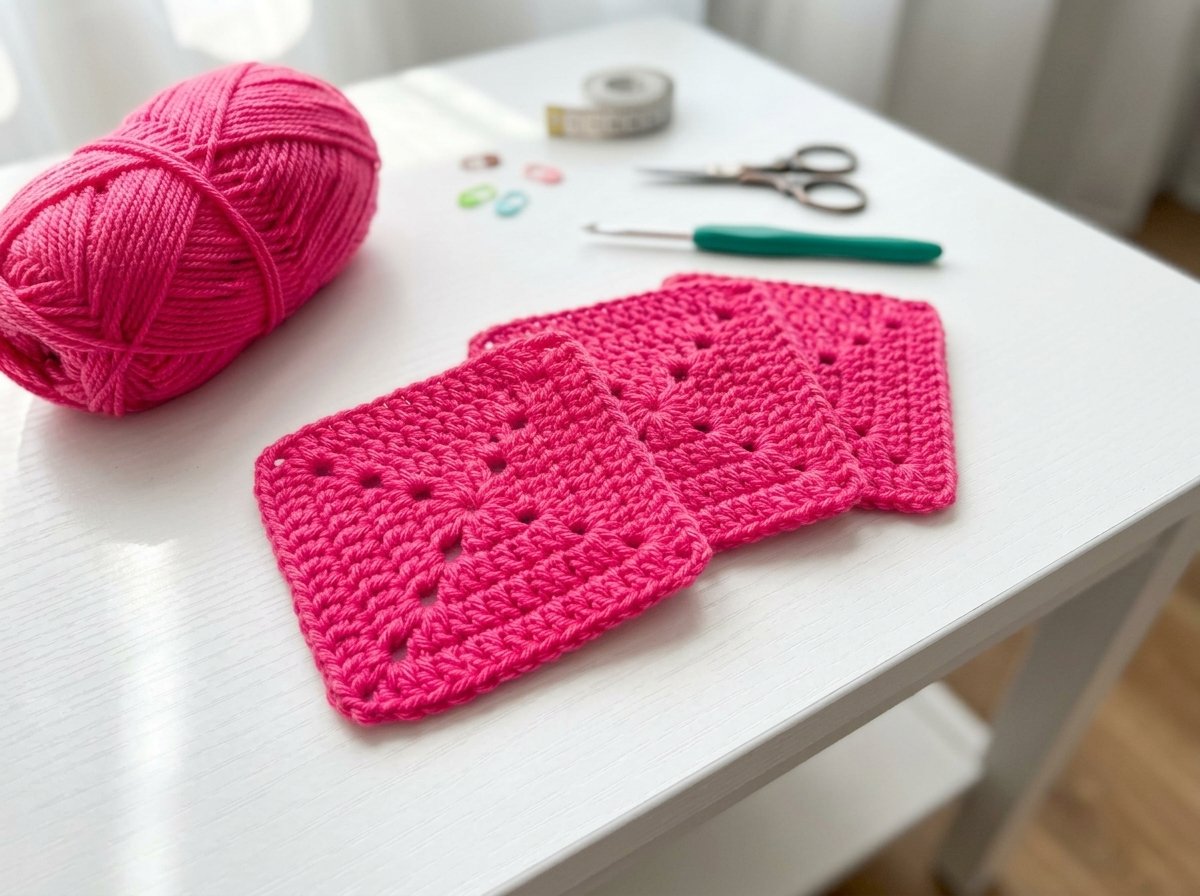
How to Crochet a Solid Granny Square – Easy No Magic Ring Tutorial for Beginners
A classic solid granny square built entirely from double crochet, starting with a simple chain ring instead of a magic ring — a genuinely good beginner project since it only uses two stitches you likely already know. Fully adjustable in size just by adding more rounds.
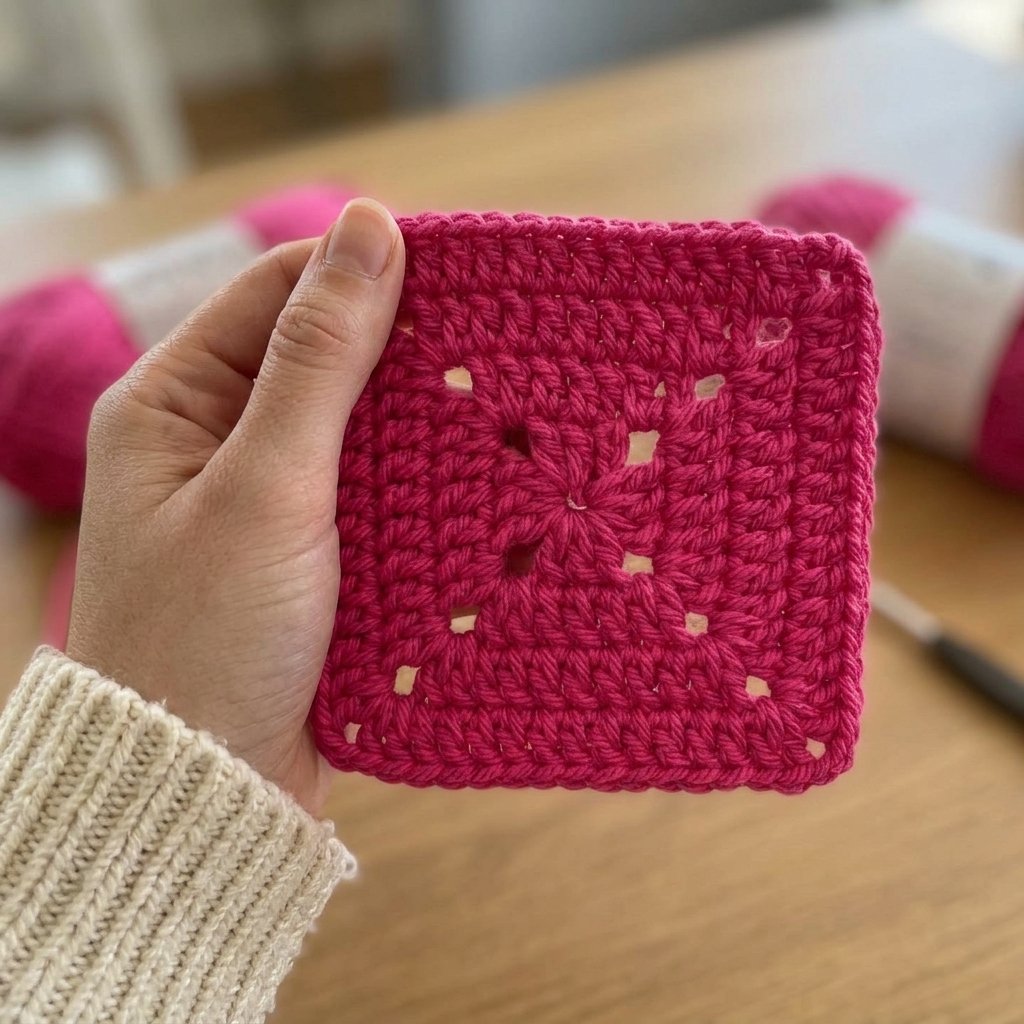
Quick glance
| Time | Skill | Finished size | Hook |
| 30–45 min | Beginner | Adjustable — grows with each round added | 4.5mm |
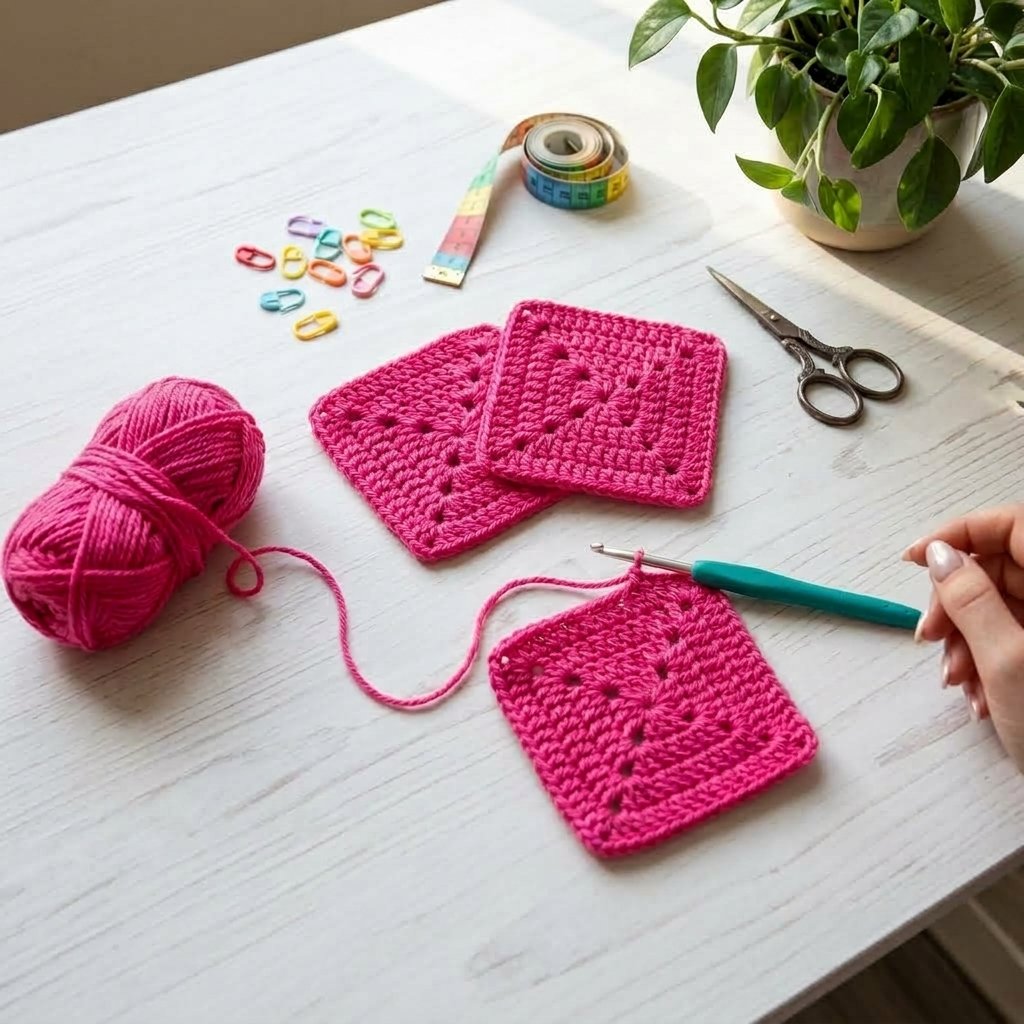
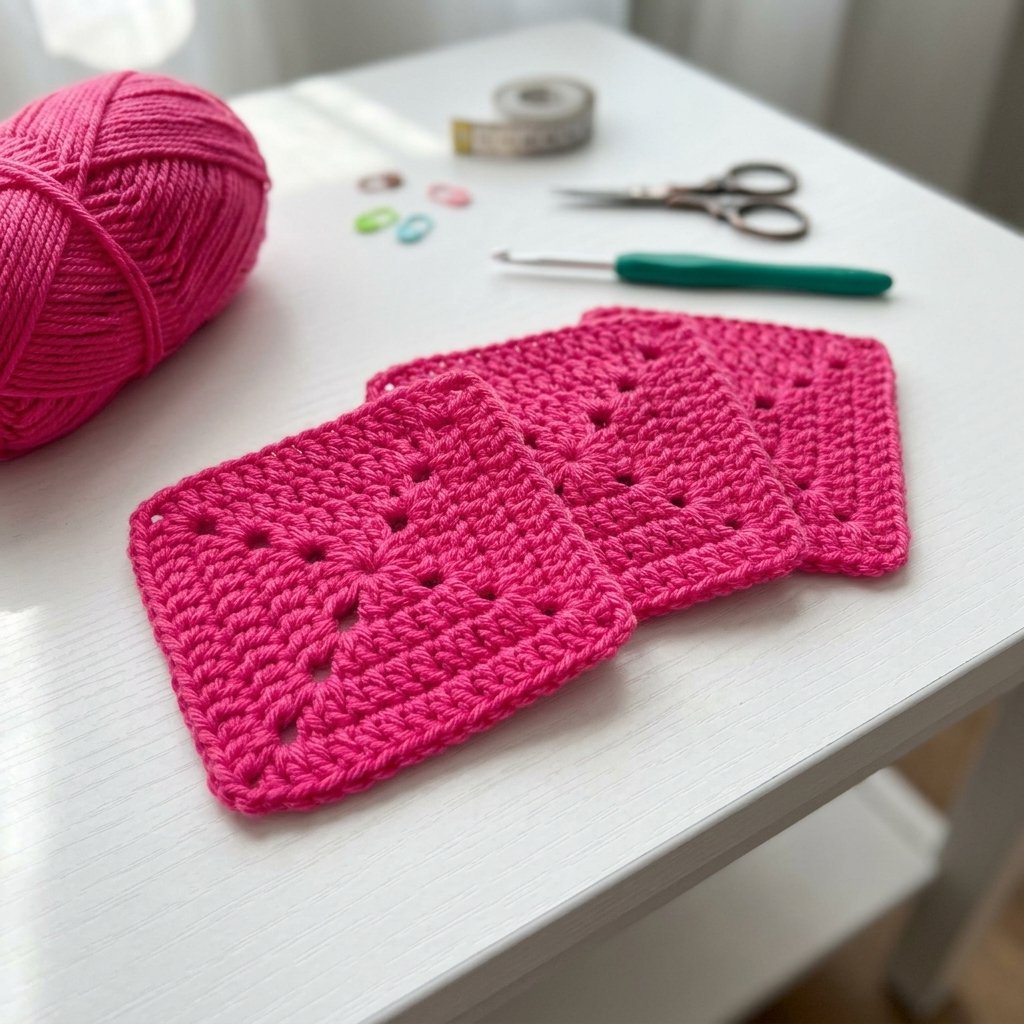
Materials
- Worsted weight acrylic yarn
- 4.5mm crochet hook
- Scissors
Terms & abbreviations
| Abbrev | Term | Notes |
| ch | chain | — |
| dc | double crochet | the primary stitch throughout |
| hdc | half double crochet | used once per round, to close each corner cleanly |
| sl st | slip stitch | used only to form the starting ring |
| sp | space | the corner and side gaps created by chains |
Pattern
Foundation ring: Chain 4. Join into a ring with a slip stitch into the first chain — double check the chain isn’t twisted before joining. Trim the short starting tail.
Round 1: Chain 3 (counts as your first dc). Work 2 dc into the center of the ring. Chain 2 (first corner). Work 3 dc into the center of the ring. Chain 2 (second corner). Work 3 dc into the center. Chain 2 (third corner). Work 3 dc into the center. To close the round, work 1 hdc into the top loop of your starting chain-3 (this stands in for the 4th corner). Pull your starting tail to tighten the ring.
Round 2: Chain 3 (first dc). Work 1 dc into the hdc space from Round 1’s closing stitch, then 1 dc into each of the next 2 stitches. *Corner: 2 dc into the next ch-2 space, chain 2, 2 dc into that same space.* Work 1 dc into each of the next 3 stitches, then repeat the corner. Continue around for a total of 4 corners, working 1 dc into each of 3 stitches between them. To close: work 2 dc into the final hdc space, then 1 hdc into the top of your starting chain-3.
(You should have 7 dc total along each side of the square at this point.)
Round 3: Chain 3 (first dc). Work 1 dc into the hdc space, then 1 dc into each of the next 7 stitches. Work a corner (2 dc, ch 2, 2 dc) into the next ch-2 space. Repeat working 1 dc across 7 stitches and a corner for all 4 sides. Close the same way as Round 2 — 2 dc into the hdc space, then 1 hdc into the top of the starting chain-3.
(A quick note on the source video: it mentions “half double crochet” once during this round’s side stitches, but every other round explicitly uses plain double crochet for the sides. Working the whole round in dc — matching Rounds 1, 2, and 4 — keeps the square’s edges uniform, which is standard for a solid granny square, so that’s what’s reflected here.)
Round 4: Same process as Round 3, but working across 11 stitches per side instead of 7 (since Round 3 added 4 more stitches to each side). Chain 3, dc into the hdc space, 1 dc across the next 11 stitches, corner, repeat for all 4 sides, then close the same way as before.
Growing the square further
To continue enlarging your granny square, simply repeat the same round structure: chain 3, dc into the hdc space, work across the stitches along each side, corner at each ch-2 space, and close with 2 dc + 1 hdc into the top of your starting chain. Each additional round adds 4 more stitches per side — so your side counts will run 7, 11, 15, 19, and so on as you keep going.
Common mistakes
| Mistake | Fix |
| Foundation ring twists before joining | Double check the chain lies flat before your joining slip stitch — hard to fix once several rounds are built on top of it |
| Corners look uneven | Make sure every corner gets exactly 2 dc, chain 2, 2 dc into the same space — a missed chain-2 flattens that corner |
| Square comes out rectangular, not square | Confirm you’re working the same stitch count across all 4 sides before starting a new round — an uneven side means a stitch was missed or added somewhere on the previous round |
| Losing track of where a round starts and ends | The chain-3 at the start of each round always counts as your first stitch — remember to work into it, not skip it, when you reach that point again |
Finishing
Chain 1, cut your yarn, and pull it through to fasten off. Weave in the remaining tail.