Easy Crochet Flower Pillow Pattern – Free Crochet Pillow Tutorial
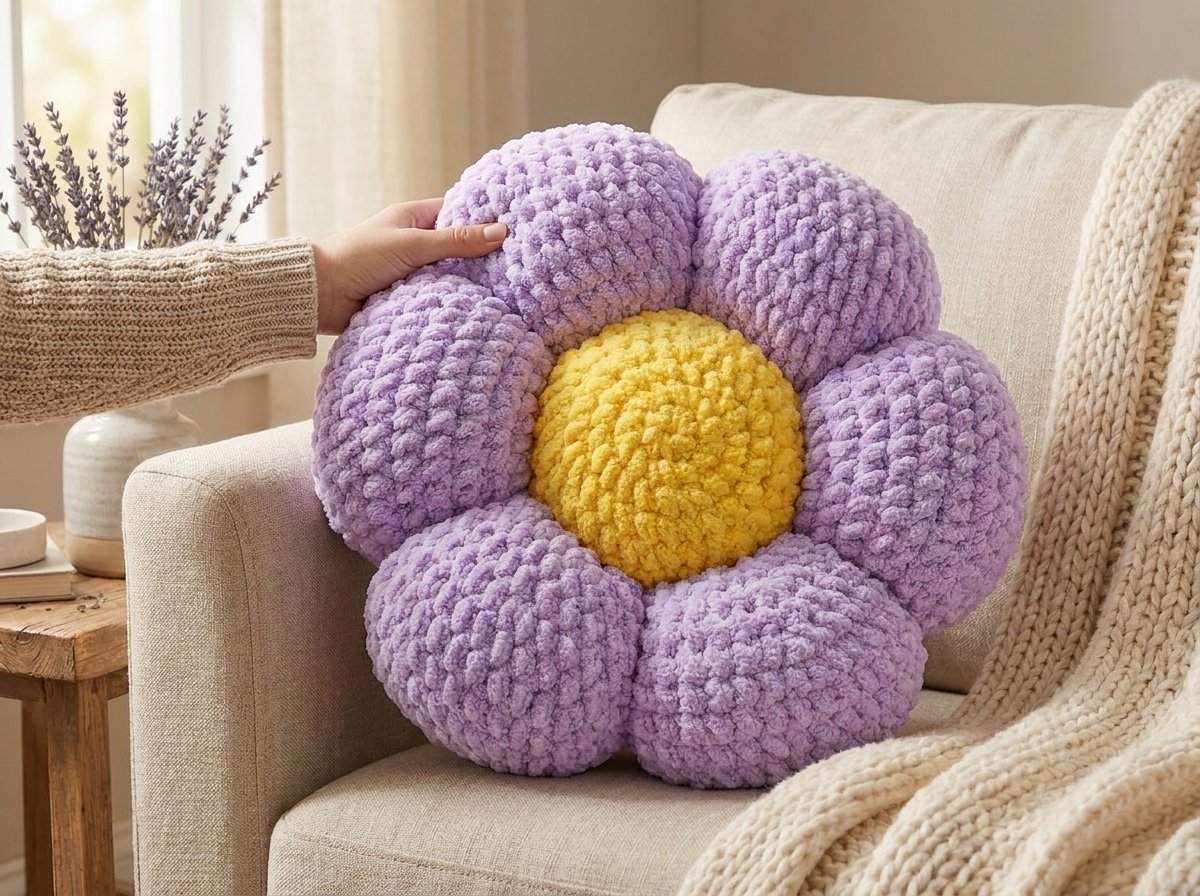
This is genuinely one of the simplest big, impressive-looking makes I have in my pattern box, and I love recommending it to anyone who’s newer to crochet and wants a project that looks far more impressive than the effort it actually takes. The secret is that you’re not crocheting six little petals and sewing them all together one by one — you’re crocheting two simple flat circles, stuffing them into one plush pillow, and then using a needle and thread to cinch the shape into petals after the fact. It’s such a satisfying trick to learn, and it makes the whole project come together so much faster than it looks like it should.
If you already know how to work a magic ring, single crochet, and a basic increase, you have every skill you need for this one.
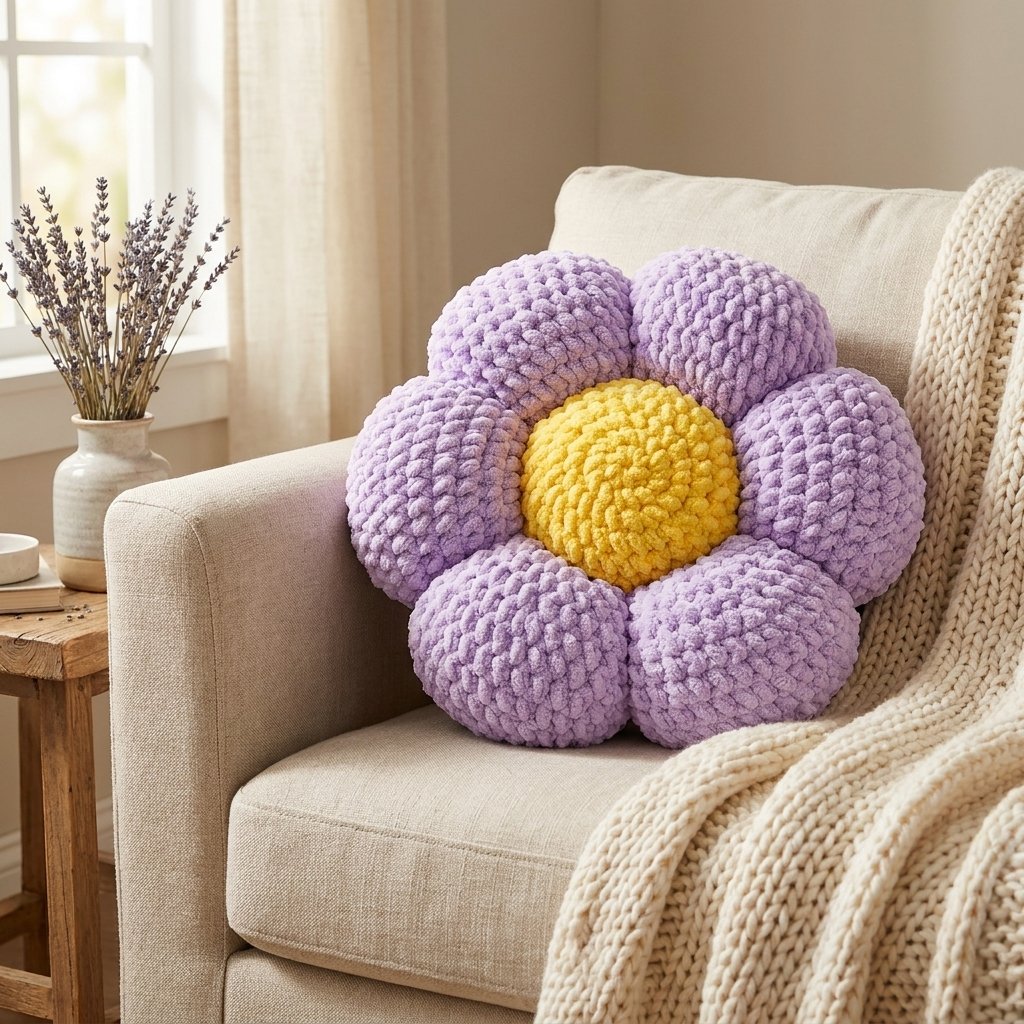
Materials
| Item | Notes |
| Chunky/velvet-style yarn, color A (center) | About 75g |
| Chunky/velvet-style yarn, color B (petals) | About 250g |
| 10mm crochet hook | |
| Yarn/tapestry needle | For seaming, shaping, and weaving in ends |
| Coordinating sewing thread | I like using a separate thread (rather than the fuzzy yarn itself) for seaming, since it lets me machine wash the cover without the stuffing — but using your matching yarn instead works perfectly well too, if you don’t need that option |
| Polyester stuffing | |
| Stitch markers | Or literally anything small you have on hand — scrap yarn, safety pins, even a spare earring works in a pinch |
| Scissors | |
| Lighter (optional) | Handy for lightly sealing the cut ends of synthetic velvet-style yarn so they don’t fray — always do this carefully, away from anything flammable, and let the yarn cool before handling |
Abbreviations (US Terms)
| Abbreviation | Meaning |
| MR | magic ring |
| ch | chain |
| sl st | slip stitch |
| sc | single crochet |
| inc | increase |
| st(s) | stitch(es) |
| rnd | round |
| BLO | back loop only |
Two Techniques Worth Knowing Before You Start
A seamless round join: instead of the usual slip stitch + chain 1 to close each round (which can leave a visible little step or seam), I like to finish every round by working a single crochet directly into the very first stitch of that round instead. To make this work, place a stitch marker in the first stitch of every single round, then when you reach the end, work your final stitch straight into that marked stitch. That stitch immediately becomes the first stitch of your next round too — so move your marker there and repeat the process each time. It takes a round or two to feel natural, but it gives a beautifully smooth, seamless finish with no visible jog.
Working with velvet-style yarn: this type of yarn is wonderfully soft and plush, but it can be a little grabby and prone to snagging on itself. Get in the habit of gently pulling your yarn tail through as you complete each stitch, rather than waiting until the end of a round — it saves you from fighting with a stuck, tangled tail later.
Step 1: The Flower Centers (Make 2 — One Per Panel)
Work each of these in your color A.
| Round | Instructions | Stitch Count |
| 1 | 7 sc in a magic ring | 7 |
| 2 | 7 inc around | 14 |
| 3 | (1 sc, inc) ×7 | 21 |
| 4 | (2 sc, inc) ×7 | 28 |
| 5 | (3 sc, inc) ×7 | 35 |
| 6 | (4 sc, inc) ×7 | 42 |
At the end of round 6, instead of your usual seamless join, slip stitch into the marked stitch and cut your yarn, leaving a short tail. If you’re using a synthetic velvet-style yarn, this is a good spot to very carefully seal that cut end with a lighter so it doesn’t fray. Chain 1 and fasten off.
Repeat this entire piece once more so you have two matching centers — these will become the middle of your front and back panels.
Step 2: Adding the Petal Section (Work Directly Onto Each Center)
Switch to color B and work this directly onto the outer edge of each finished center piece.
- Insert your hook into any stitch along the outer edge of your center piece, pull up a loop of your new color, chain 1, and tie the two yarn ends together securely so they won’t slip apart later.
- Work a single crochet into that same stitch — this is the first stitch of Round 7. Mark it.
| Round | Instructions | Stitch Count |
| 7 | (5 sc, inc) ×7 | 49 |
| 8 | (6 sc, inc) ×7 | 56 |
| 9–13 | Continue the same pattern, adding one more plain sc between each increase every round (7 sc + inc, then 8 sc + inc, and so on) | building up to 98 |
| 14 (final) | Work all the way around with no increases at all, ending at 98 sts total | 98 |
As you work that final round, place a stitch marker in every 14th stitch as you go, all the way around. This little bit of extra bookkeeping now is going to make lining up your two panels so much easier in the next step — you can absolutely skip it if you’re confident counting stitches, but I always find it worth the few extra seconds.
Once you reach the end of round 14, mark that final stitch, then slip stitch, cut your yarn (sealing the end if needed), chain 1, and fasten off. Repeat this entire section on your second center piece so you end up with two complete, matching flower panels.
Step 3: Joining the Panels
- Lay your two panels with wrong sides facing each other.
- Line up the stitch markers you placed every 14th stitch around each panel’s edge, matching them up one to one. If it’s easier, just combine each matching pair onto a single marker as you go — that way you don’t have to keep recounting stitches while you sew, and you won’t accidentally miss one.
- Using your yarn needle and thread (or yarn), seam the two panels together by working through the back loop only of each corresponding stitch, all the way around the edge — leaving one section open so you can stuff the pillow.
This seaming step takes the longest of anything in this whole project, so put on something good to watch and settle in. If your thread feels a little visible while you’re working, don’t worry — it disappears completely into the plush yarn the moment you pull it snug.
Step 4: Stuffing
- Stuff the outer edge first, working your way around, and leave the very center unstuffed for now — this genuinely helps the finished shape come out rounder and more even.
- Once the edges are filled, go back and stuff the center.
- Close up your remaining gap using the same back-loop seaming method.
- Give the whole pillow a gentle squish all over to help distribute the stuffing evenly.
Step 5: Shaping the Petals
This is my favorite part, and it’s honestly where all the magic happens — a completely round, plain pillow turns into a proper flower shape in just a few minutes.
- Thread your needle with the same thread you used to seam the panels together.
- Picture three lines running straight across the face of the pillow, evenly spaced, each one connecting two directly opposite points along the edge — these three lines are what will become your six petal creases.
- Starting at one edge point, insert your needle straight through to the exact opposite point on the far side, using your existing seam as a helpful reference line to keep things aligned.
- Pull the thread through, then pull it tight and tie it off securely — double or even triple knot it if you want extra security.
- Repeat this at the next point around the edge, and continue all the way around until you’ve formed six cinched points in total.
There’s a fair amount of eyeballing in this step, and that’s completely fine — a slightly uneven petal here or there still reads as charming rather than like a mistake once the whole flower comes together.
An optional extra touch: repeat this same cinching technique once more, but this time pulling your needle through points within the center section instead of the outer edge. This creates a small, gentle dimple in the middle of the flower that adds a bit more dimension and, in my opinion, makes the whole thing look even cuter — though it’s entirely optional and easy to skip if you’d rather keep things simple.
Step 6: Finishing Up
Weave in every remaining end, tucking them back into the pillow so they’re hidden inside the stuffing. This part takes a little patience, but it’s the last step before you’re completely done.