Crochet Pear Coaster Pattern – Easy Beginner-Friendly Fruit Coaster Tutorial
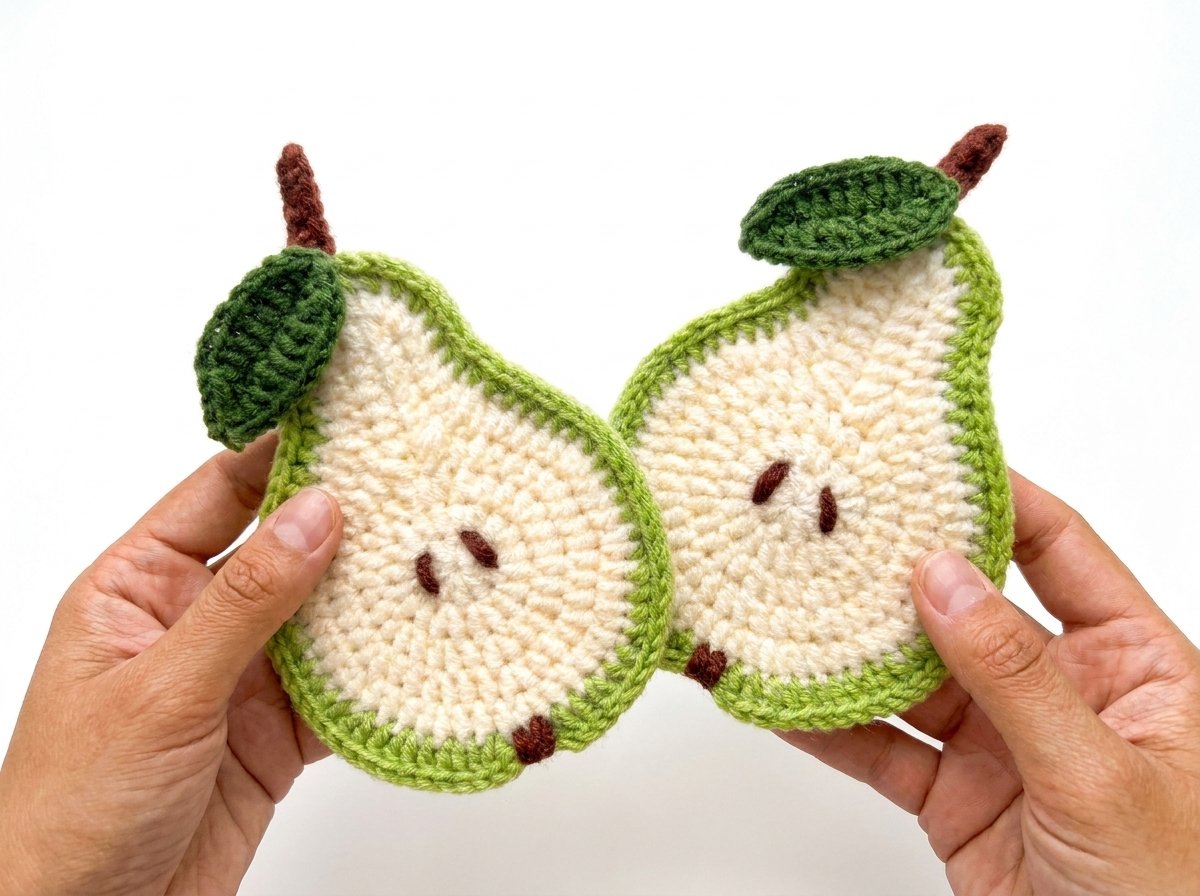
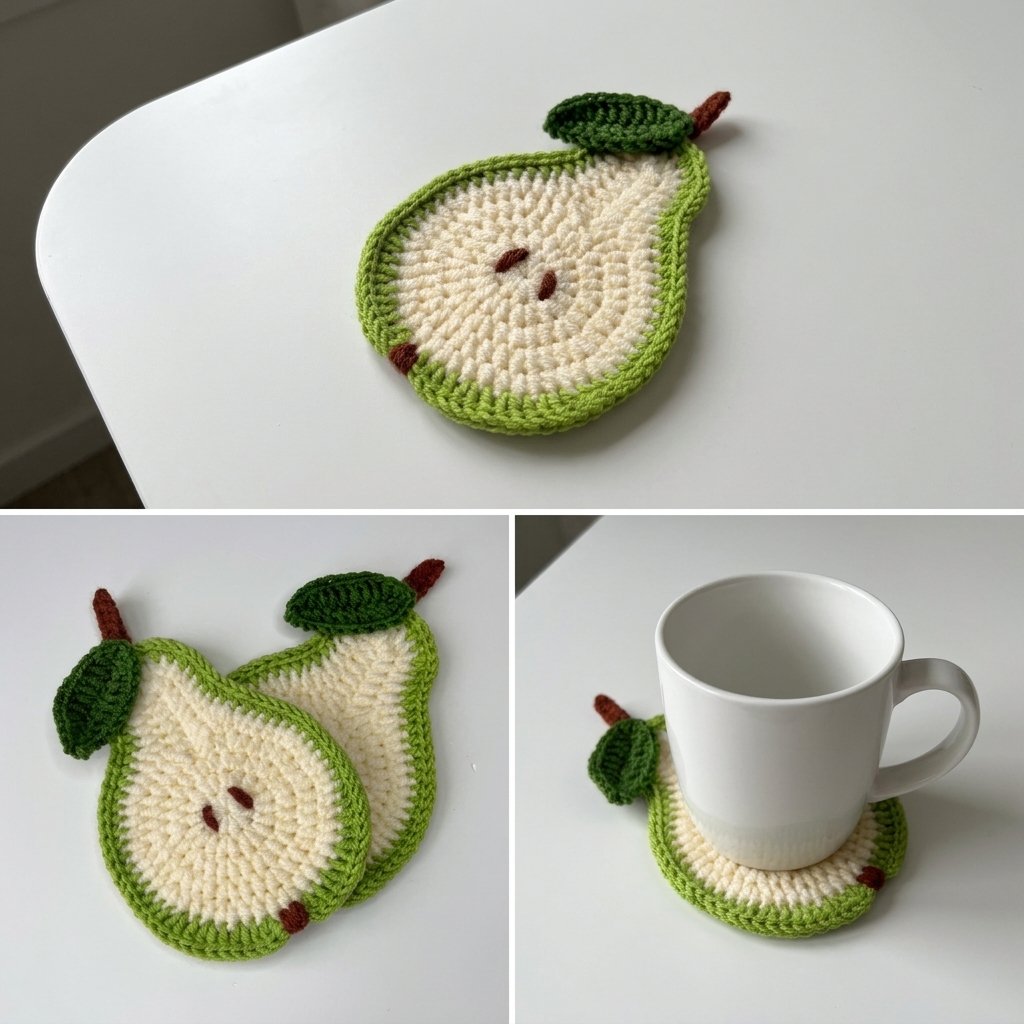
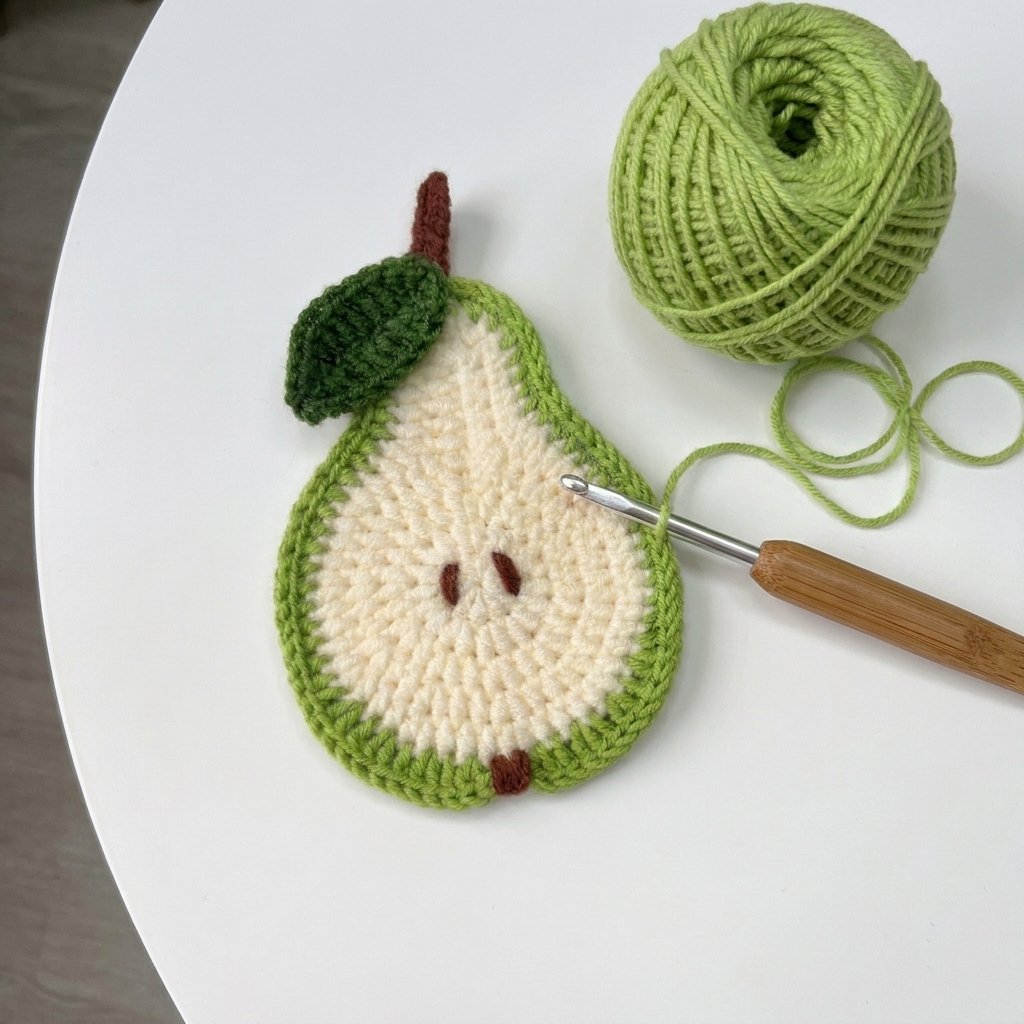
Sliced-pear coaster with a soft cream center, green skin, tiny brown seeds, and a little stem-and-leaf topper — finished with an invisible join technique throughout that keeps every round seamless, without the usual visible jog where rounds meet.
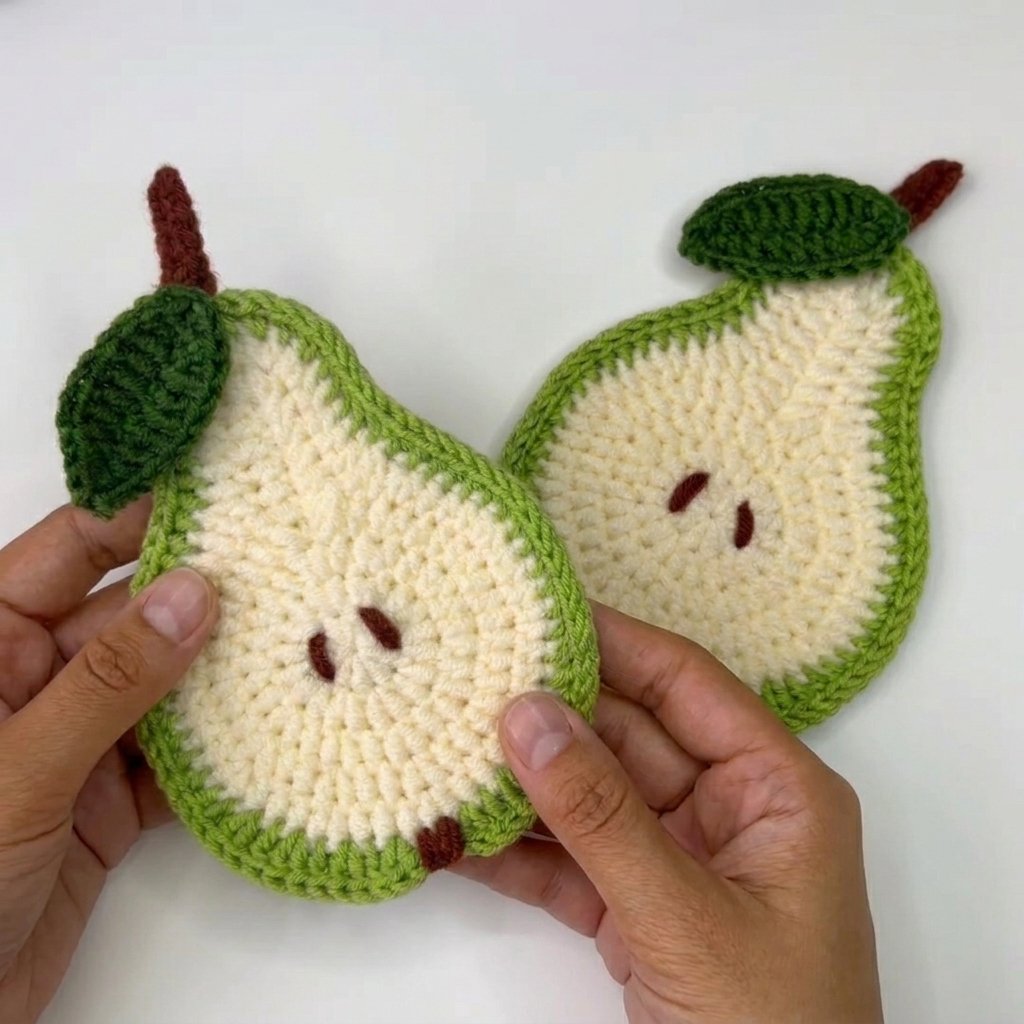
Quick glance
| Time | Skill | Finished size | Hook |
| 2–3 hrs | Beginner–Intermediate | Coaster-sized | 3.5mm |
Materials
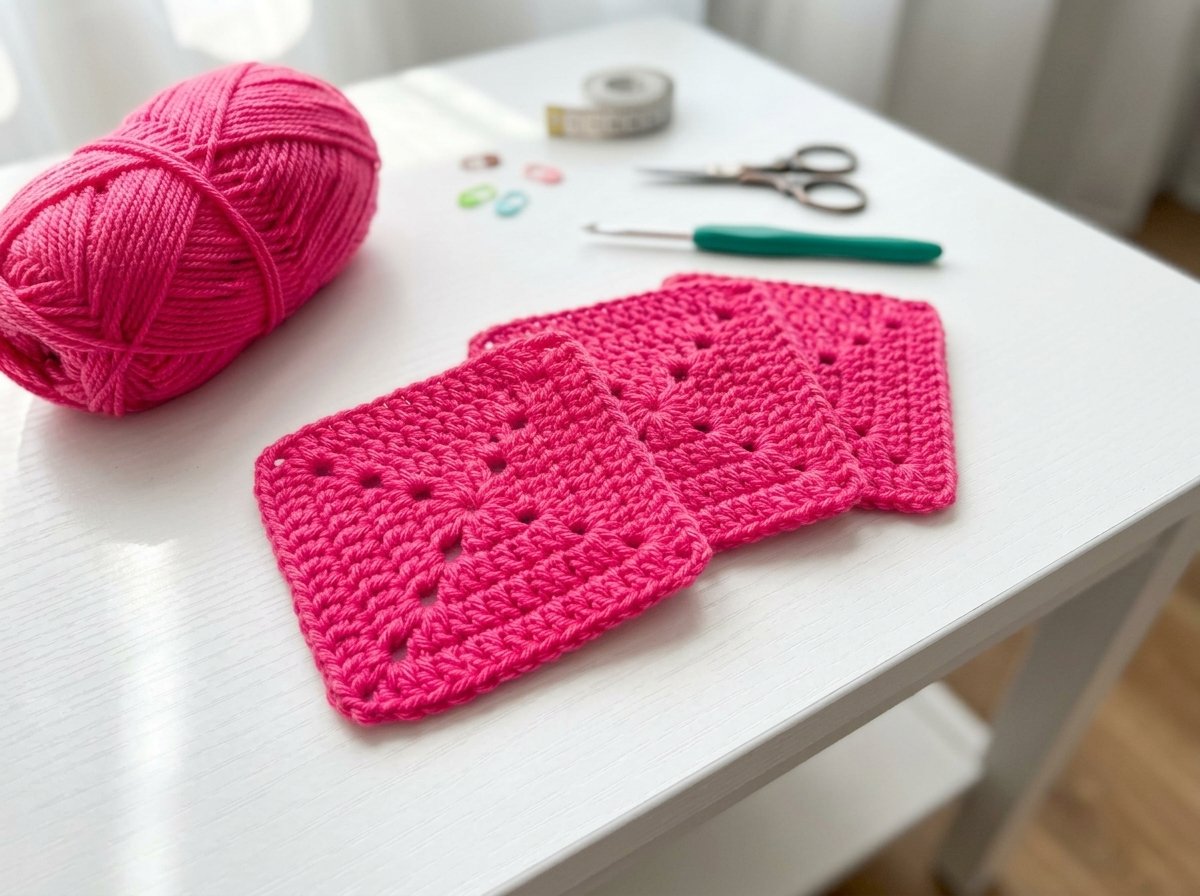
- Yarn (100g/250m), in 4 colors: cream (pear flesh), light green (skin), dark green (leaf), brown (seeds/stem)
- 3.5mm crochet hook
- Yarn needle
- Scissors
Terms & abbreviations
| Abbrev | Term | Notes |
| ch | chain | — |
| sc | single crochet | — |
| hdc | half double crochet | the primary stitch for the body |
| dc | double crochet | used for shaping corners and the pear’s bottom bump |
| inc | increase | 2 hdc (or dc) in same st, unless noted |
| dc2tog | double crochet 2 together | used to create soft rounded corners |
| sl st | slip stitch | used for the finishing round |
| MR | magic ring | — |
| st(s) | stitch(es) | — |
| rnd(s) | round(s) | — |
The invisible join (used at the end of every round)
This technique keeps your rounds seamless instead of leaving a visible step where each round ends and begins.
- Pull up a long loop and remove your hook.
- Insert your hook from back to front into the first stitch of the round (skipping any starting sc if one was used).
- Pick up the working loop and pull it through.
The small loop this creates counts as the last stitch of the round — remember to crochet into it when you start the next round, and skip the usual starting chain from here on; you’ll work directly into the first stitch instead.
Pear Body
Round 1: MR. Work 1 sc and 9 hdc into the ring. (10 sts) Invisible join.
Round 2: In the first stitch: 1 sc + 1 hdc. Work an hdc increase (2 hdc) in every remaining stitch. (20 sts) Invisible join.
Round 3: In the first stitch: 1 sc + 1 hdc. In the next stitch: 1 hdc. Then repeat around: *hdc increase, 1 hdc*. (30 sts) Invisible join.
Shaping the Pear (Round 4)
Chain 7, turn. Skip the first chain, starting in the 2nd chain from your hook: work 1 sc + 1 hdc into the same chain, then 1 sc into each of the next 4 chains.
First rounded corner: Work a dc2tog — start a dc into the last chain (leave unfinished), then work a second dc into the next stitch of the pear body (leave unfinished), then yarn over and pull through all 3 loops.
Continue around the curved part of the pear body: *2 hdc, then an increase* — repeat this 9 times total.
Work 1 hdc in the next stitch.
Second rounded corner: Repeat the same dc2tog technique.
Continue along the other side of your chain-7: 1 hdc in each of the next 4 chains, then an hdc increase in the last chain.
Invisible join. (51 sts)
Round 5 (continuing the pear shape)
In the first stitch: 1 sc + 1 hdc. Work 1 hdc in each of the next 4 stitches. Work a dc2tog (corner). Work 1 hdc in each of the next 2 stitches, then an increase in the next stitch.
Now repeat this pattern 8 times: *3 hdc (one in each of the next 3 stitches), then an increase*.
Work a dc2tog (corner). Work 1 hdc in each of the next 4 stitches. Work an hdc increase in each of the last 3 stitches.
Invisible join. (62 sts)
Switch to green yarn and make the invisible join in the new color to transition cleanly.
Round 6 (green skin + bottom shaping)
In the first stitch: 1 sc + 1 hdc. Work 1 hdc in each of the next 19 stitches.
Shape the bottom bump: *1 dc in the next stitch, then 2 dc (increase) in the following stitch* — repeat this 4 times total.
Work 1 slip stitch in each of the next 2 stitches.
*2 dc in the next stitch, then 1 dc in the following stitch* — repeat this 4 times total.
Work 1 hdc in each of the next 18 stitches.
To finish the round: *hdc increase, then 1 hdc* — repeat 3 times, then one more increase, then 1 hdc to close.
Invisible join. (74 sts)
Final Round
Work 1 slip stitch in each stitch around, for a neat finished edge. Make the final invisible join, fasten off, and cut the yarn. Weave in all ends. The pear body is now complete.
Stem
Attach brown yarn to the top of the pear. Chain 6. Skip the first chain and sc in each remaining chain across — working through the back bumps of the chain gives a neater look, but working normally is fine too. (5 sc)
When you reach the pear, slip stitch into the next stitch on the body to attach the stem. Fasten off.
Leaf
Leave a long yarn tail for sewing later. Slip knot, chain 12.
Turn your work. Skip the first chain, starting in the 2nd chain from your hook: 1 slip stitch, 1 sc, 1 hdc, then 6 dc, then 1 hdc. At the last chain: 1 sc, chain 1, 1 sc into the same chain (this forms the leaf’s pointed tip).
Continue along the other side of the chain: 1 hdc, 6 dc, 1 hdc, 1 sc in the next stitch, and finish with a slip stitch. Fasten off.
Use the long tail to sew the leaf onto the top of the pear, next to the stem.
Seeds & Finishing Details
Using brown yarn, embroider two small seed shapes in the center of the cream area (small satin-stitch ovals). Add a few small brown stitches at the pointed bottom of the pear for the blossom-end detail.
Common mistakes
| Mistake | Fix |
| Visible bump where rounds join | Double check you’re using the invisible join technique consistently, not a standard slip-stitch join |
| Pear shape looks lopsided | The two dc2tog “corners” in Rounds 4–6 need to land in matching positions on both sides — count carefully before working each one |
| Stitch count drifts during shaping rounds | These rounds are genuinely complex — pause and count after each bracketed repeat section rather than only at the very end |
| Leaf doesn’t sit flat | Make sure both sides of the leaf (worked along each side of the foundation chain) have matching stitch sequences |
Finishing
Weave in all remaining ends throughout. This pattern is part of a larger fruit coaster collection if you’d like to make a matching set.