Crochet Angel Wings Hair Clip Pattern – Easy DIY Crochet Hair Accessory
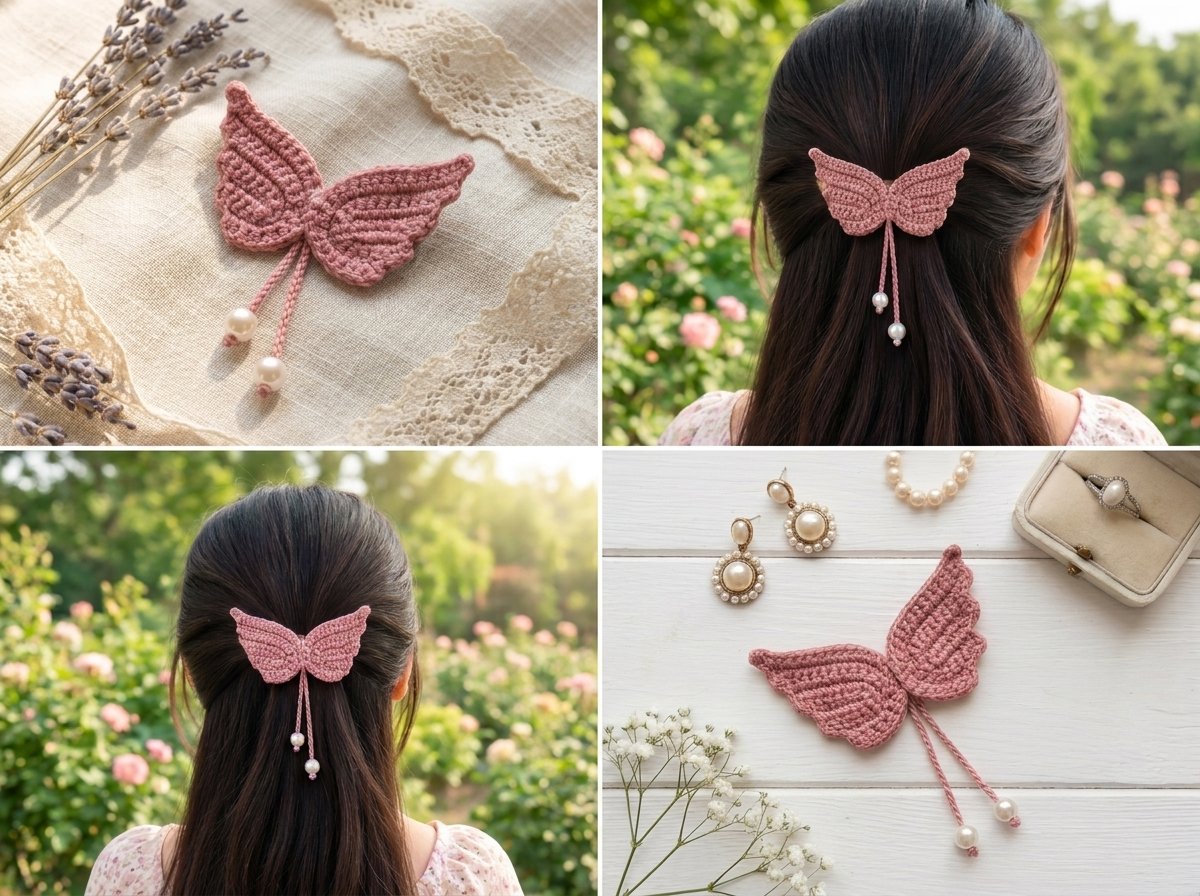
This is one of those small projects I keep coming back to, because once you’ve made a pair of these little wings you’ll start spotting places to use them everywhere. As a hair clip, obviously — but they’re just as sweet hanging on a Christmas tree, strung up as part of a garland, stitched onto a child’s dress, or turned into a keychain. They work up in an evening, use barely any yarn, and the shape looks far more intricate than the stitches actually are (it’s single crochet the whole way through).
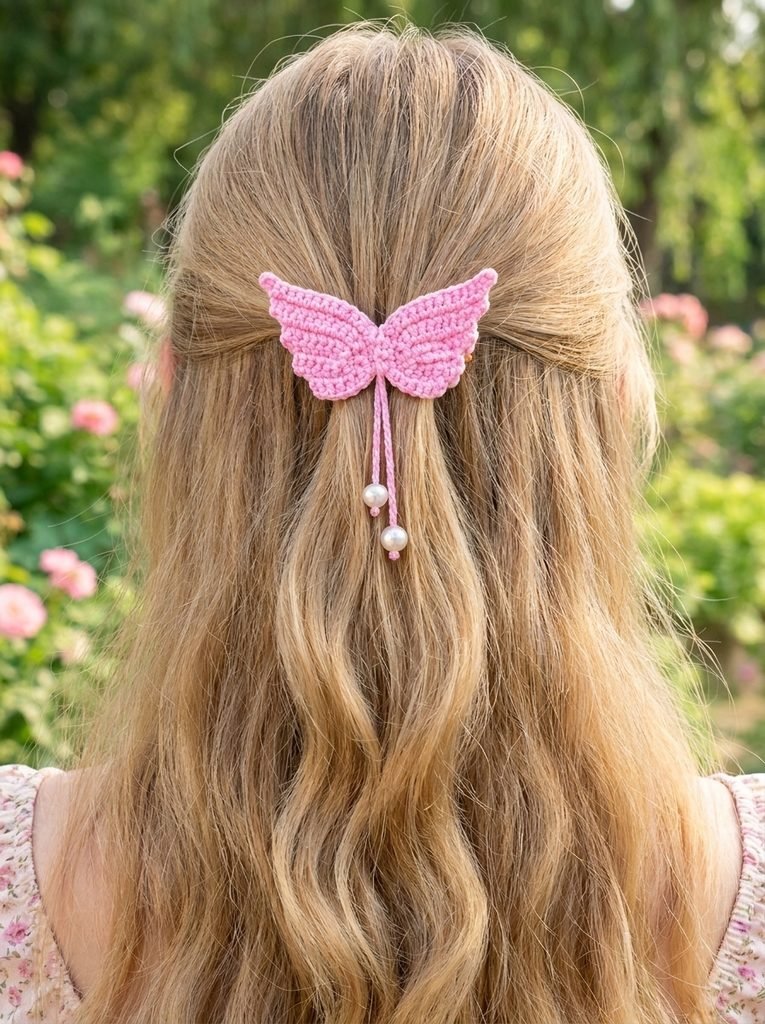
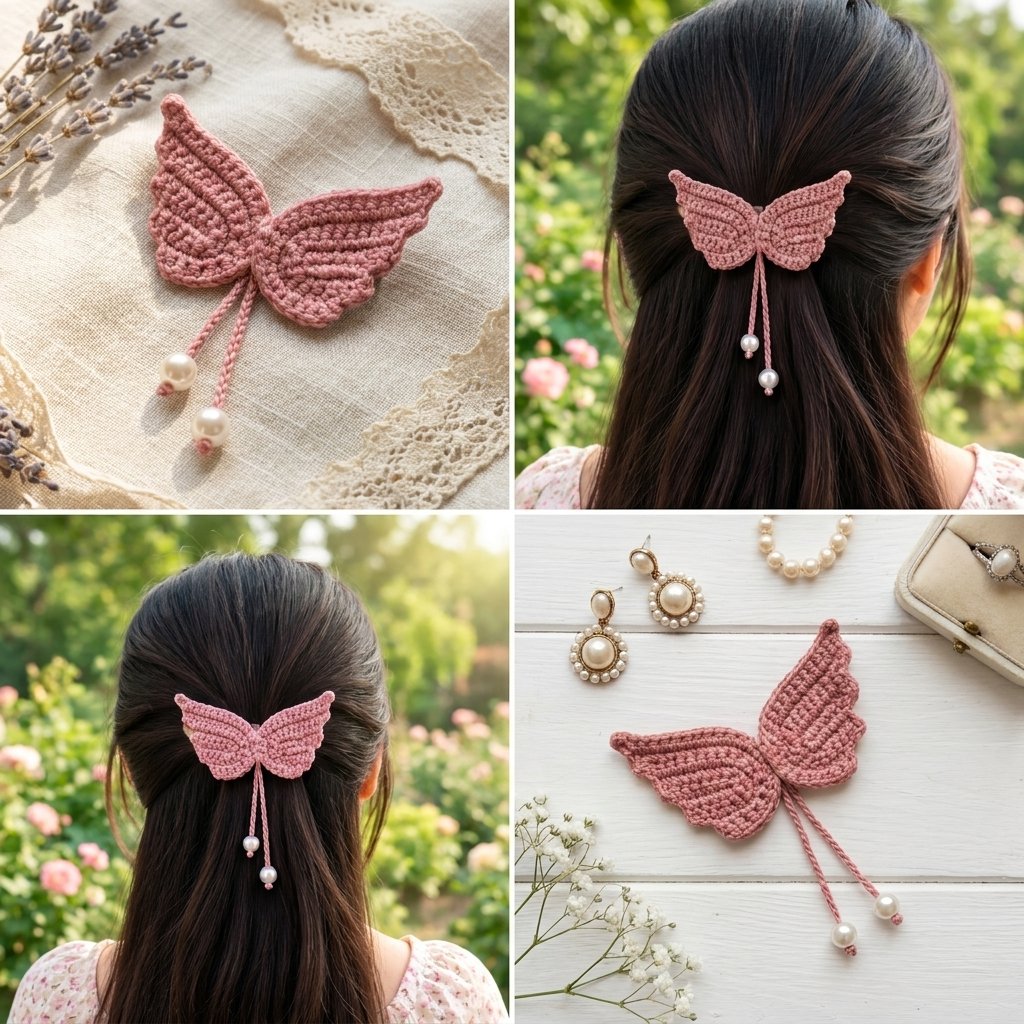
I finished mine with a pair of pearl-tipped cords hanging from the center, which gives the whole thing a soft, delicate movement when it’s worn.
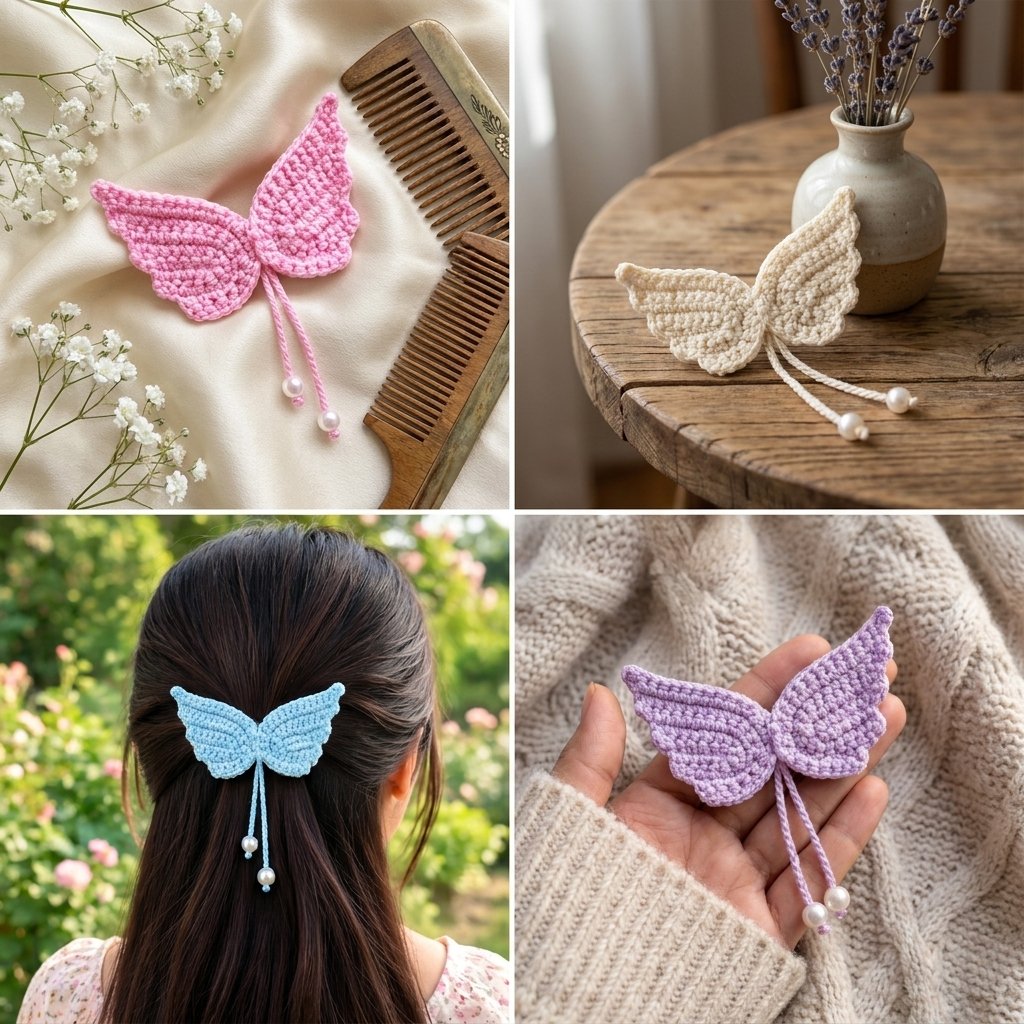
Materials
| Item | Notes |
| 4-ply yarn | A soft dusty pink is lovely here, but any color works — white or cream reads most classically “angel” |
| 2.0mm crochet hook | |
| Tapestry needle | |
| 2 small pearl beads | For the hanging cord tails |
| Alligator clip (or a tic-tac/snap clip) | |
| Craft glue | For joining the two wings and attaching the clip |
| Scissors |
Abbreviations (US Terms)
| Abbreviation | Meaning |
| ch | chain |
| sl st | slip stitch |
| sc | single crochet |
| inc | increase (2 sc into the same stitch) |
| st(s) / ch(s) | stitch(es) / chain(s) |
How This Comes Together
Each wing is worked flat, back and forth, building outward from a starting chain. The layered, feathered look comes from a clever bit of construction: instead of turning with a single chain each time, some rows begin with a longer chain that becomes its own little extension, so each row juts out slightly past the last. That’s what creates those overlapping feather tiers along the wing’s edge.
You’ll make two wings, glue them together at an angle, and finish with the beaded cords and the clip.
The Wing (Make 2)
Row 1 — the foundation:
- Make a slip knot and chain 8.
- Working into the back bumps of your chain (the raised ridge along the back), skip the first chain and work 6 sc across.
- Into the very last chain, work 5 sc all into that same stitch — this turns the corner and starts rounding the wing tip.
- Continue around to the other side of the foundation chain and work 1 sc into each of the next 4 chains, leaving the final 2 chains unworked.
- Chain 1 and turn. (If you have a long starting tail, you can crochet over it as you go here and trim it away.)
Row 2:
| Section | Instructions |
| Start | 1 sc into each of the first 5 chains |
| Middle | Work an increase (2 sc) into each of the next 3 chains |
| End | 1 sc into each of the next 7 chains |
Row 3 — the first feather tier:
- Chain 3, then turn.
- Working into the back loops of those 3 chains, skip the first loop and work 1 sc into the second loop, then 1 sc into the next loop, then 1 sc into the space where the chain meets the previous row.
- From there, continue working 1 sc into each stitch across until you’ve completed 18 sc total for the row, leaving the last 2 chains unworked.
- Chain 1 and turn.
Row 4:
| Section | Instructions |
| Start | 1 sc into each of the first 4 chains |
| Middle | Work an increase (2 sc) into each of the next 3 chains |
| End | 1 sc into each of the next 11 chains |
Row 5 — the final feather tier:
- Chain 3, then turn.
- Skip the first loop, then work 1 sc into the second loop, 1 sc into the next loop, and 1 sc into the space where the chain meets the row below.
- Continue with 1 sc into each stitch across until you’ve completed 14 sc total.
- Slip stitch into the next chain, then cut your yarn and pull the loop through.
Finishing the wing: bring your yarn tail through to the front at the next chain, then back through to the wrong side at the same point, and secure it with your needle. Trim the excess.
Repeat everything above to make your second wing.
Assembly
- Join the wings: apply a small amount of glue where the two wings’ bases meet, and press them together at a slight angle so they mirror each other and fan outward. Let it dry fully.
- Make the beaded cords: cut a length of yarn about 10 inches long, thread a pearl bead onto it, and tie a knot to hold the bead in place at the end. Repeat for a second cord, making one slightly longer than the other if you’d like that staggered look.
- Attach the cords: position the cords at the back of the joined wings and stitch them securely in place with your needle, tying two or three knots to make sure they hold. Trim any extra yarn.
- Add the clip: glue an alligator clip (or a tic-tac clip, if you prefer) to the back of the wings, centered over the join. Let it set completely before wearing.
And that’s the whole thing — a tiny project with a surprisingly big range. I’ve made these in white for a Christmas tree, in soft pastels for little hair clips, and once in gold thread as a gift topper. Once you’ve got the rhythm of those chain-and-turn feather tiers, you’ll be able to whip one up almost without thinking.