Oversized Chunky Crochet Hoodie Pattern – Easy Cozy Crochet Sweater
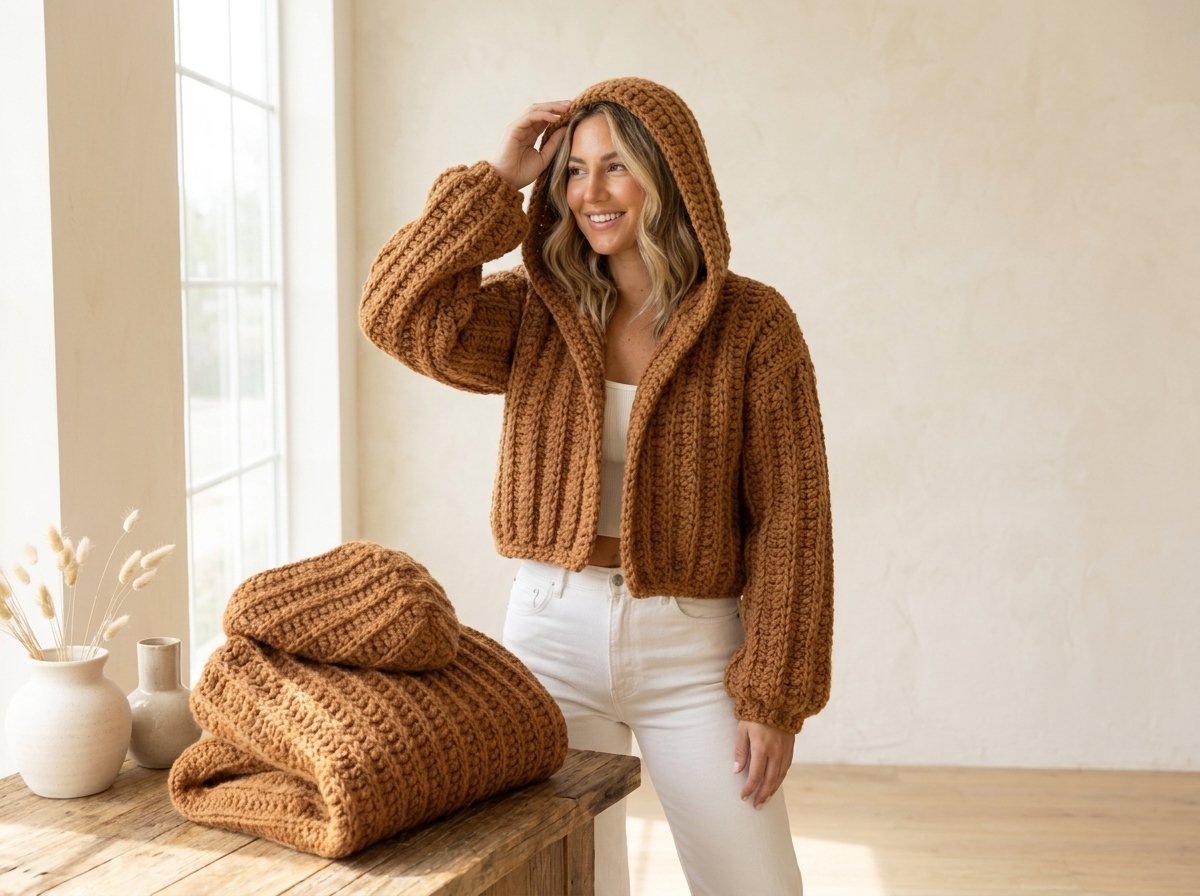
I have a real soft spot for projects that feel like a hug the moment you put them on, and this hoodie might be my favorite one yet. It’s dramatically oversized, the hood is deep enough to disappear into, and because it’s worked in a super bulky yarn, it grows so fast that you can genuinely watch a sweater take shape in an evening or two. There’s something so satisfying about that — chunky yarn just feels like instant gratification for a crochet habit.
I designed this as an open, cardigan-style hoodie built from simple rectangles: two sleeves, two front panels (each one growing its own half of the hood as you go, so there’s no separate hood to attach later), and one plain back panel. Everything is worked in double crochet through the back loop only, which gives the whole thing that ribbed, almost-knit texture I’m obsessed with — it reads as a much more polished stitch than a straightforward double crochet fabric, but it’s honestly no harder to work.
Let’s get into it.
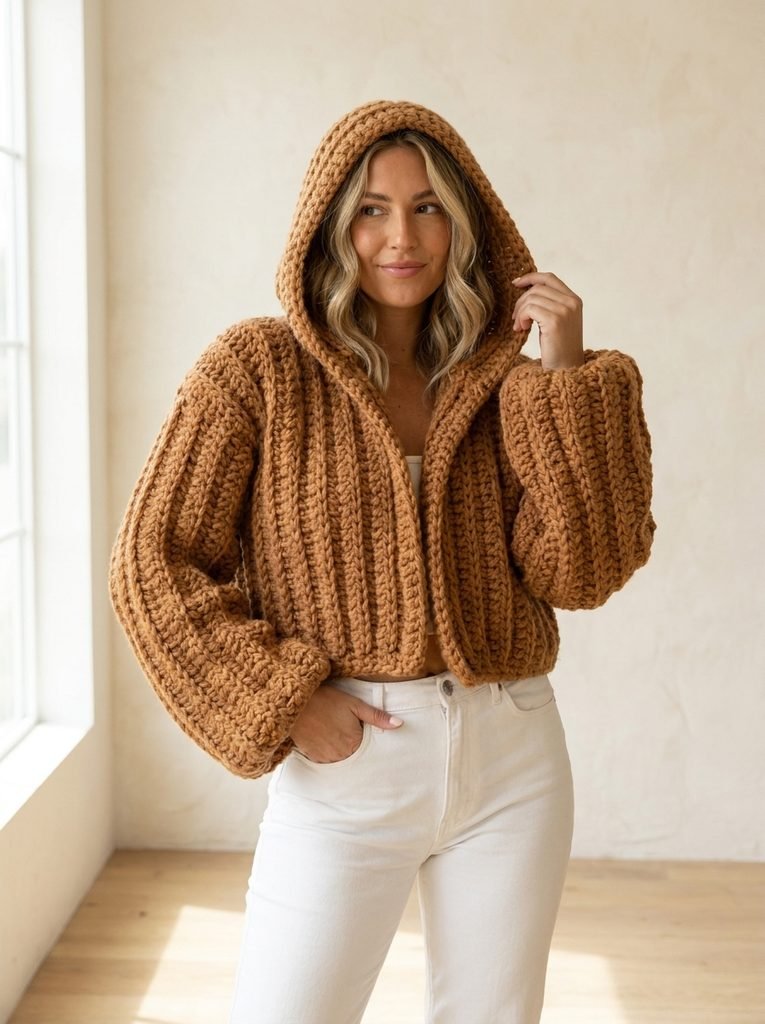
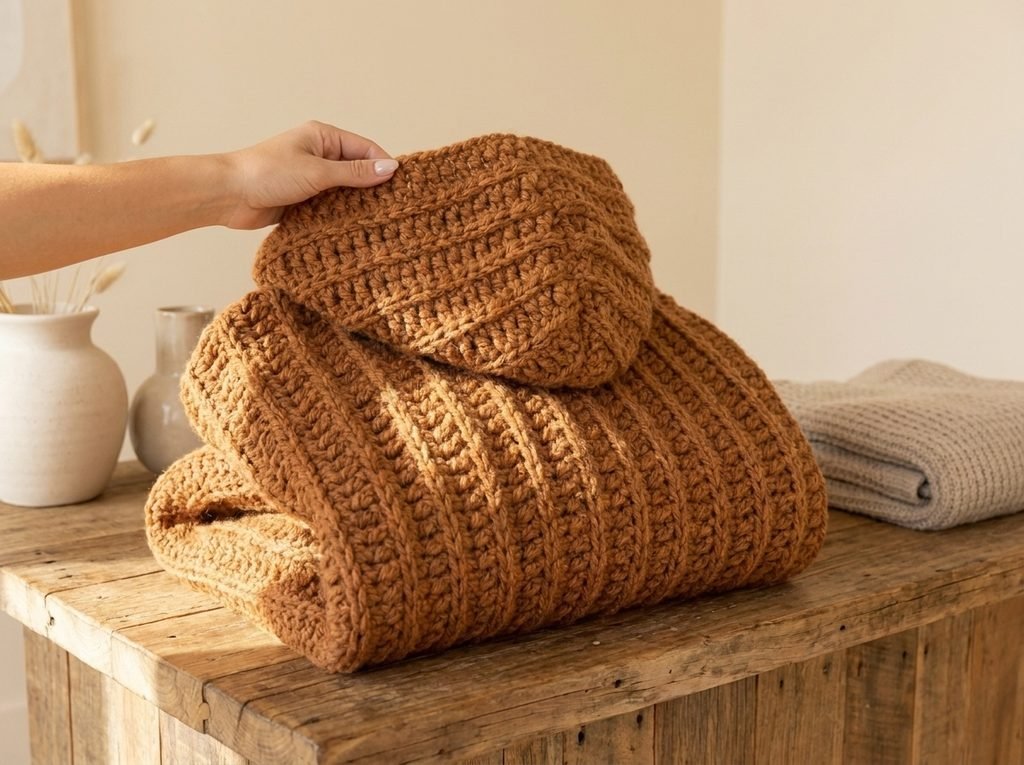
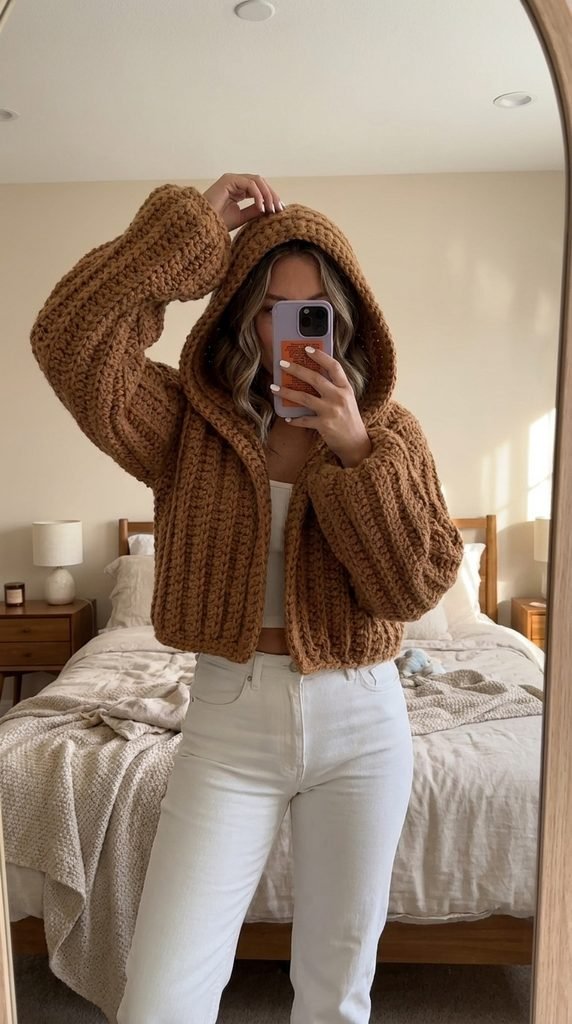

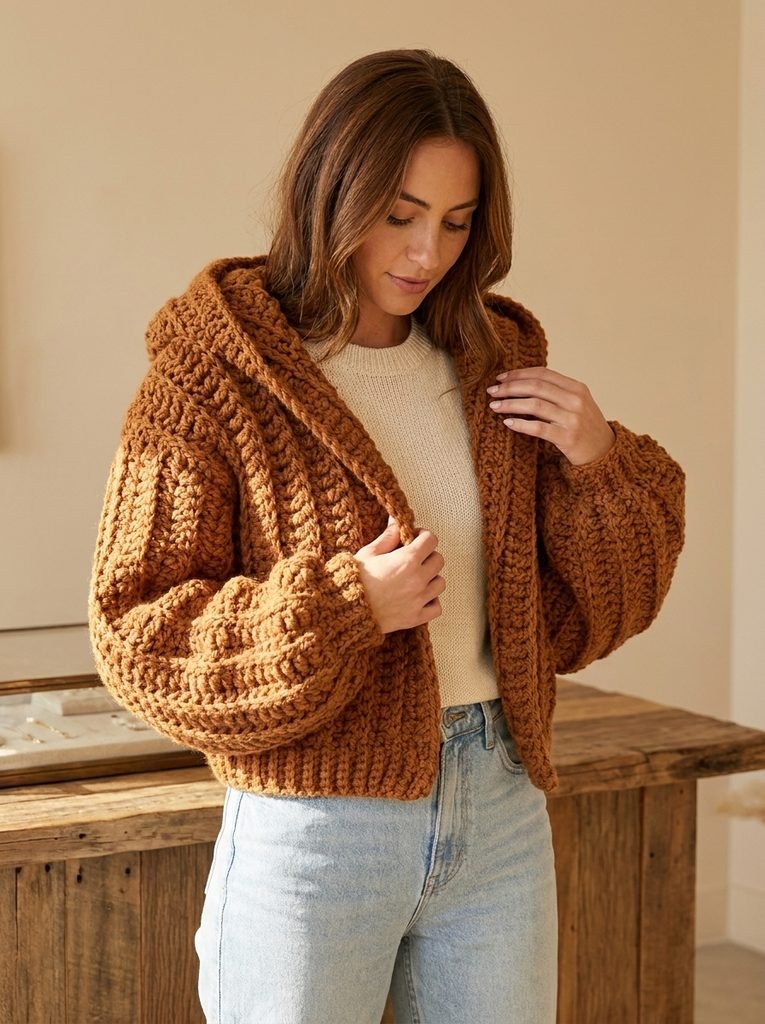
Finished Size & Gauge Notes
| Detail | Notes |
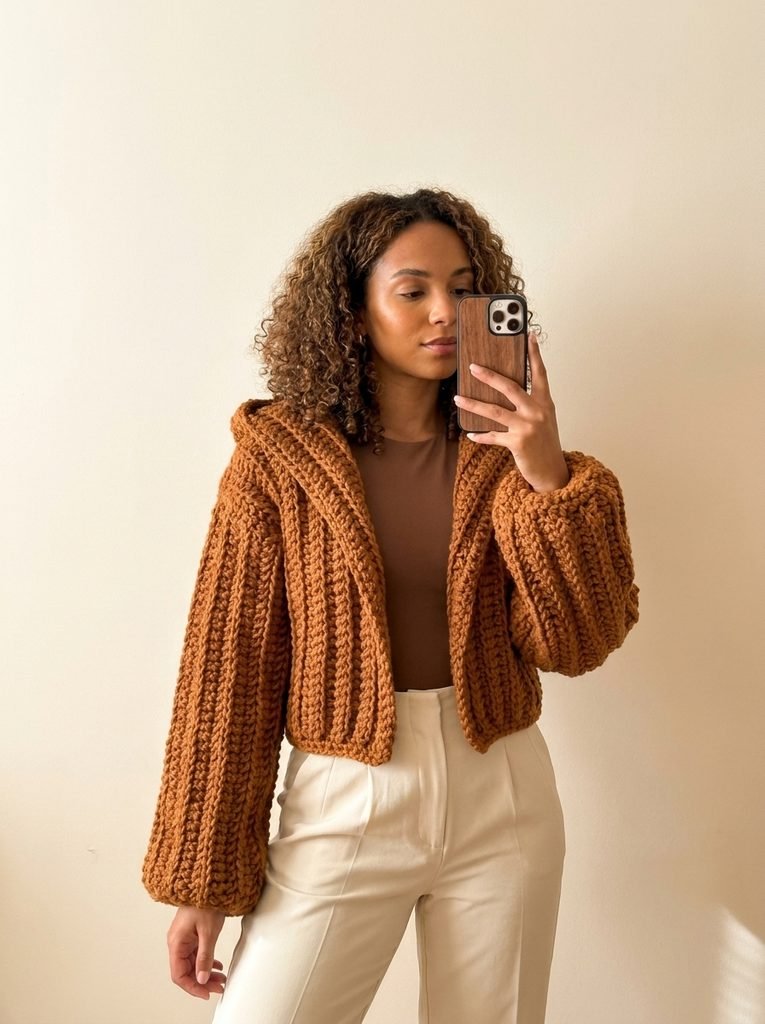
| Size shown | Small — very oversized and cropped, roughly midriff/crop-top length |
| Adjusting the fit | Every measurement in this pattern comes from a starting chain, so you can lengthen or shorten almost anything by adjusting that chain: a longer sleeve chain gives you a longer sleeve, a longer front-panel chain gives you a longer body, and so on |
| Fabric | Worked entirely in dc through the back loop only (BLO), which creates a ribbed, faux-knit texture rather than a flat crochet fabric |
| Style | Open-front cardigan/hoodie — no closure is built in, so it layers open, though it’s easy to add a couple of buttons or a tie at the front if you’d like it to close |
Materials
| Item | Notes |
| Super bulky (weight 6) yarn | I used roughly 16–18 balls for a size small, at about 65 yards per ball — buy a couple extra if you’re between sizes or want a longer body or sleeves |
| 8mm crochet hook | This is the hook that matches a super bulky yarn well; always swatch first since tension varies a lot from one crocheter to the next |
| Yarn/tapestry needle | For weaving in ends and seaming all the pieces together |
| Stitch markers (optional) | Handy for keeping track of your hood increase/decrease rows |
Abbreviations (US Terms)
| Abbreviation | Meaning |
| ch | chain |
| sl st | slip stitch |
| sc | single crochet |
| dc | double crochet |
| dc2tog | decrease — 2 double crochets worked together as 1 |
| BLO | back loop only |
| inc | increase |
| st(s) | stitch(es) |
The Pieces You’ll Make
- Two sleeves — worked sideways, seamed into tubes, then set in later
- Two front panels — each one includes its own half of the hood, worked as a continuous extension so there’s no separate hood to attach
- One back panel — a plain rectangle, no shaping
- Hood shaping — a short decrease section added to each hood half so the top of the hood tapers into a rounded point when the two sides are seamed together
- Cuffs and hem edging — a curling ribbed trim that cinches the wrists and gently rolls the bottom hem inward
Step 1: The Sleeves (Make Two)
The sleeves are worked sideways: your starting chain becomes the length of the sleeve, and your rows build up the width, which then gets seamed into a tube.
| Row | Instructions |
| Foundation | Chain 43 (this determines your sleeve length — go longer for a longer sleeve) |
| Row 1 | Skip the first chain, then 1 dc in every chain across |
| Rows 2–15 | Ch 2 (counts as first dc), turn, 1 dc in the back loop of every stitch across |
Fasten off. The more rows you work here, the baggier and more dramatic your finished sleeve will be — I did 15 rows for that deliberately oversized look, but feel free to add a few more if you want an even roomier fit. Repeat this whole thing for your second sleeve, then set both aside — they get seamed in once the body is finished.
Step 2: The Front Panels with Built-In Hood (Make Two)
This is where the shape of the whole hoodie really starts to come together. Each front panel grows straight up into its own hood extension, so by the time you’re done, half your hood is already attached with zero seaming required.
Part A — the front panel itself:
| Row | Instructions |
| Foundation | Chain 32 (this runs from your shoulder down to your hem — lengthen it if you want more than a crop/midriff length) |
| Row 1 | Ch 2, skip the first chain, 1 dc in every chain across |
| Rows 2–4 | Ch 2, turn, 1 dc in the back loop of every stitch across |
Part B — growing the hood straight off the top edge:
At the end of Row 4, instead of turning to start another plain row, chain off a fresh length — this chain becomes the depth of your hood, so make it as long as you’d like your hood to sit. I used 36 chains for a nice slouchy, oversized hood.
| Row | Instructions |
| Hood Row 1 | Skip the first chain, then 1 dc in every chain across the new hood extension |
| Hood Rows 2+ | Ch 2, turn, 1 dc in the back loop of every stitch — every time you reach the top/back edge of the hood (not the front-panel edge), work 2 dc into that last stitch as an increase |
| Total hood rows | 8 rows, increasing at the top edge on every pass |
This increase is what gives the hood its rounded volume instead of coming out as a flat, narrow strip. Fasten off, then repeat both parts exactly the same way for your second front panel — you’ll end up with two mirror-image pieces, each with its own hood half attached.
Step 3: The Back Panel
This piece stays completely plain — no hood, no shaping, just a straightforward rectangle.
| Row | Instructions |
| Foundation | Chain 34 |
| Rows 1–24 | Ch 2, turn, 1 dc in the back loop of every stitch across |
Fasten off once you’ve completed all 24 rows.
Step 4: Shaping the Top of the Hood
Each hood half needs one more short section worked along its top edge before the two halves get seamed together — this is what tapers the hood into a nice rounded point at the back, instead of leaving it square.
Reattach your yarn right where the hood meets the shoulder edge of the front panel, and work along the top (back) edge of the hood only, leaving the front opening edge of the hood completely straight.
| Row | What Happens on the Top (Shaped) Edge | What Happens on the Bottom (Straight) Edge |
| 1 | Work across as normal | Work across as normal |
| 2–7 | Skip the last stitch of the row (this creates the decrease/angle) | No shaping — keep this edge square |
Every row along that top edge, you’ll skip working into the very last stitch, letting two stitches from the row below effectively become one — that gentle, repeated decrease is what angles this edge into a slope. I worked 7 rows total for my size, but you can add or subtract a row or two depending on how deep you’d like that tapered section to be. Repeat the exact same shaping on the second hood half.
Step 5: Putting It All Together
- Seam the two hood halves together first, working from the bottom of that tapered section up to the top point, so the hood forms one continuous, rounded shape before you attach it to anything else.
- Line up your front and back panels, right sides together (seaming inside-out gives the cleanest finish on the outside), with the shoulder edges — where each hood juts out — meeting the top corners of the back panel.
- Seam the shoulders, catching the hood into that same seam as you go so it becomes one continuous connection between the hood, the shoulder, and the back panel.
- Seam your sleeves into tubes first, working from the wrist edge up to the top.
- Set the sleeves in, matching the tube up to the armhole opening and working your way around, then continue that seam down the side to join the front and back panels together into one finished body.
Take your time with this part — a rectangle-based construction like this one comes together beautifully once everything lines up, but it does help to double check that your panels are facing the right direction before you commit to a seam.
Step 6: The Cuffs
I wanted my cuffs to curl inward and hug the wrist snugly rather than hang loose over my hands, so I worked a short decreasing trim on each sleeve.
| Round | Instructions |
| 1 | Attach yarn at any stitch around the wrist opening, work 1 sc in every stitch around, join with a sl st |
| 2 | Ch 1, then repeat around: 1 sc in next 3 sts, dc2tog |
| 3 | Ch 1, then repeat around: dc2tog, 1 sc in next 3 sts (this staggers the decreases from the row below) |
| 4–5 | Ch 1, then repeat around: 1 sc in next 2 sts, dc2tog (increasing how often you decrease, for two rounds) |
Fasten off and weave in your ends. Repeat the same cuff on the second sleeve. The more decrease rounds you add, the tighter and more curled the cuff will pull in — so feel free to keep going a round or two longer if you want an even snugger wrist.
Step 7: The Hem Edging
The bottom hem gets a similar light curl so the whole hoodie feels a little more finished and cozy rather than left totally raw.
- Reattach your yarn at one bottom corner and work one full round of sc evenly around the entire hem.
- Join with a sl st, chain 1, then work one more round using the same staggered decrease pattern from the cuffs to gently roll the hem inward.
You can stop after one decrease round for a subtle curl, or repeat it once more if you’d like the hem to pull in a bit tighter.
Step 8: Finishing Up
Weave in every loose end (there will be plenty, between all those panels), and give the whole thing a good shake out. From here it’s entirely up to you — I love mine left open and oversized, but a couple of buttons down the front or a simple tie closure at the neckline would both look lovely if you’d rather it close up.