Easy Crochet Leaf Earrings Pattern – Quick DIY Crochet Jewelry for Beginners
A ruffled, layered leaf-shaped earring built from one simple back-loop-only repeat — the texture comes entirely from stacking the same row over and over, no shaping math required. Genuinely quick once you get the rhythm, and easy to resize just by changing your yarn and hook.
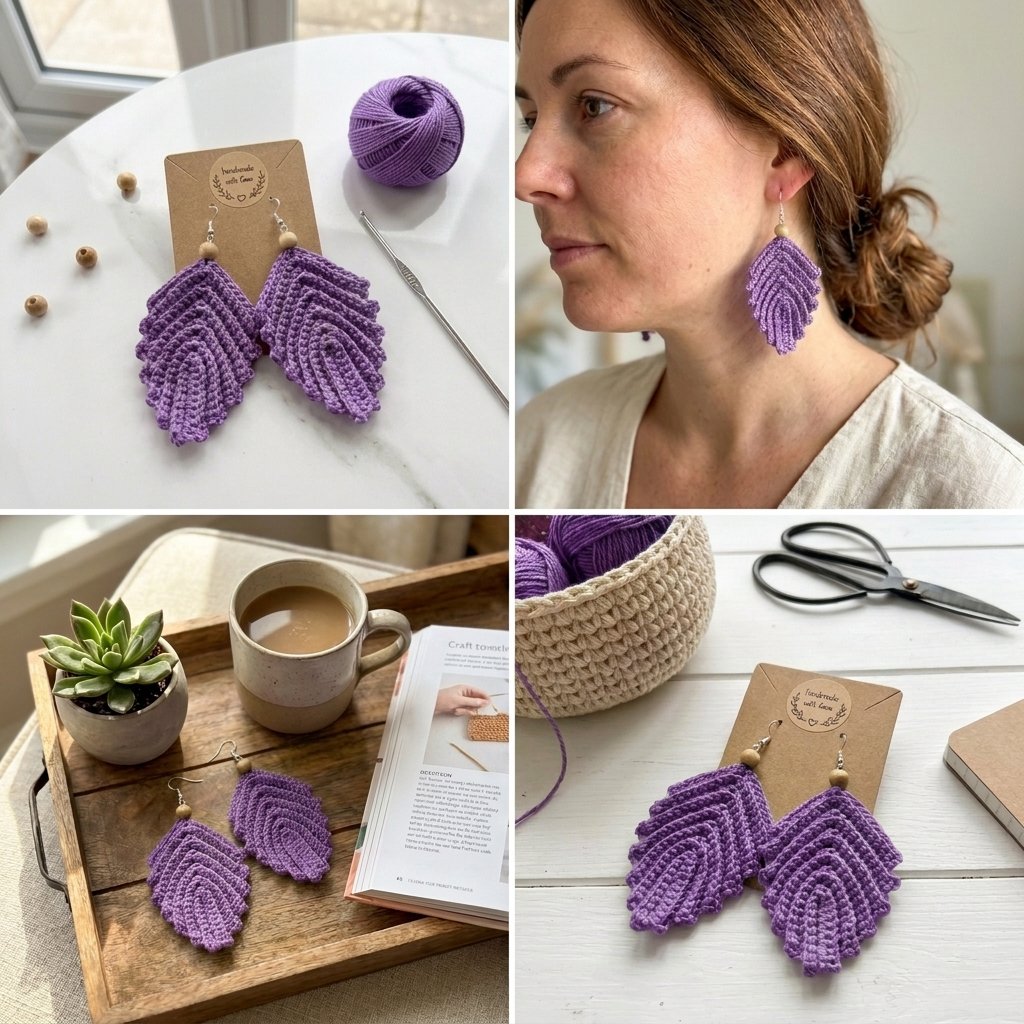
Quick glance
| Time | Skill | Finished size | Hook |
| 30–45 min per pair | Beginner | Adjustable by yarn/hook size | 1.5mm |
Materials
- Size 2 (fine/sport weight) yarn — a smaller yarn and hook makes a daintier earring; the tutorial uses a larger size for visibility
- 1.5mm crochet hook
- Yarn needle (a smaller one is easier to work with than a large one)
- 2 earring hooks
- 2 wooden beads
- Scissors
Terms & abbreviations
| Abbrev | Term | Notes |
| ch | chain | — |
| sc | single crochet | the only stitch used throughout |
| BLO | back loop only | used for every row after the base — this is what creates the ridged leaf texture |
| st(s) | stitch(es) | — |
| row(s) | row(s) | worked flat, turning after each one |
Pattern (make 2 for a pair)
Foundation: Chain 12.
Base row: Skip the first chain. Sc in the 2nd chain from your hook and in each of the next 9 chains. (10 sc) In the last chain, work 3 sc into the same stitch — this forms the pointed tip. Continue back up the other side of the foundation chain, crocheting over your starting yarn tail as you go (this encloses the tail for a cleaner, slightly reinforced base). Work 9 sc down this side. Trim the enclosed tail close to the work once you reach the end.
Row 2 onward (all worked in back loop only): Chain 1, turn. Sc across the first side (10 sc), 3 sc into the tip stitch, then sc down the other side (9 sc). This one repeat forms a single “corner” ridge on each side.
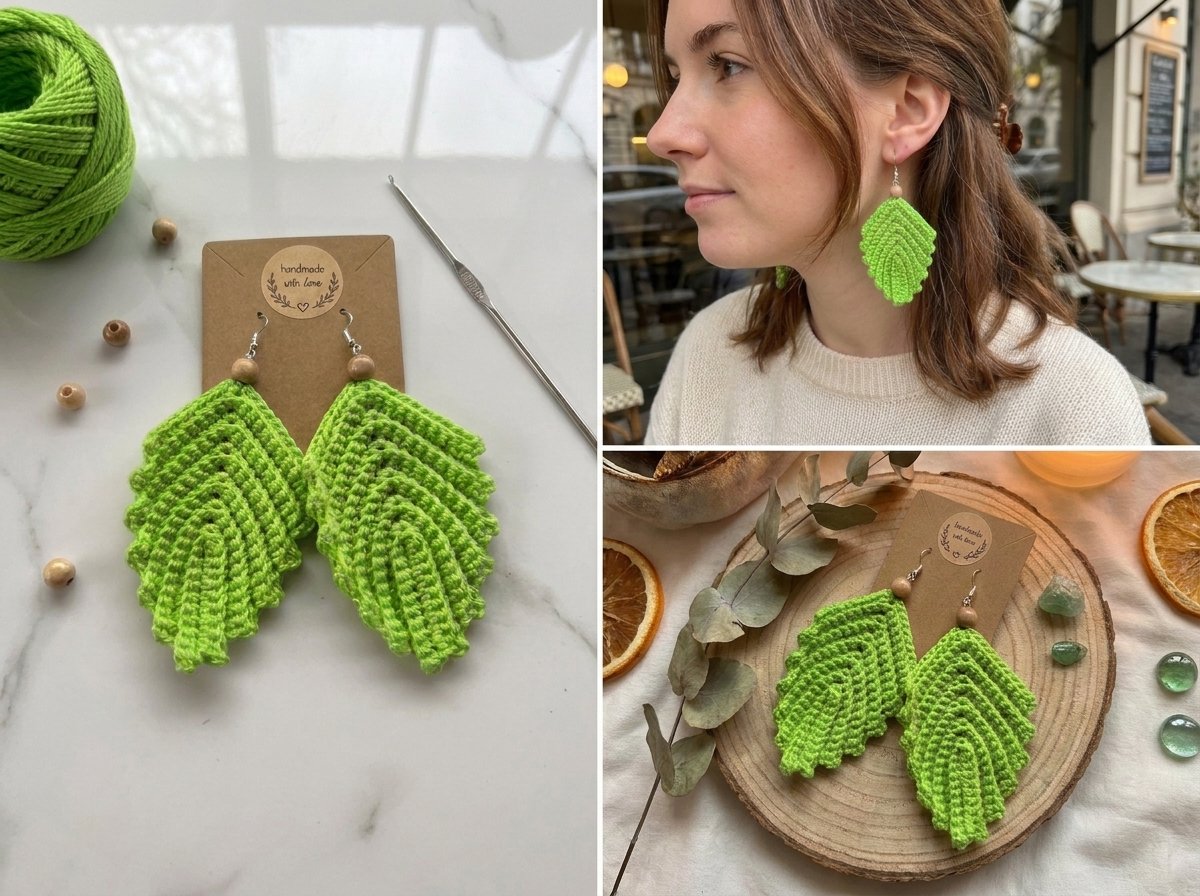
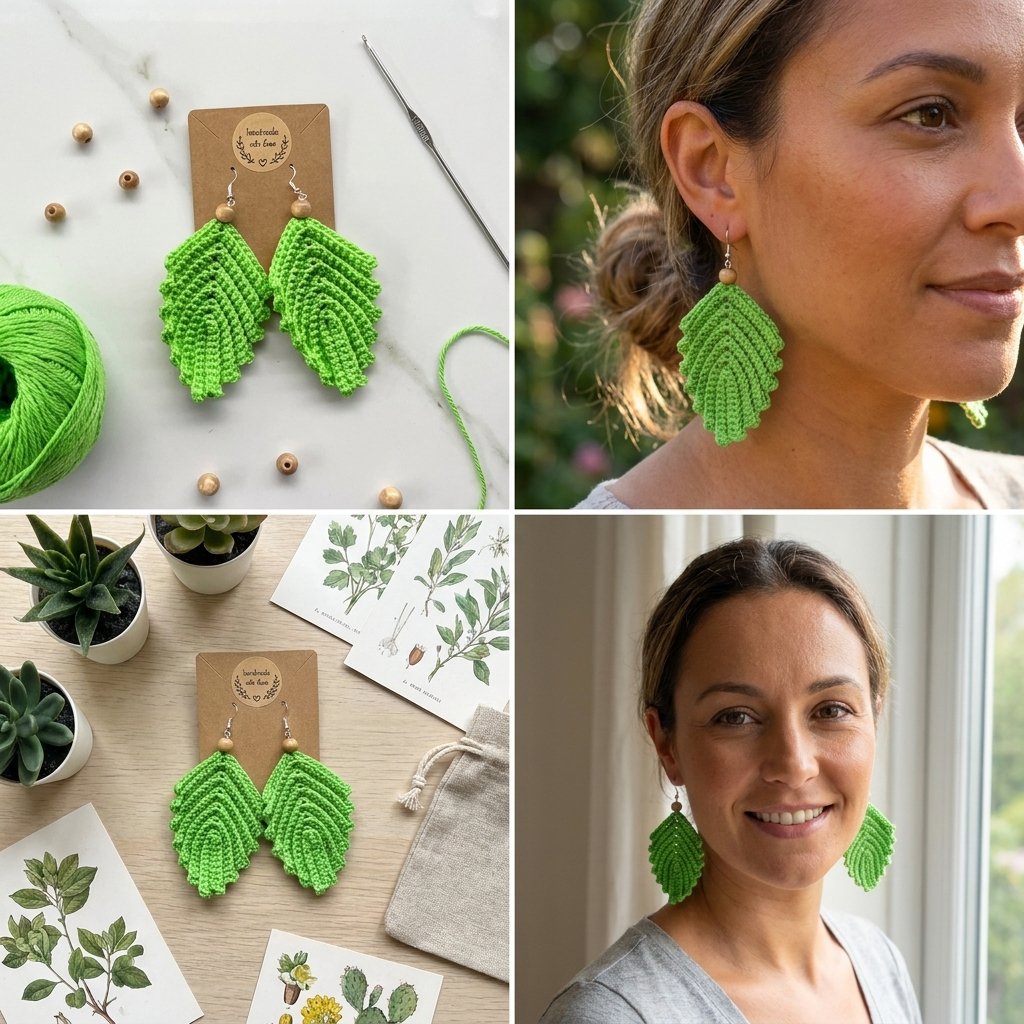
Repeat this same row structure until you’ve built up 7 corners on each side — count the ridge lines along both edges as you go to keep them even. This stacking is what creates the layered, feathered leaf look shown in the photo.
Once you reach 7 corners on both sides: chain 1, leave a short tail, and cut your yarn.
Corner checkpoint
| Corners completed | What to check |
| 3–4 | Both sides should have the same count — recount if they’ve drifted apart |
| 7 (final) | Ready to finish off and add hardware |
Finishing & Attaching Hardware
- Thread your ending tail onto a yarn needle. Weave it through a few stitches on the back, checking both sides to make sure it doesn’t show through the front. Trim the excess.
- Using your remaining starting tail, insert your hook into the center-top of the piece (through both loops is fine here). Form a small loop with the yarn.
- Insert your hook through a wooden bead and pull the loop through it, attaching the bead at the top center.
- Open an earring hook slightly, attach it through this same loop, and close it securely.
- Pull the yarn snug so the bead sits firmly and won’t flip out of place.
- Weave in this remaining tail the same way as before — through a few hidden stitches, checked on both sides.
Repeat the entire pattern and finishing process for a second earring to complete your pair.
Common mistakes
| Mistake | Fix |
| Corners don’t match on both sides | Count corners after every row rather than only at the end — it’s much easier to fix a miscount early |
| Leaf looks flat instead of textured | Double check every row after the base is worked in the back loop only — working both loops flattens the ridge effect |
| Bead/earring hook flips loose | Pull the attaching loop tight before closing the earring hook, and weave the tail through a few extra stitches for security |
| Woven-in tail shows through the front | Check both sides of the work as you weave, not just the side facing you |
Finishing
Once both earrings are complete, consider mounting them on a small display card (as shown in the reference photo) if you’re planning to gift or sell them — it gives a much more finished, presentable look.