Crochet Snowman Keychain Pattern (Free & Beginner-Friendly)
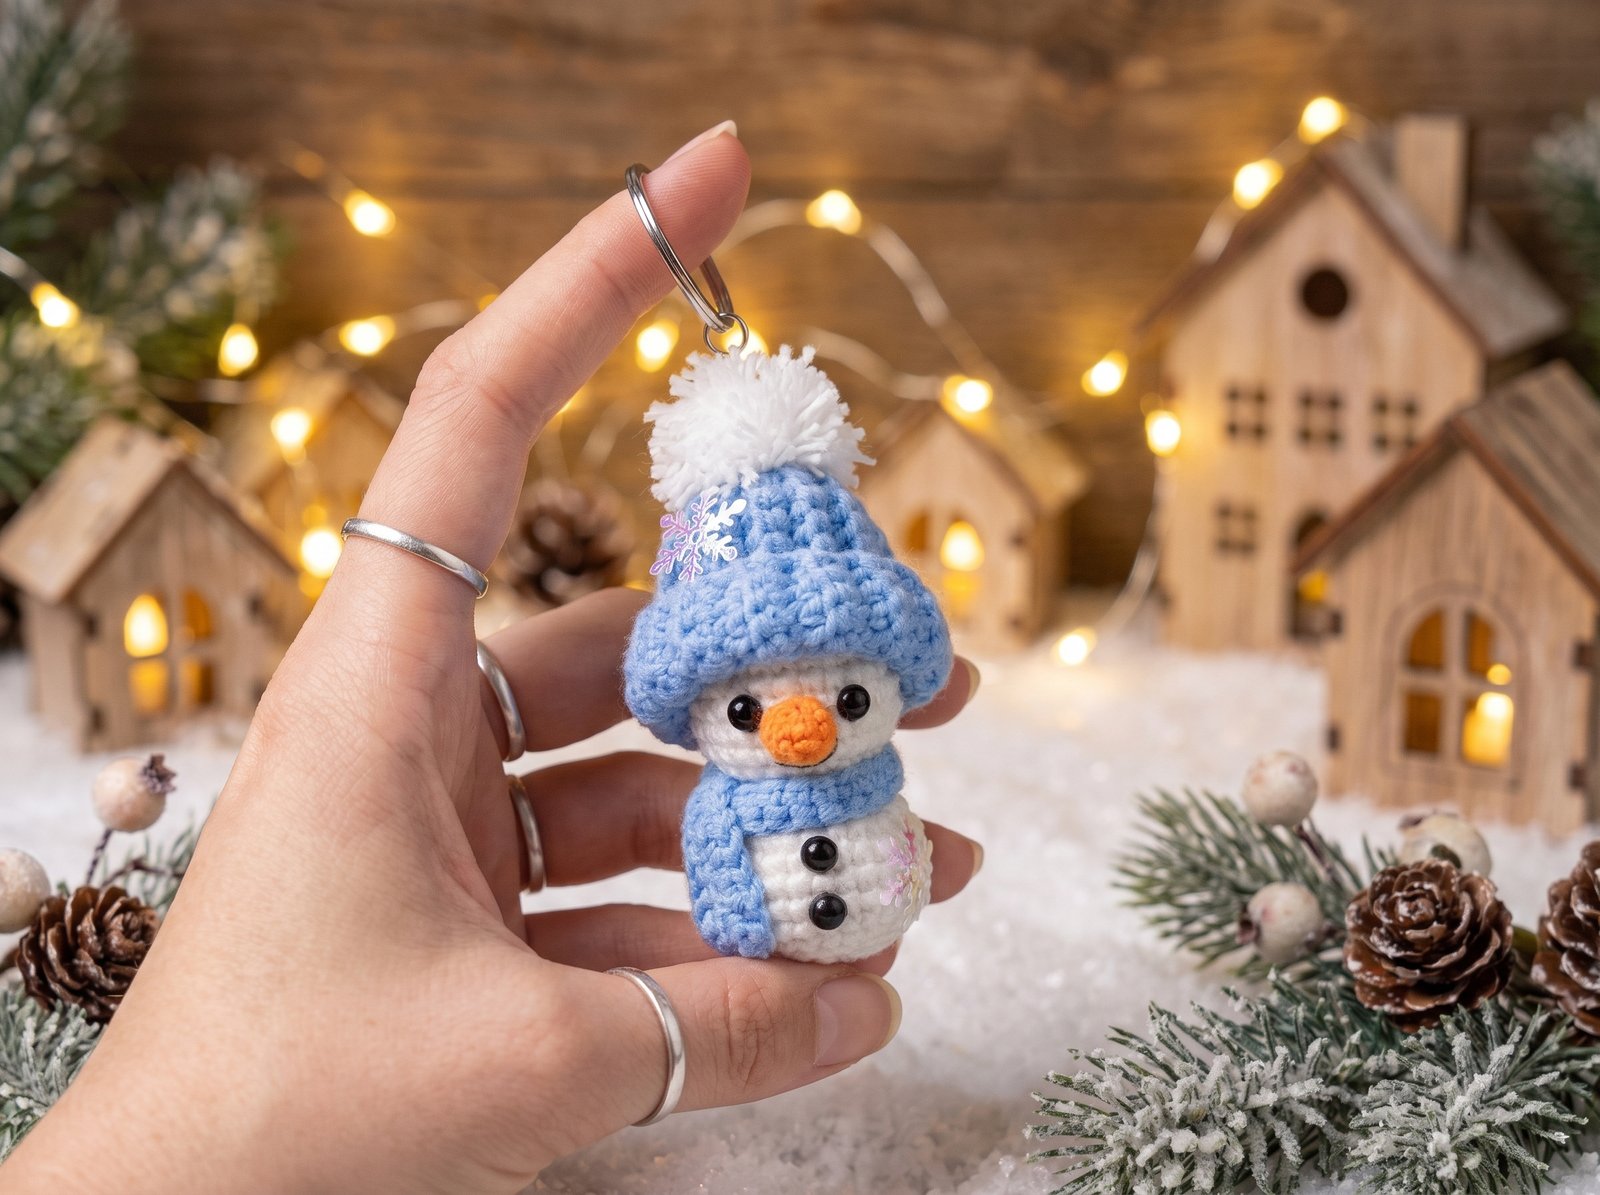
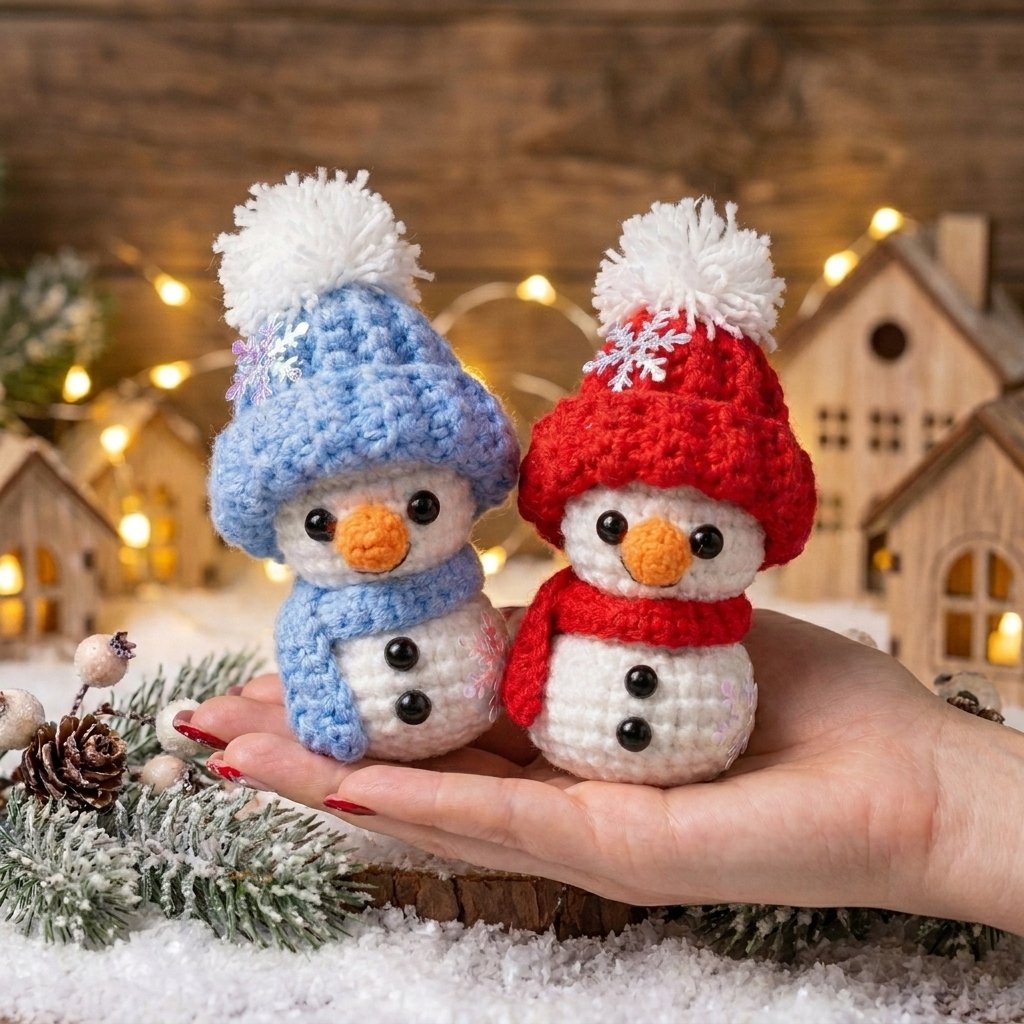
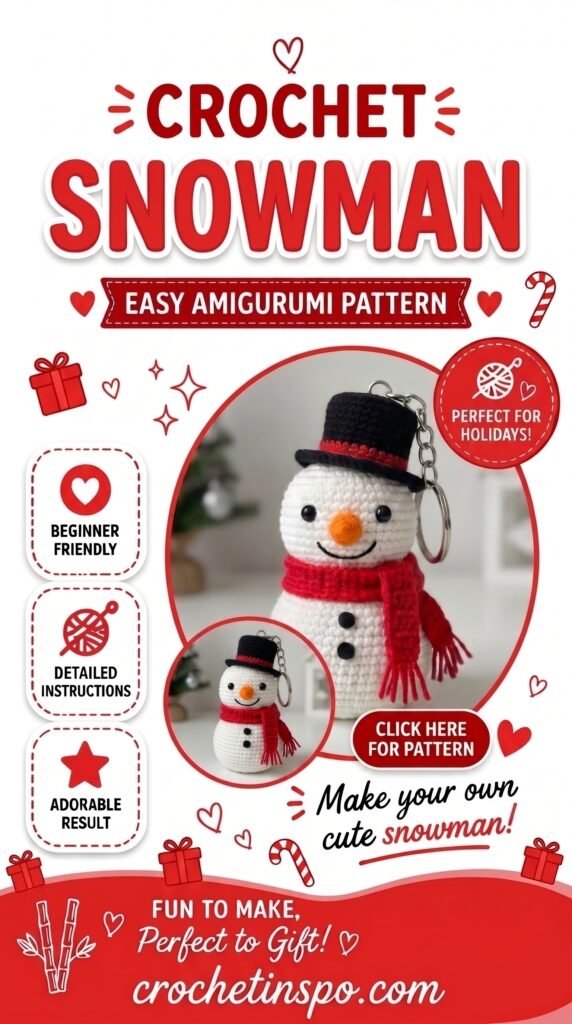
A tiny, huggable snowman built as one continuous head-and-body piece, topped with a knit-look hat, a wrapped scarf, and a little carrot nose — sized perfectly as a keychain, ornament, or stocking stuffer. The head and body aren’t sewn together at all; a clever front-loop-only round creates the “neck” ridge between them while keeping everything as a single seamless piece.

Quick glance
| Time | Skill | Finished size | Hook |
| 2–3 hrs | Intermediate (many rounds + front-loop shaping) | approx. 3–4 in tall |
Materials
- Worsted weight yarn: white (main), blue or red (hat + scarf — pick one color per snowman), small amount orange (nose), small amount black (mouth)
- Crochet hook (see note above)
- Polyester fiberfill stuffing
- Four 6mm safety eyes (2 for the face, 2 for body “buttons”)
- Craft glue (used throughout for attaching the hat, scarf, and nose rather than sewing)
- Keychain ring/clasp
- Yarn needle, stitch marker, scissors
- Optional: small snowflake confetti embellishments (~0.6in) for decoration
Terms & abbreviations
| Abbrev | Term | Notes |
| sc | single crochet | — |
| inc | increase | 2 sc in same st |
| dec | decrease | 2 sc worked together as 1 |
| MR | magic ring | — |
| FLO | front loop only | used once, to create the head/body ridge |
| BLO | back loop only | used throughout the hat for its ribbed texture |
| st(s) | stitch(es) | — |
| rnd(s)/row(s) | round(s), worked in continuous spiral unless noted | — |
Part 1 — Head & Body (one continuous piece)
| Rnd | Instruction | St count |
| 1 | 6 sc in MR | 6 |
| 2 | inc around | 12 |
| 3 | [sc 1, inc] x6 | 18 |
| 4 | [sc 2, inc] x6 | 24 |
| 5–8 | sc around (4 rounds even) | 24 |
| 9 | [sc 2, dec] x6 | 18 |
Insert stuffing now, filling the head firmly before continuing.
| Rnd | Instruction | St count |
| 10 | [sc 1, dec] x6 | 12 |
| 11 | Working in front loop only: [sc 1, inc] x6 | 18 |
| 12 | [sc 2, inc] x6 | 24 |
| 13 | [sc 3, inc] x6 | 30 |
| 14–17 | sc around (4 rounds even) | 30 |
| 18 | [sc 3, dec] x6 | 24 |
| 19 | [sc 2, dec] x6 | 18 |
Insert more stuffing now, filling the body before finishing.
| Rnd | Instruction | St count |
| 20 | [sc 1, dec] x6 | 12 |
| 21 | dec around (6 decreases total) | 6 |
Fasten off, cut yarn, and cinch the remaining stitches closed.
Note on Round 11: working this round into the front loop only (leaving the back loops exposed) is what creates the visible ridge line separating the head from the body — this is the key technique that makes this a single-piece snowman rather than two balls sewn together.
Part 2 — Hat (worked flat, then formed into a cone)
Foundation: Chain 15.
Row 1: Sc in the 2nd chain from your hook and in each remaining chain across. (14 sc)
Row 2 onward: Chain 1, turn. Working in the back loop only of each stitch, sc across. (14 sc every row)
Repeat Row 2 until you have a total of 26 rows.
Assembly: Sew the two long edges of the strip together to form a tube. Gather the top opening closed with a few stitches before attaching the pompom — this final cinch isn’t narrated in detail in the original tutorial, but matches the finished cone shape shown.
Pompom: Wrap white yarn around two fingers 20 times, tie tightly through the center with a separate strand, cut the loops open, and trim/comb into a rounded pompom shape. Glue to the top of the hat.
Part 3 — Scarf
Foundation: Chain 36.
Row 1 (only row): Sc in the 2nd chain from your hook and in each remaining chain across. (35 sc)
Fasten off, leaving tails at both ends to tie together once wrapped around the snowman’s neck.
Part 4 — Nose
Worked in orange yarn.
| Rnd | Instruction | St count |
| 1 | 4 sc in MR | 4 |
| 2 | [sc 1, inc] x2 | 6 |
| 3 | sc around | 6 |
Fasten off, leaving a tail. Lightly stuff if needed before attaching — this small cone shape is what forms the carrot-style nose.
Stitch count checkpoints
| Piece | Checkpoint | Count |
| Head/Body | Rnd 4 (head widest point) | 24 |
| Head/Body | Rnd 13 (body widest point) | 30 |
| Hat | Every row | 14 sc |
| Scarf | Row 1 | 35 sc |
| Nose | Rnd 2 | 6 |
Assembly
- Glue the nose in place between Rounds 6 and 7 of the head.
- Glue two 6mm safety eyes onto Round 6 of the head, spaced above the nose.
- Embroider the mouth with a small amount of black yarn on Round 8.
- Glue the finished hat onto the top of the head.
- Wrap and glue the scarf around the neck ridge (Round 11).
- Glue the remaining two 6mm eyes onto the body as decorative buttons.
- Add optional snowflake confetti embellishments if desired.
- Attach a keychain ring to the top or back of the finished snowman.
Common mistakes
| Mistake | Fix |
| No visible ridge between head and body | Round 11 wasn’t worked in front loop only — check you’re skipping the back loop on that round specifically |
| Hat doesn’t sit snugly on the head | Ribbed strip wasn’t gathered tightly enough at the top before attaching the pompom |
| Stuffing lumps or shows through | Stuff gradually in the two stages noted (after Rnd 9 and after Rnd 19) rather than all at once at the very end |
| Glued pieces come loose over time | Use a proper fabric/craft glue rather than a glue stick, and let each piece fully dry before handling |
Finishing
Weave in all remaining ends before final assembly. Let all glued elements dry completely before attaching the keychain ring, so nothing shifts out of place during handling.
Write a review
 no image