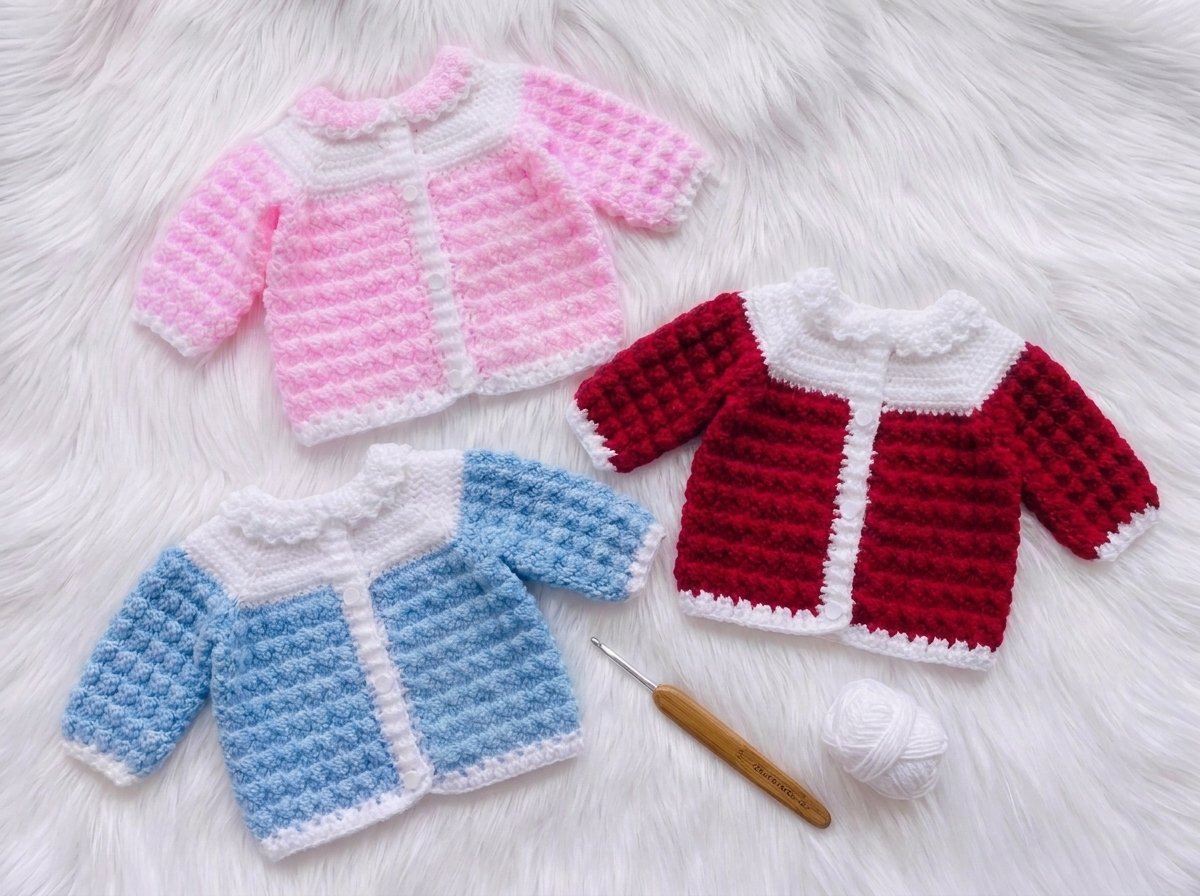
Little Ivy Baby Cardigan Crochet Pattern (Free, All Sizes)
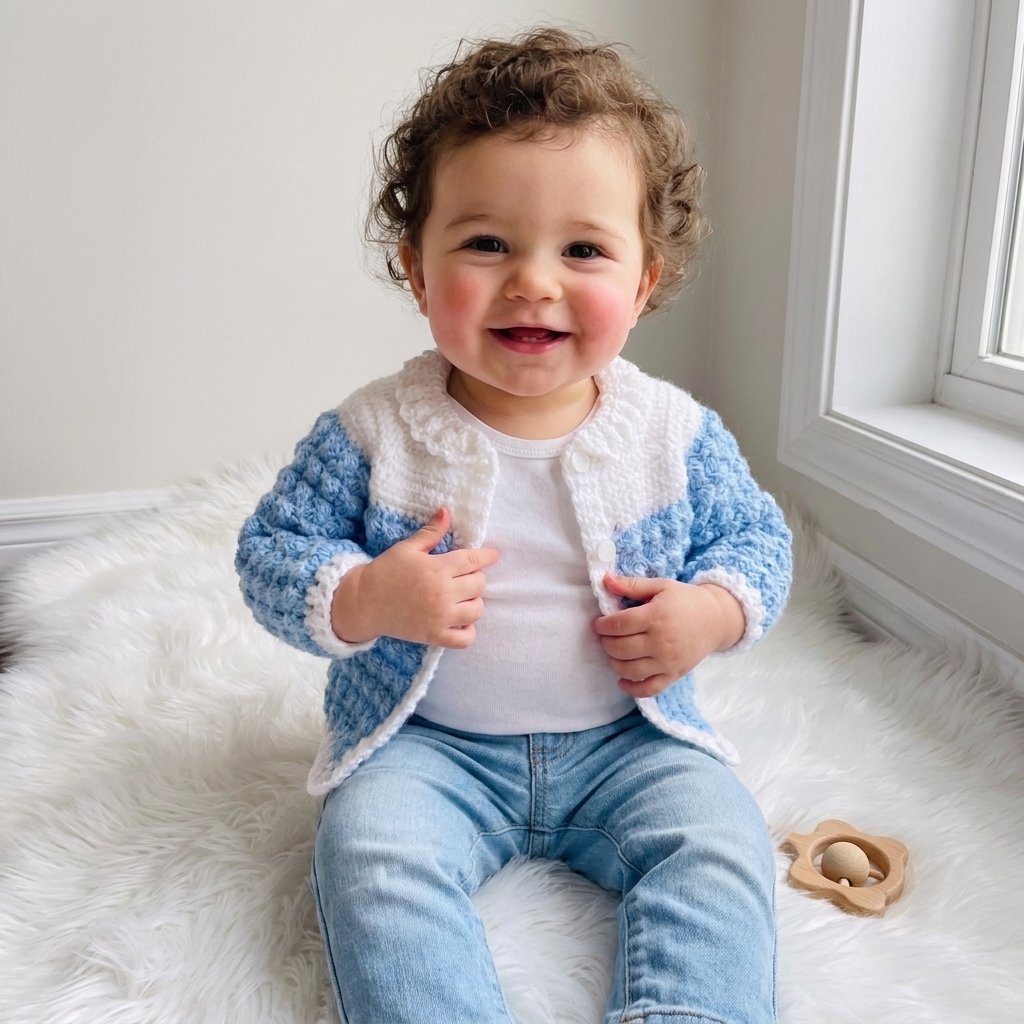
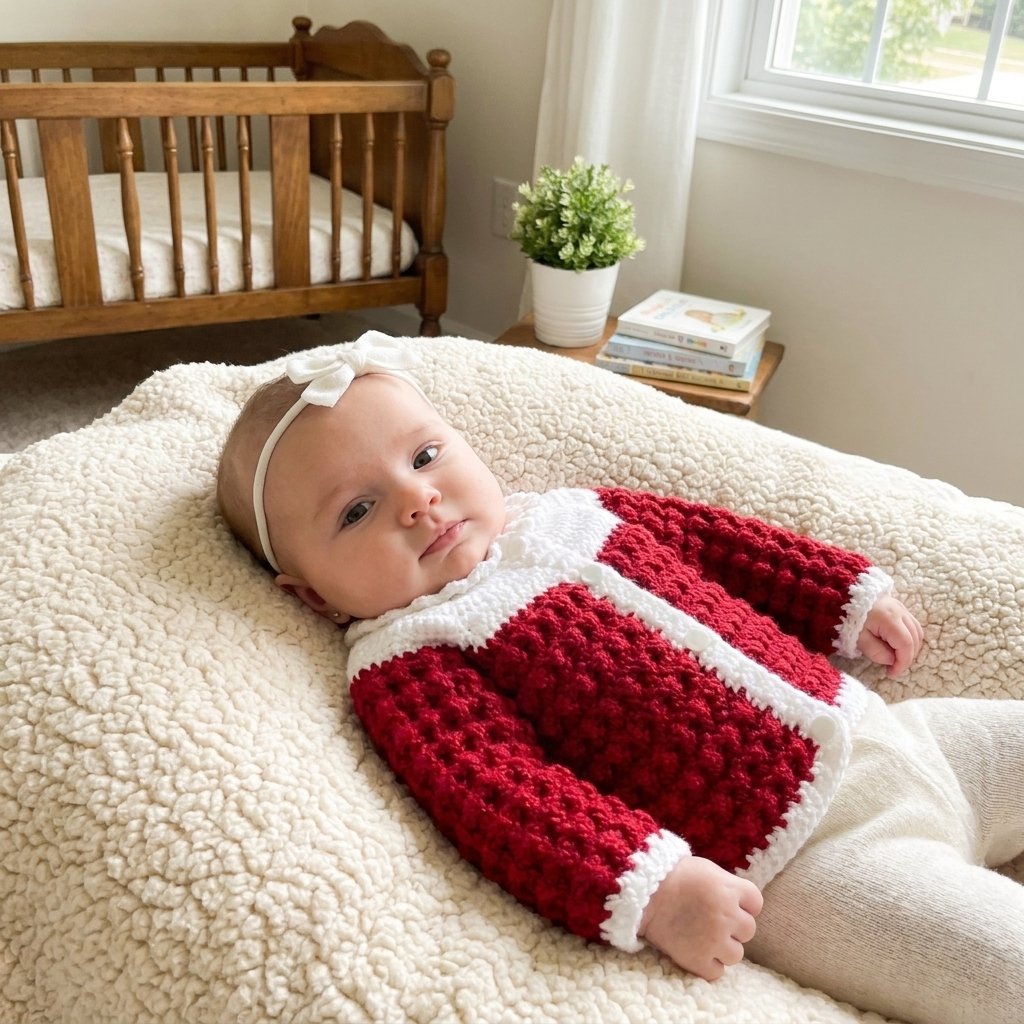
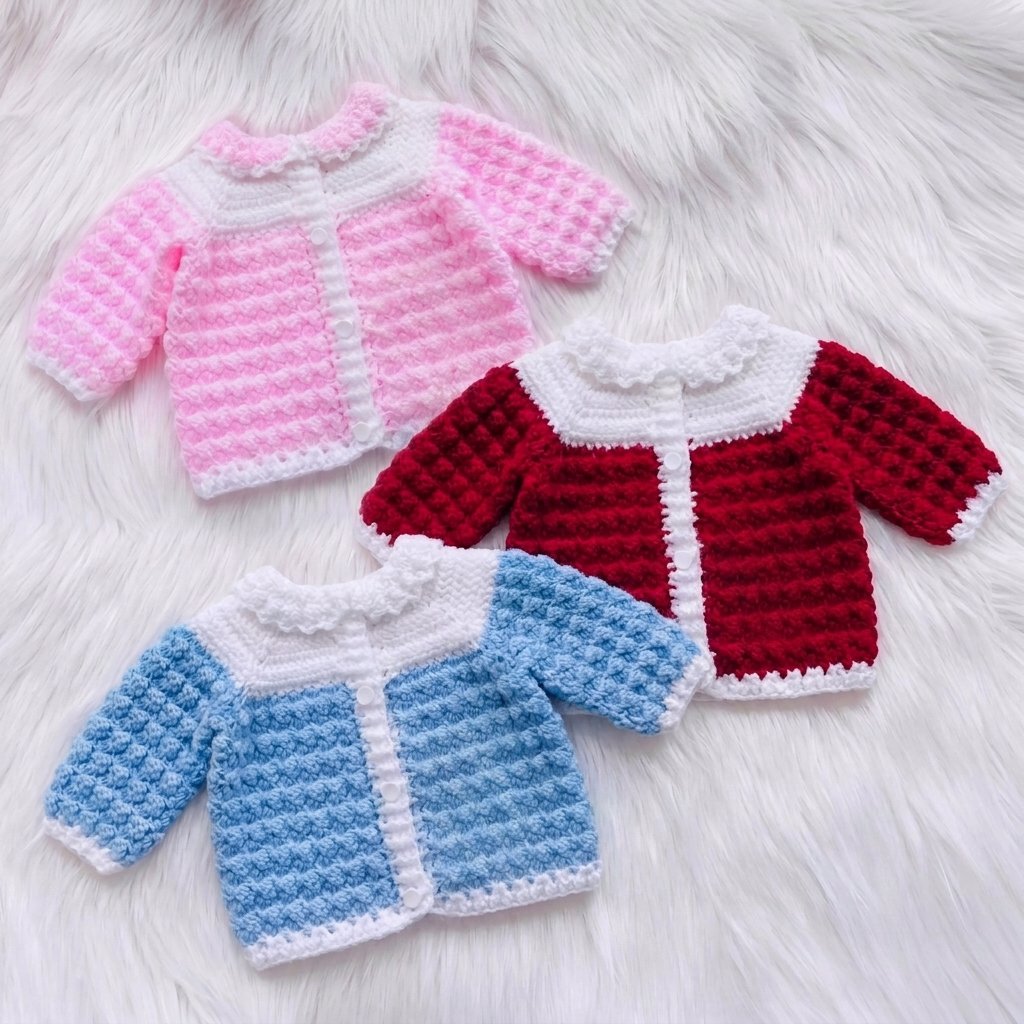
A top-down raglan baby cardigan worked in a herringbone-stitch yoke and a shell-stitch body, finished with a ribbed hem, front bands, an optional scalloped collar, and set-in sleeves with cuffs. Designed to match a companion baby blanket, this pattern is fully size-adjustable across seven sizes just by changing hook and yarn weight.

Quick glance
| Time | Skill | Size | Hook (this size) |
| 6–8 hrs | Beginner–Intermediate | 3–6 months | 3.5mm |
Materials (3–6 month size)
- DK weight (#3) yarn: 91g main color, 27g secondary color (118g total)
- 3.5mm (US E/5) crochet hook
- Four buttons, 13–15mm
- Yarn needle, scissors, stitch markers
Size chart (all sizes use the same instructions — just change hook and yarn)
| Size | Hook | Yarn |
| Newborn | 2.5mm | #3 DK/8-ply |
| 0–3 mo | 3mm | #3 DK/8-ply |
| 3–6 mo | 3.5mm | #3 DK/8-ply |
| 6–9 mo | 4mm | #3 DK/8-ply |
| 9–12 mo | 4.5mm | #3 DK/8-ply |
| 12–24 mo | 5mm | #4 Aran/10-ply |
| 2–3 yr | 5.5mm | #4 Aran/10-ply |
Finished measurements (3–6 mo size)
| Measurement | Size |
| Shoulder to hem | 25.5cm / 10in |
| Sleeve, neckline to cuff | 23cm / 9in |
| Underarm to sleeve end | 14cm / 5.5in |
| Yoke depth | 11.5cm / 4.5in |
| Chest (flat) | 23.5cm / 9.25in |
Terms & abbreviations
| Abbrev | Term |
| ch | chain |
| sc | single crochet |
| hdc | half double crochet |
| dc | double crochet |
| hbdc | herringbone double crochet (see note below) |
| cluster / shell | 3-dc cluster stitch (see note below) |
| V-st | (dc, ch 1, dc) in same st/space |
| FPhdc | front post hdc |
| BPhdc | back post hdc |
| sl st | slip stitch |
Herringbone double crochet (hbdc): Yarn over, insert hook into the stitch, yarn over and pull up a loop (3 loops on hook). Yarn over and pull through just 1 loop (2 loops remain). Yarn over and pull through the last 2 loops.
3-dc cluster (shell): Work 3 incomplete double crochets into the same stitch — for each one, yarn over, insert hook, pull up a loop, yarn over, pull through 2 loops, leaving the last loop on the hook without closing. After all 3 (4 loops on hook total), yarn over and pull through all 4. Chain 2, then sc into that same stitch to complete one shell.
Part 1 — Yoke (herringbone dc, top-down raglan)
Foundation: Chain 46.
Row 1: Work into the 4th chain from your hook (the skipped 3 chains count as your first stitch). Work across in this order, placing a stitch marker at each of the 4 corners as you go: Front panel, corner (ch 1, hbdc), Sleeve, corner, Back, corner, Sleeve, corner, Front panel.
Rows 2–7: Chain 2 (doesn’t count as a stitch), turn. Work 1 hbdc in each stitch across. At every corner, work (hbdc, ch 1, hbdc) into the previous row’s corner ch-1 space — this is your raglan increase. Finish each row working the last stitch into the 3rd chain of your foundation.
Yoke stitch count checkpoints
| Row | Front panel (each) | Sleeve (each) | Back | Row total |
| 1 | 6 | 10 | 12 | 44 |
| 2 | 7 | 12 | 14 | 52 |
| 3 | 8 | 14 | 16 | 60 |
| 4 | 9 | 16 | 18 | 68 |
| 5 | 10 | 18 | 20 | 76 |
| 6 | 11 | 20 | 22 | 84 |
| 7 | 12 | 22 | 24 | 92 |
Cut yarn after Row 7.
Part 2 — Transition Row (shells + V-stitch corners)
Row 8: Reattach yarn at the last stitch made. Chain 3 (counts as a dc), skip 1 hbdc, work a 3-dc cluster into the next stitch. Continue *skip 1, cluster* across each section. At each of the 4 corners, work a V-stitch (dc, ch 1, dc) into the corner space instead of a cluster.
Row 8 checkpoint: 5 shells per front panel, 11 shells per sleeve, 12 shells for the back — 44 shells total.
Place a stitch marker to note the right side of the work.
Part 3 — Body (separating the sleeves)
Body Row 1 (worked on the wrong side): Chain 3, turn. Work a cluster into the ch-2 space of each shell across the first front panel, then work 2 extra clusters into the corner V-stitch (one on the first dc, one in the ch-1 space) to bring this panel to 7 shells. Chain 4 to bridge across (skipping) the sleeve entirely — this separates the sleeve from the body. Continue across the back the same way, then bridge the second sleeve with another chain-4, and finish the second front panel to match the first.
Body Row 1 checkpoint: 7 shells per front panel, 14 shells for the back, plus a 4-chain bridge under each sleeve — 28 shells total.
Body Row 2 (right side): Chain 3, turn. Work clusters into each shell as before. When you reach each 4-chain bridge, work 1 cluster into the first chain, skip the next 2 chains, then work 1 cluster into the 4th chain — this fills the underarm gap with 2 shells.
Body Row 2 checkpoint: 32 shells total (28 + 2 shells added under each of the 2 sleeve gaps).
Body Rows 3–16: Chain 3, turn. Work a cluster into the ch-2 space of every shell across, all the way around. Stitch count stays constant at 32 shells every row. Cut yarn after Row 16 (measures roughly 25cm/9.75in from shoulder to this point in the 3–6mo size).
Part 4 — Hem (secondary color)
Hem Row 1: Attach your secondary color. Chain 2, then work 3 hdc into the ch-2 space of each shell around. (98 hdc total, including the starting 2 chains)
Hem Row 2: Chain 2, turn. Alternate FPhdc and BPhdc across the entire row. (98 sts) If front/back post stitches feel tricky, plain hdc or sc worked into the same spots is a perfectly good substitute.
Part 5 — Front Bands
Worked along each front edge, from the hem up through the yoke to the neckline, in your secondary color, picking up stitches along the row-ends.
Row 1: Along the body portion, alternate 2 hdc where a row-end shows a dc, and 1 hdc where it shows a 3-chain space. Continue this same logic up through the yoke portion. (39 sts total for the 3–6mo size — count and adjust as needed for other sizes.)
Row 2: Chain 1, turn. Alternate FPhdc/BPhdc across. (39 sts)
Row 3: Chain 1, turn. Continue the alternating pattern, offset by one so ribs align correctly. (39 sts)
No buttonholes are needed — the natural gaps between hdc rows are wide enough for buttons to pass through.
Repeat for the second front panel, worked top-down to mirror the first. Count carefully to match the same final stitch count as your first band.
Part 6 — Collar (optional — for a boy’s version, skip this and work one plain row of hdc or FPhdc/BPhdc around the neckline instead)
Collar Row 1: Work around the neckline edge starting with 7 hdc, then continue with an alternating 2-hdc/1-hdc increase pattern across the remainder. (58 hdc total — must land on an even number)
Collar Row 2: Chain 2, turn. Skip 1, work a cluster into the next stitch, repeating *skip 1, cluster* across. (27 shells, with the last 2 stitches worked as 1 plain hdc)
Collar Row 3: Chain 2, turn. Work a cluster into the ch-2 space of each shell across. (27 shells)
Optional edging (Row 4, secondary color): Around the collar’s outer curved edge, work (sc, ch 3, sc) into each shell space all the way around for a scalloped finish.
If the collar stands up more than you’d like, tack it down flat from the wrong side with a few small hidden stitches.
Part 7 — Sleeves (worked in the round)
Round 1: Starting in the gap under the arm, chain 2 and work 1 cluster (this is your center stitch). Work a dc2tog to bridge into the first of the 11 shells already established around the sleeve opening from the yoke rows. Work a cluster into each of the 11 shells around, then a second dc2tog to bridge back and close the round. (12 clusters total) Join with a slip stitch.
Rounds 2–15: Chain 2, turn. Work a cluster into the ch-2 space of each cluster around. (12 clusters, constant every round)
Part 8 — Cuff (secondary color)
Cuff Round 1: Chain 2 (counts as first hdc), work 2 hdc into the ch-2 space of each cluster around. (24 hdc)
Cuff Round 2: Chain 1. Alternate FPhdc/BPhdc around. (24 sts) Join and fasten off.
Repeat the entire Sleeve and Cuff construction identically for the second sleeve.
Common mistakes
| Mistake | Fix |
| Yoke corners don’t increase evenly | Double check you’re working the (hbdc, ch 1, hbdc) pair directly into last row’s corner ch-1 space, not into a regular stitch nearby |
| Front bands come out different lengths | Count stitches on the first band before starting the second, and adjust row 1 of the second band to match exactly |
| Collar looks wavy or ruffled | Too many shells were added in Collar Row 2 — 27 is the tested count for this size; more will cause rippling |
| Sleeve doesn’t sit evenly at the underarm | The dc2tog “bridge” stitches at the start/end of Sleeve Round 1 are what close the gap smoothly — don’t skip them |
Finishing
Weave in all ends. Sew on 4 buttons spaced evenly down the front band opposite the natural gaps in the hdc rows, which serve as buttonholes without needing to crochet any separately.
Write a review
 no image