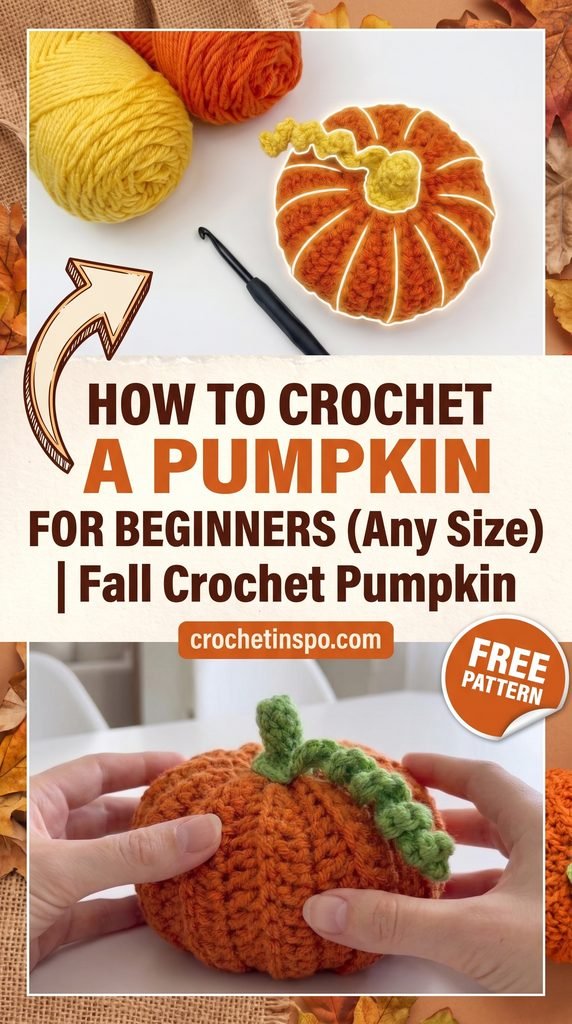
How to Crochet a Pumpkin for BEGINNERS (Any Size) | Fall Crochet Pumpkin
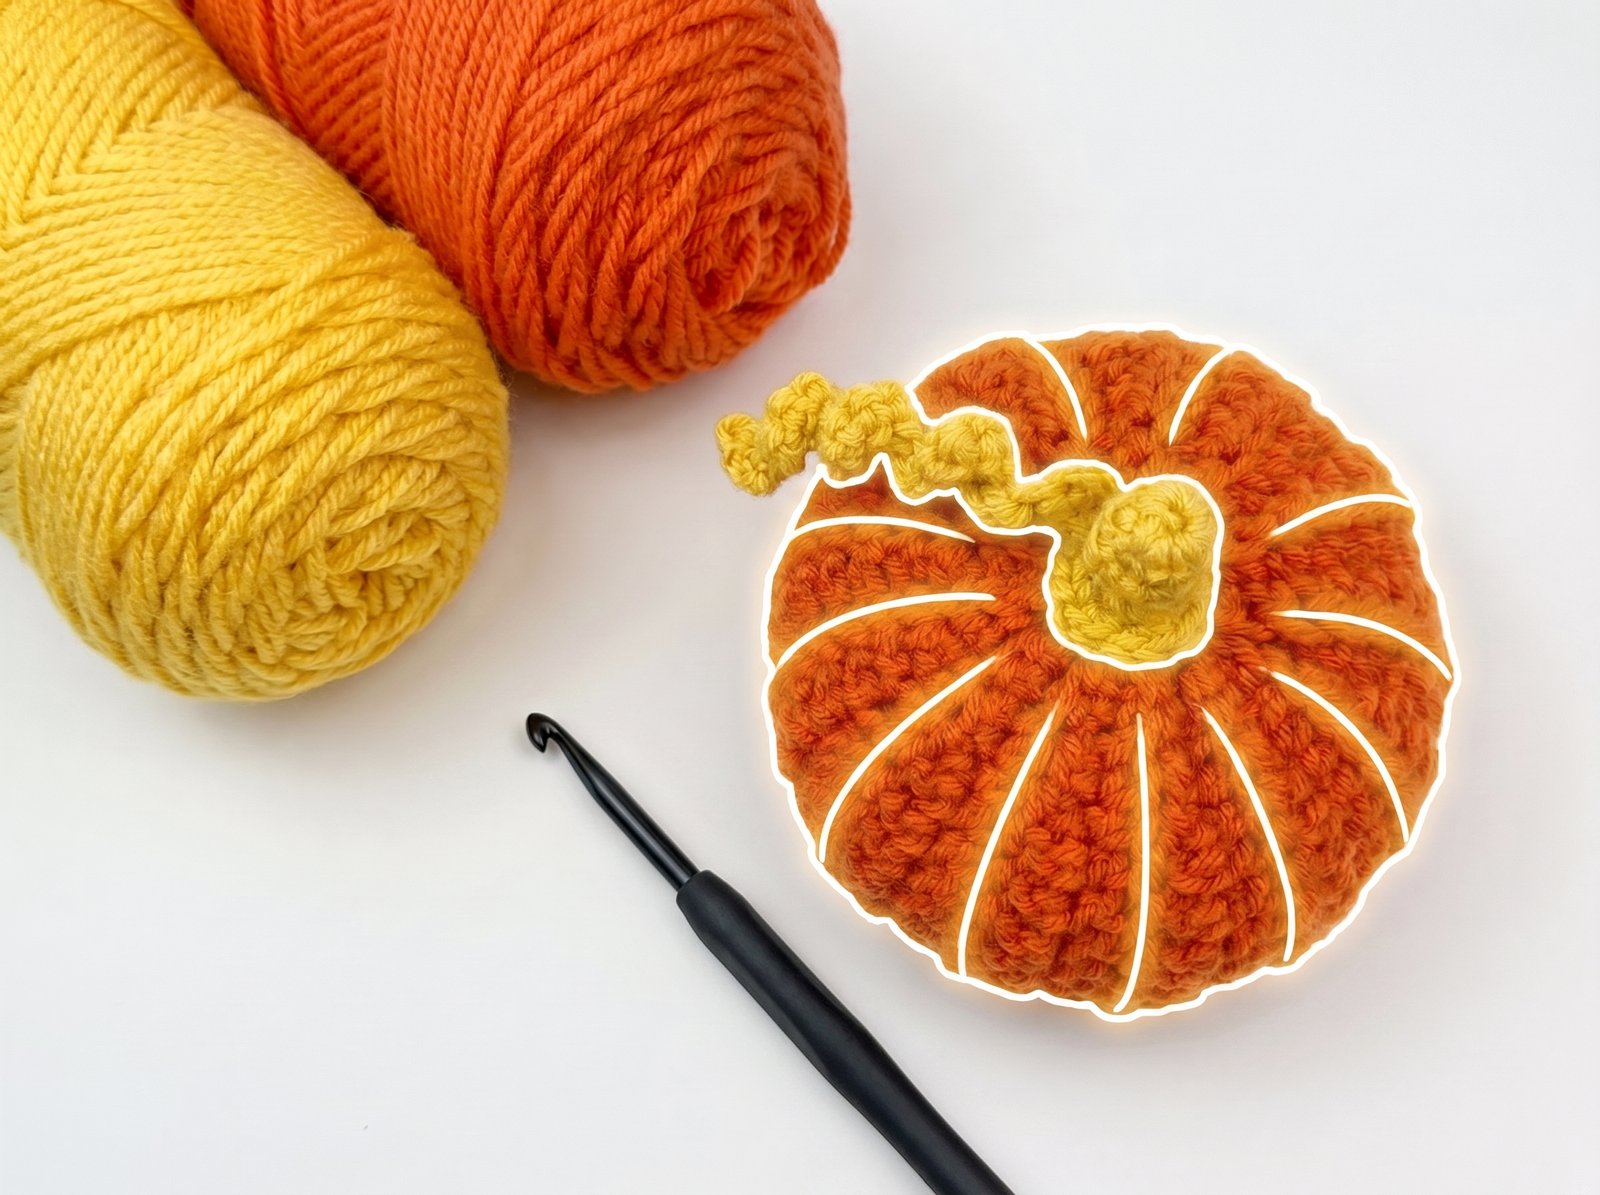
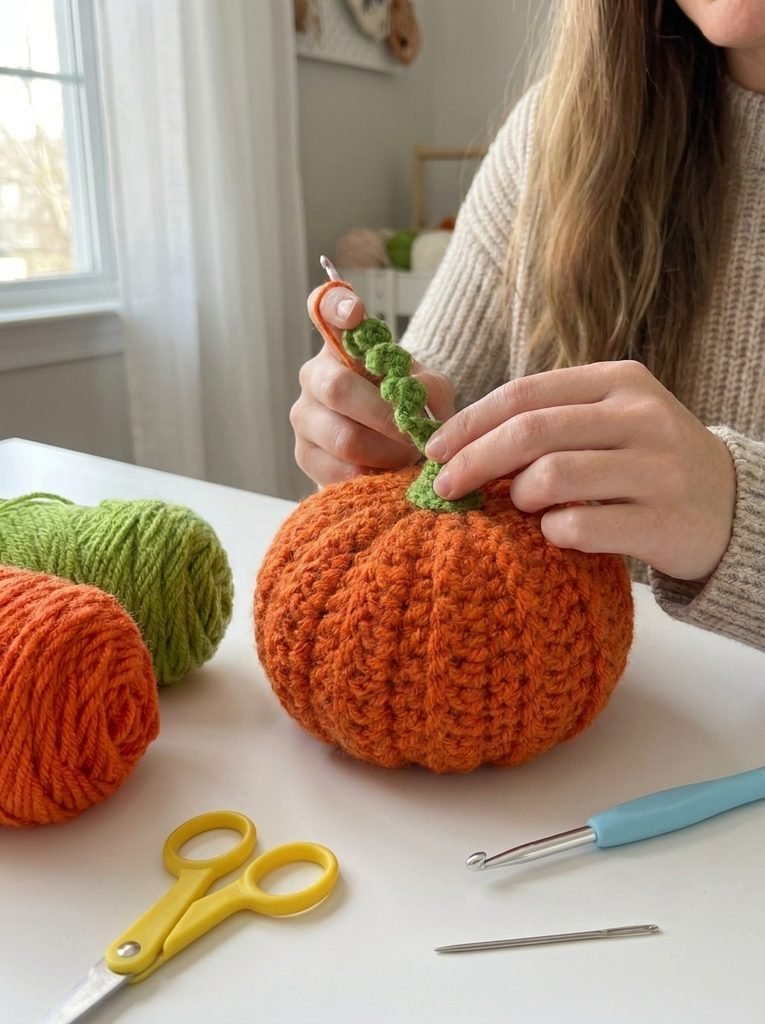
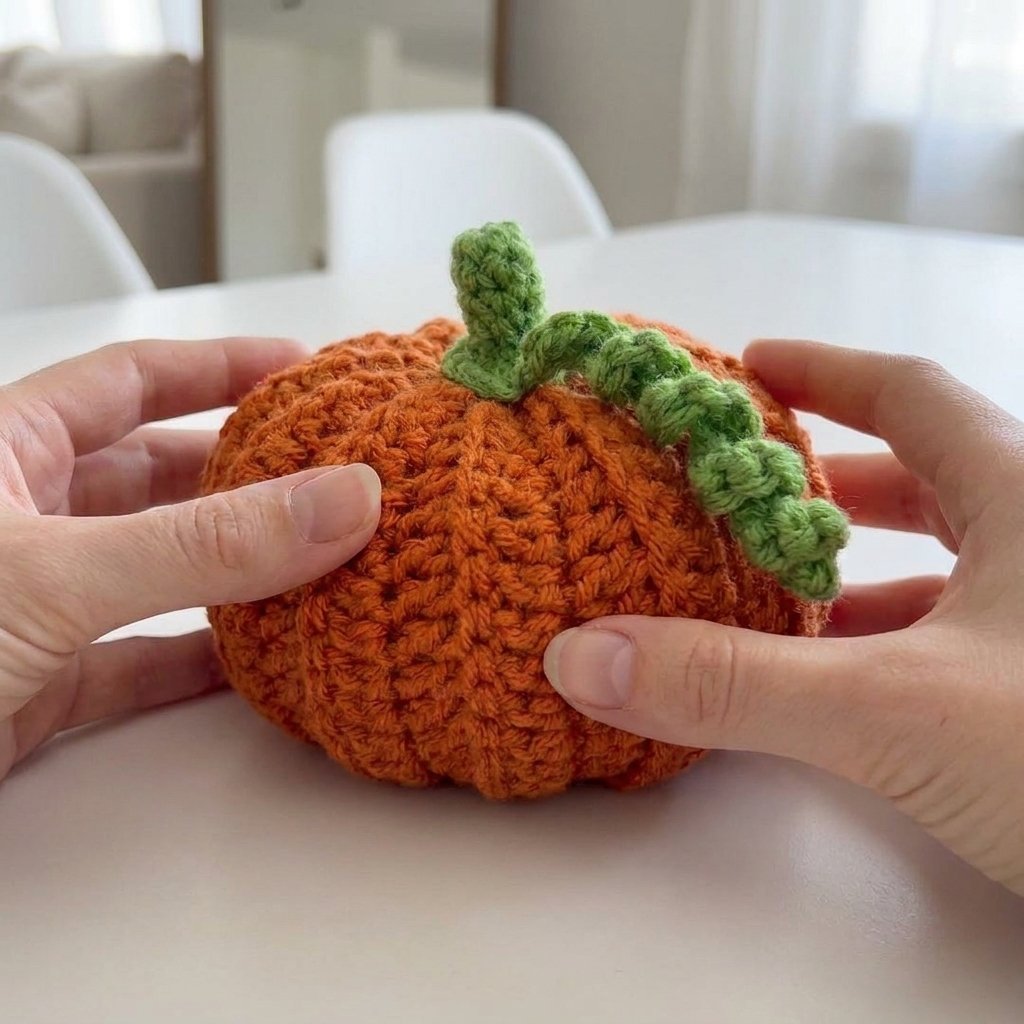
A ribbed, textured pumpkin built from one simple shaped row worked over and over — no rounds, no shaping math to track, just a repeated back-loop-only row that naturally creates those classic pumpkin ridges once it’s folded, sewn, and stuffed. Fully adjustable in size just by changing your starting chain and row count.
Quick glance
| Time | Skill | Size | Hook |
| 2–3 hrs | Beginner | Fully adjustable | 4.5mm |
Materials
- Worsted weight acrylic yarn — orange (pumpkin) and green (stem)
- 4.5mm crochet hook
- Scissors, tapestry needle
- Filling — polyfill, or yarn scraps
- Optional: hot glue (for attaching the stem — sewing works too)
Terms & abbreviations
| Abbrev | Term | Notes |
| ch | chain | — |
| sc | single crochet | — |
| hdc | half double crochet | — |
| dc | double crochet | — |
| sl st | slip stitch | — |
| BLO | back loop only | used for every row after Row 1 — this is what creates the ridged texture |
| st(s) | stitch(es) | — |
| row(s)/rnd(s) | rows for the pumpkin body, rounds for the stem | — |
Sizing note
This pattern scales entirely by your starting chain and row count. For a bigger pumpkin, chain 31, 41, or 51 instead of 21 (always one more than a multiple of 10), and work more rows — more rows makes the pumpkin taller/rounder. You can fold your strip in half partway through to preview roughly what size you’ll end up with.
Part 1 — Pumpkin Body (worked flat, one repeated row)
Foundation: Chain 21 (or 31/41/51 for a larger pumpkin).
Row 1: Skip the first chain from your hook.
- Sc in each of the next 3 chains (3 sts)
- Hdc in each of the next 2 chains (2 sts)
- Dc in each of the next 10 chains — or however many remain until 5 chains are left, if you made a longer foundation (10 sts)
- Hdc in each of the next 2 chains (2 sts)
- Sc in each of the last 3 chains (3 sts)
(20 sts total)
Row 2 onward: Chain 1, turn. Repeat the exact same shaped sequence as Row 1 — 3 sc, 2 hdc, 10 dc, 2 hdc, 3 sc — but working every stitch into the back loop only. Your stitch count should stay at 20 every single row; if you’re gaining or losing stitches, double check you’re consistently working into the back loop only.
Repeat Row 2 until you have 25 rows total (adjust this number up or down for a bigger or smaller pumpkin). The piece will naturally want to curl as you work — that’s expected, and it flattens back out easily as you go.
Stitch count checkpoint
| Row | St count |
| 1 | 20 |
| Every row after | 20 (should never change) |
Assembly
Join first and last row: Fasten off leaving a long tail, and thread it onto your tapestry needle. Fold the strip in half so Row 1 and your final row meet. Working through the back loop of the last row’s stitches and the corresponding loop across from it on Row 1, whip stitch the two edges together all the way down to join the strip into a tube.
Close the bottom: Using the same working tail, sew in and out through the stitches around one open end of the tube — go into one loop, skip 1–2, come back out, and repeat all the way around. Pull the tail tight to cinch the opening closed. If a small gap remains, sew back and forth across it a few times to fully close it, then knot securely and weave in the tail.
Stuff the pumpkin through the remaining open end — polyfill or yarn scraps both work. Don’t overfill to the point you can’t close the last opening.
Close the top: Attach a fresh length of the same orange yarn anywhere along the remaining open edge. Repeat the same in-and-out cinching technique around this opening, pull tight to close, sew across any remaining gap, knot securely, and weave in both ends.
Part 2 — Stem
Worked separately in green yarn, using a faux magic ring (beginner-friendly alternative to a true magic ring).
Faux ring: Chain 4, then slip stitch into the very first chain you made to form a small loop. Trim the short starting tail. You’ll work your first round into the center of this loop rather than into the individual chains.
Round 1: 6 sc into the center of the ring. Pull the tail to tighten the loop closed, then slip stitch into the first sc to join. (6 sts)
Round 2 onward: Chain 1, sc into every stitch around (6 sts), slip stitch to close.
Repeat Round 2 until your stem reaches the length you want — 5 rounds was used for the pictured pumpkin, but shorter or longer is entirely up to you.
Part 3 — Curly Vine (optional)
Foundation: Chain 20 (longer or shorter, your preference).
Work back down the chain starting in the 2nd chain from your hook: 2 sc into every single chain all the way down. This doubling-up of stitches on a straight chain is what creates the natural curl.
Part 4 — Stem Base & Attaching the Vine
Return to the base of your stem (the stitch where your vine’s foundation chain began): work 2 sc into every stitch around for a total of 12 sc — this flares the stem’s base so it sits securely on top of the pumpkin.
Slip stitch into the vine to join it to the stem base. Chain 1, fasten off, and weave in the end.
Finishing
Attach the finished stem (with vine) to the top of the pumpkin — either sew it on with matching green yarn, or hot glue it in place for a faster finish. Both methods work equally well.
Write a review
 no image