Teddy Baby Hat Crochet Pattern (Chunky & Quick, All Sizes)
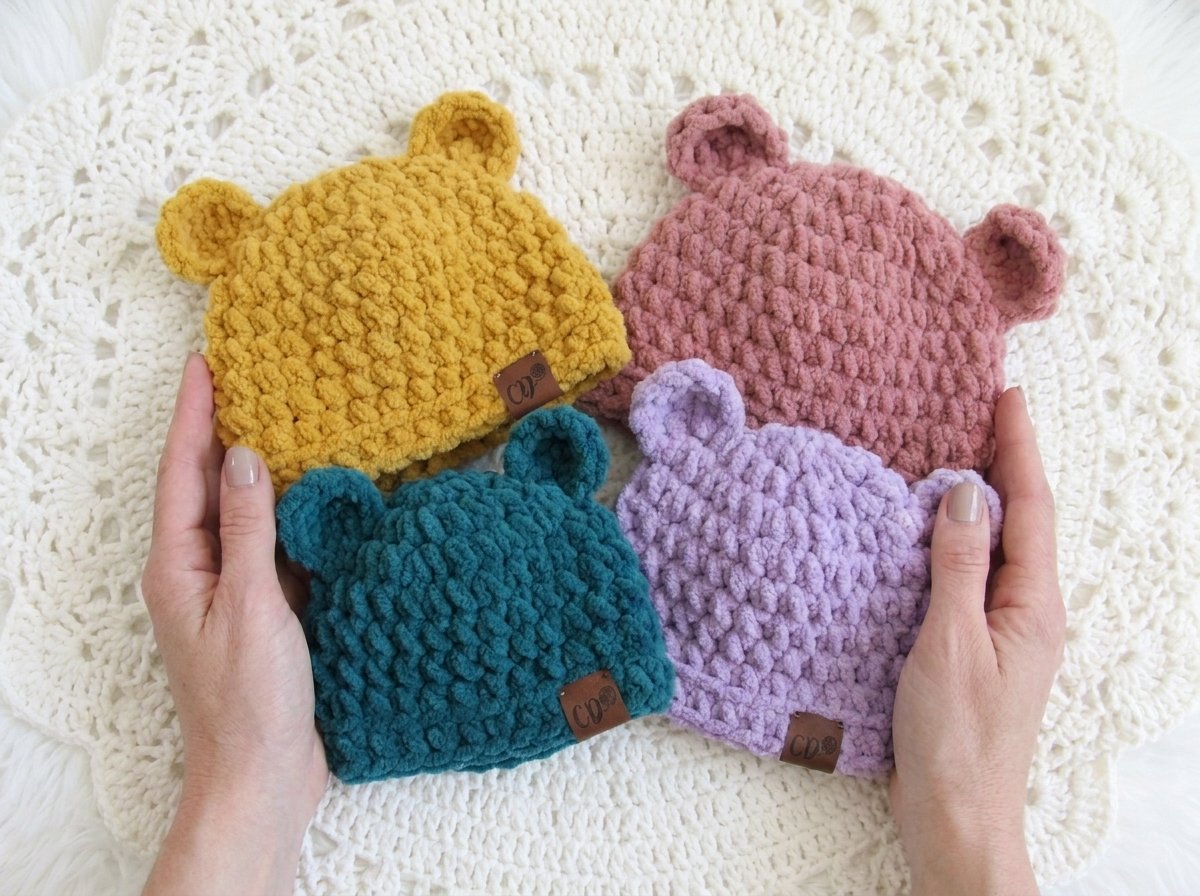
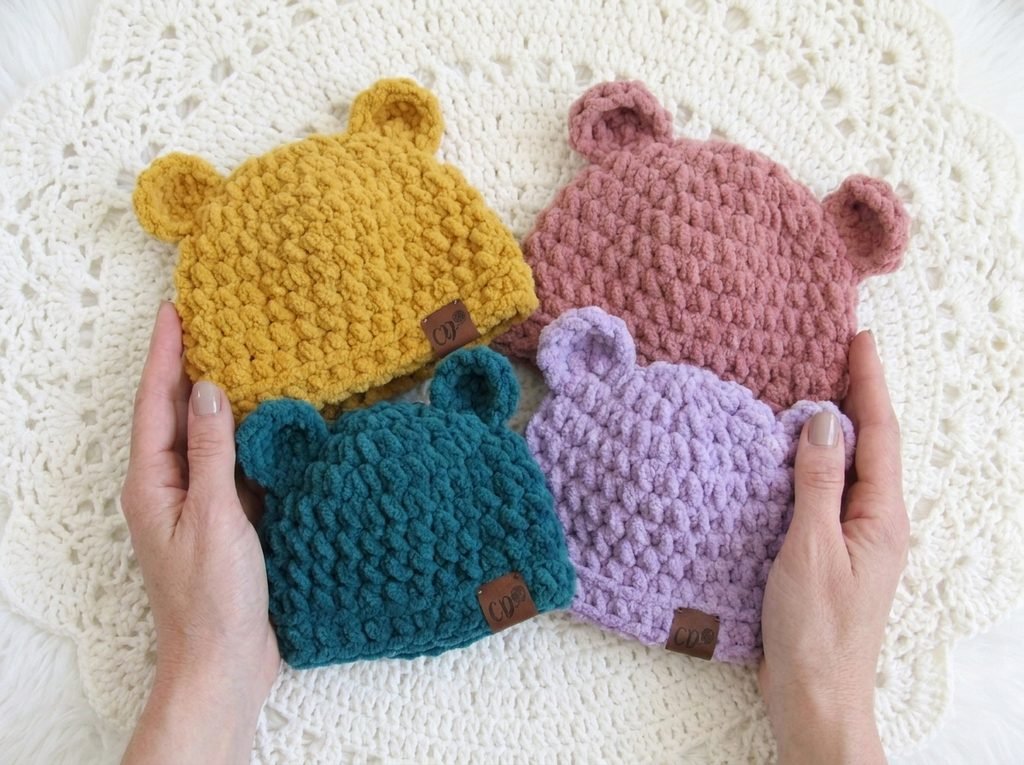
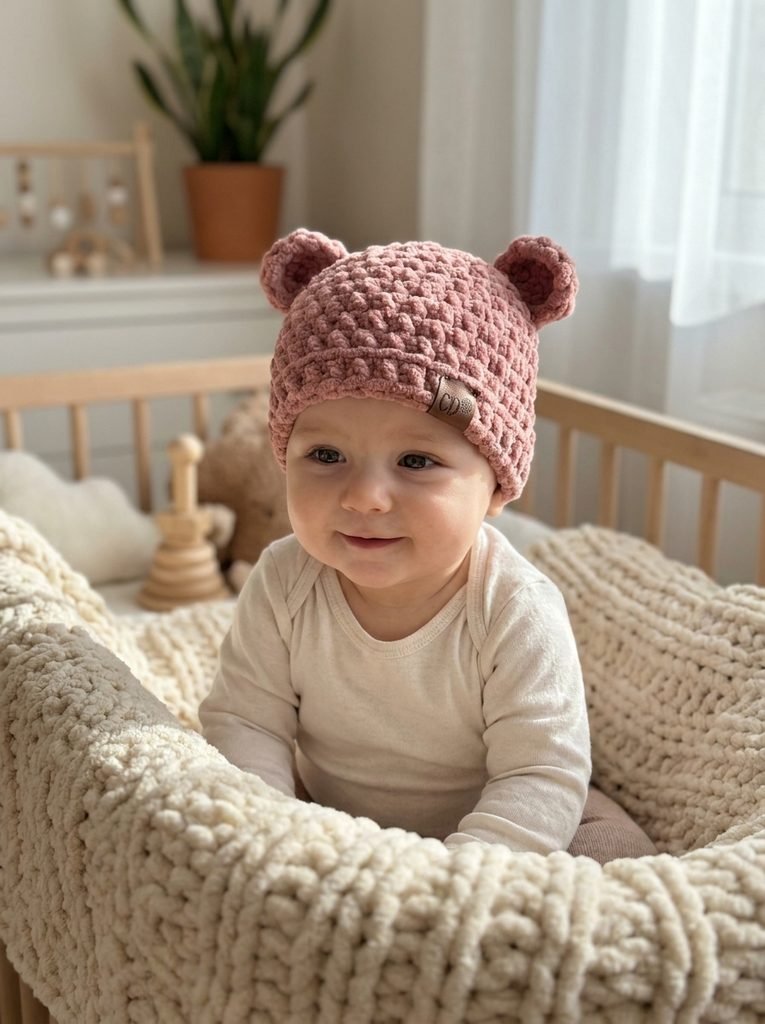
A soft, chunky baby hat worked in super bulky chenille yarn with two rounded ears sewn on for a sweet teddy-bear look. Fully sized from newborn through 12 months, with built-in guidance for adjusting to your specific yarn’s gauge — chenille varies a lot between brands, so this pattern leans on measuring as you go rather than stitch count alone.
Quick glance
| Time | Skill | Sizes | Hook |
| 1–2 hrs | Beginner | Newborn – 12 months | 10mm (N/P) |
Materials
- Super bulky / category 6 chenille yarn, approx. 30–45 yd per hat
- 10mm (N/P) crochet hook
- Tapestry needle
- Stitch marker
- Scissors
Finished sizes
| Size | Head circumference | Approx. height | Crown target |
| Newborn | 13 in | 5 in | 4¼–4½ in |
| 0–3 months | 14 in | 5½ in | 4½–4¾ in |
| 3–6 months | 15 in | 6 in | 4¾–5 in |
| 6–12 months | 17 in | 6½ in | 5–5¼ in |
Terms & abbreviations
| Abbrev | Term |
| ch | chain |
| sc | single crochet |
| hdc | half double crochet |
| st(s) | stitch(es) |
| sl st | slip stitch |
| BLO | back loop only |
| sc2tog | single crochet two together |
Construction overview
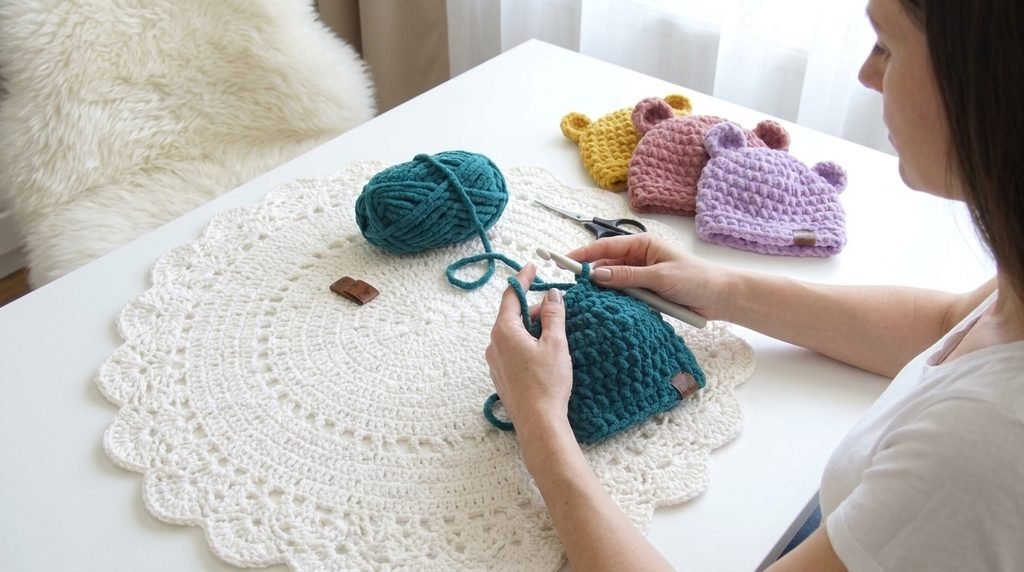
The hat is worked top-down in joined rounds — the crown increases first, then the sides work up evenly to the desired height, finishing with a neat BLO edge. Two semicircular ears are made separately and sewn on afterward.
Part 1 — Crown
Round 1: Magic ring. Chain 1, work 6 sc into the ring. Pull the ring closed. Join with a sl st to the first sc. (6 sts)
Round 2: Chain 1. 2 sc in every stitch around. Join. (12 sts)
Round 3: Chain 1. *1 sc, 2 sc in next st* — repeat around. Join. (18 sts)
Round 4: Chain 1. *1 sc in next 2 sts, 2 sc in next st* — repeat around. Join. (24 sts)
Round 5: Chain 1. *1 sc in next 3 sts, 2 sc in next st* — repeat around. Join. (30 sts)
Round 6: Chain 1. *1 sc in next 4 sts, 2 sc in next st* — repeat around. Join. (36 sts)
Important: only work the crown rounds up to the target diameter for your size (see table below) — don’t assume every size needs all 6 rounds. Chenille yarn runs thick and varies between brands, so measure the crown flat rather than relying on stitch count alone. You may need to stop a round early or add an extra increase round depending on your yarn.
Crown rounds by size
| Size | Crown rounds |
| Newborn | Through Round 5 |
| 0–3 months | Round 5, add Round 6 only if still below target diameter |
| 3–6 months | Through Round 6 |
| 6–12 months | Through Round 6, plus one more increase round if needed: *1 sc in next 5 sts, 2 sc in next st* around |
Part 2 — Sides
Once your crown reaches the correct diameter, stop increasing. Work 1 sc in every stitch around for each round from here, keeping the same stitch count on every round.
| Size | Continue until hat measures |
| Newborn | 4¾–5 in from crown center |
| 0–3 months | 5¼–5½ in |
| 3–6 months | 5¾–6 in |
| 6–12 months | 6¼–6½ in |
Part 3 — Neat Edge
Work one final round of sc in back loop only around the opening. Join with a sl st, fasten off, and leave a tail long enough to weave in securely. Fold the hat flat and check both sides are even before moving on.
Part 4 — Ears (make 2)
Row 1: Chain 2. Work 3 sc into the 2nd chain from your hook. Turn. (3 sts)
Row 2: Chain 1. 2 sc in the first st, 1 sc in the next st, 2 sc in the last st. Turn. (5 sts)
Row 3: Chain 1. 2 sc in the first st, 1 sc across the next 3 sts, 2 sc in the last st. Turn. (7 sts)
Row 4: Chain 1. Sc across. Fasten off, leaving a long sewing tail. (7 sts)
Ear stitch count checkpoints
| Row | St count |
| 1 | 3 |
| 2 | 5 |
| 3 | 7 |
| 4 | 7 |
Part 5 — Shape and Attach the Ears
- Thread the long yarn tail onto your tapestry needle.
- Run a loose running stitch along the straight bottom edge of the semicircle.
- Pull gently to gather the base until the ear becomes slightly cupped.
- Fold the hat flat to identify the two upper side positions.
- Place one ear on each side, keeping both at the same height and distance from the center.
- Whip-stitch the gathered base securely to the hat, passing through several layers of yarn rather than just the surface loops.
- Repeat for the second ear.
- Weave all ends into the inside of the hat and trim.
Fit & Gauge Check
Because chenille yarn varies considerably between brands, check fit while making the crown. The finished circumference should be slightly smaller than the baby’s actual head circumference, so the hat has gentle stretch. If the crown comes out too large, switch to a smaller hook; if too small, size up or continue the increase section a round further.
Common mistakes
| Mistake | Fix |
| Hat too loose or tight | Chenille gauge varies a lot by brand — always measure the crown flat against the size table rather than trusting stitch count alone |
| Ears sit unevenly | Fold the hat flat first to find matching positions on both sides before sewing either ear on |
| Ears look flat instead of cupped | Gather the running stitch along the base more before attaching — the cupped shape is what gives the rounded ear look |
| Edge looks sloppy | The final BLO round is what cleans up the opening — don’t skip it even though it’s just one round |
Safety Note
For babies, keep all attachments securely sewn and avoid loose buttons, beads, plastic eyes, cords, or other detachable decorations. Check the finished hat before every use.
Finishing
Weave in all remaining ends securely inside the hat. Give the finished piece a final fit check against your size chart measurements before calling it done.