Easy Crochet Bag Pattern – Trendy DIY Crochet Purse with Pearl Detail
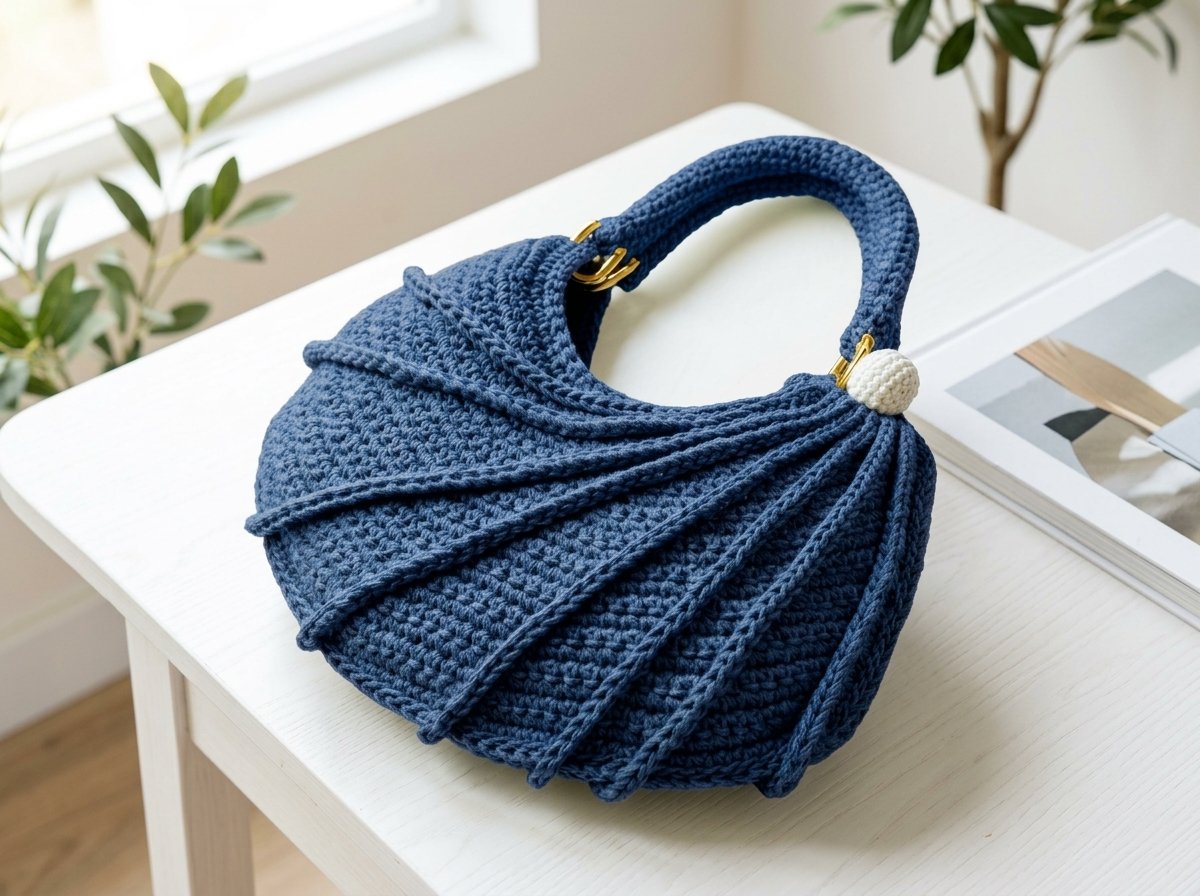
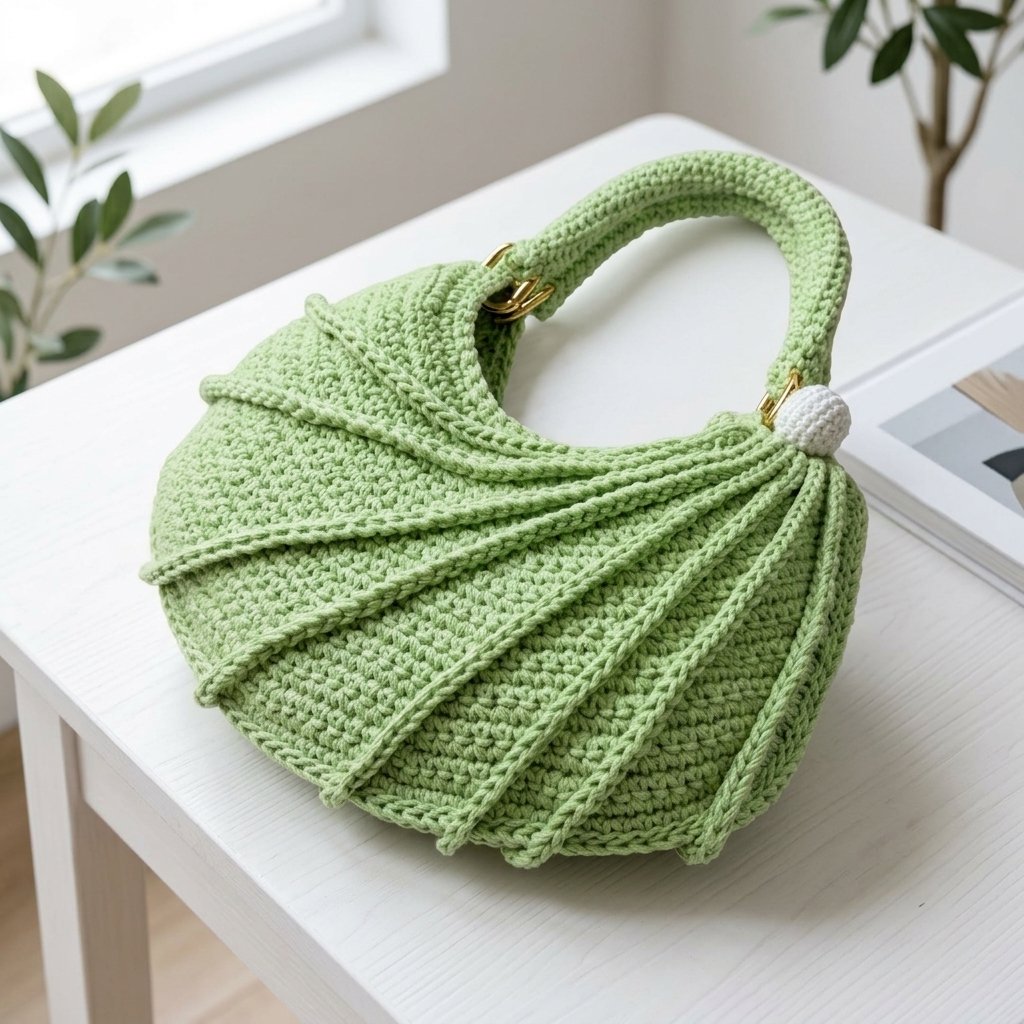
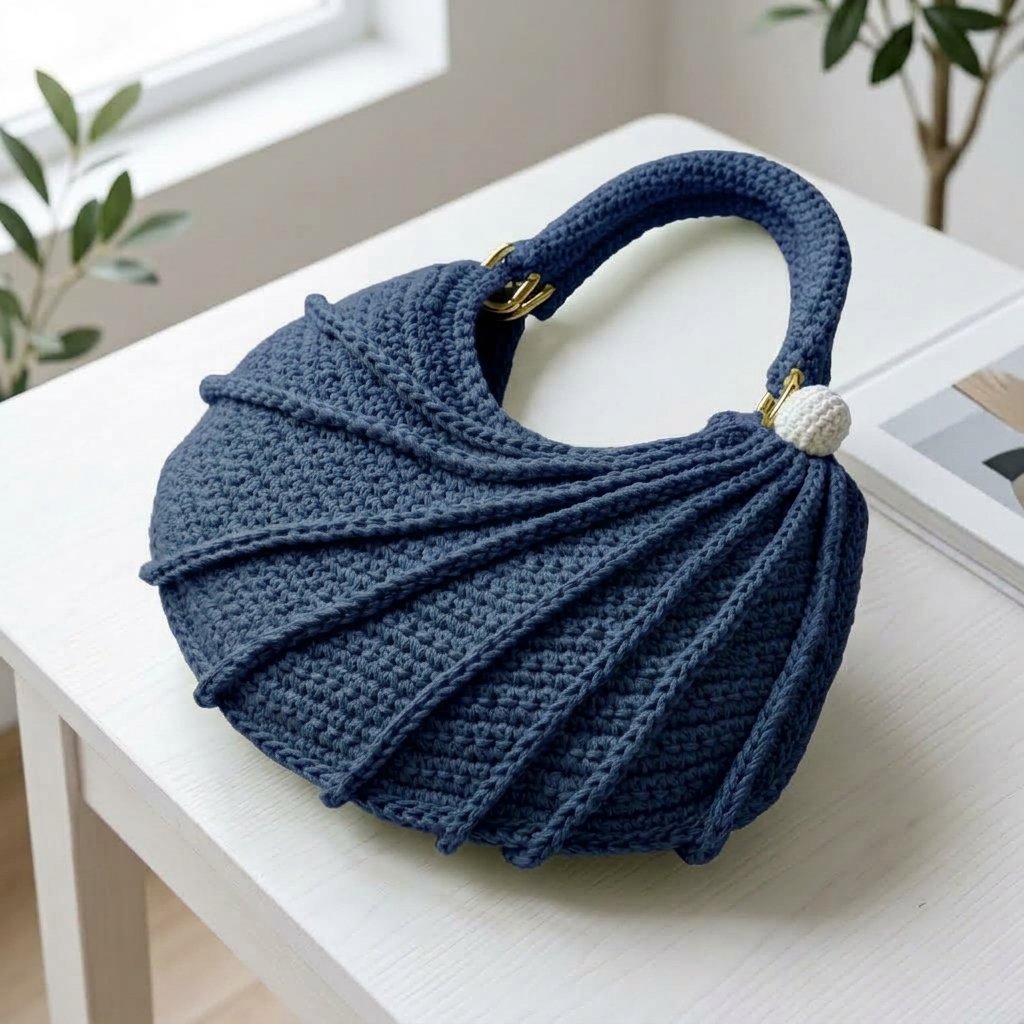
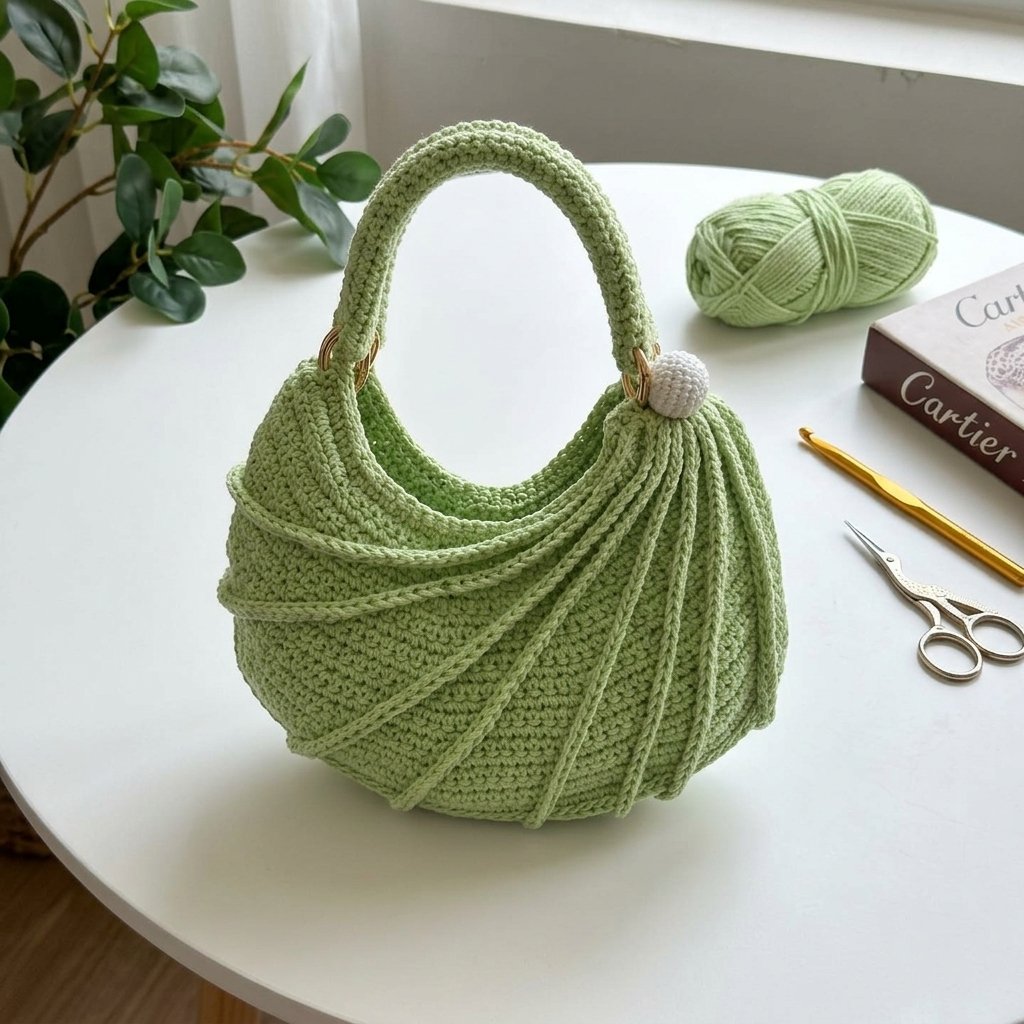
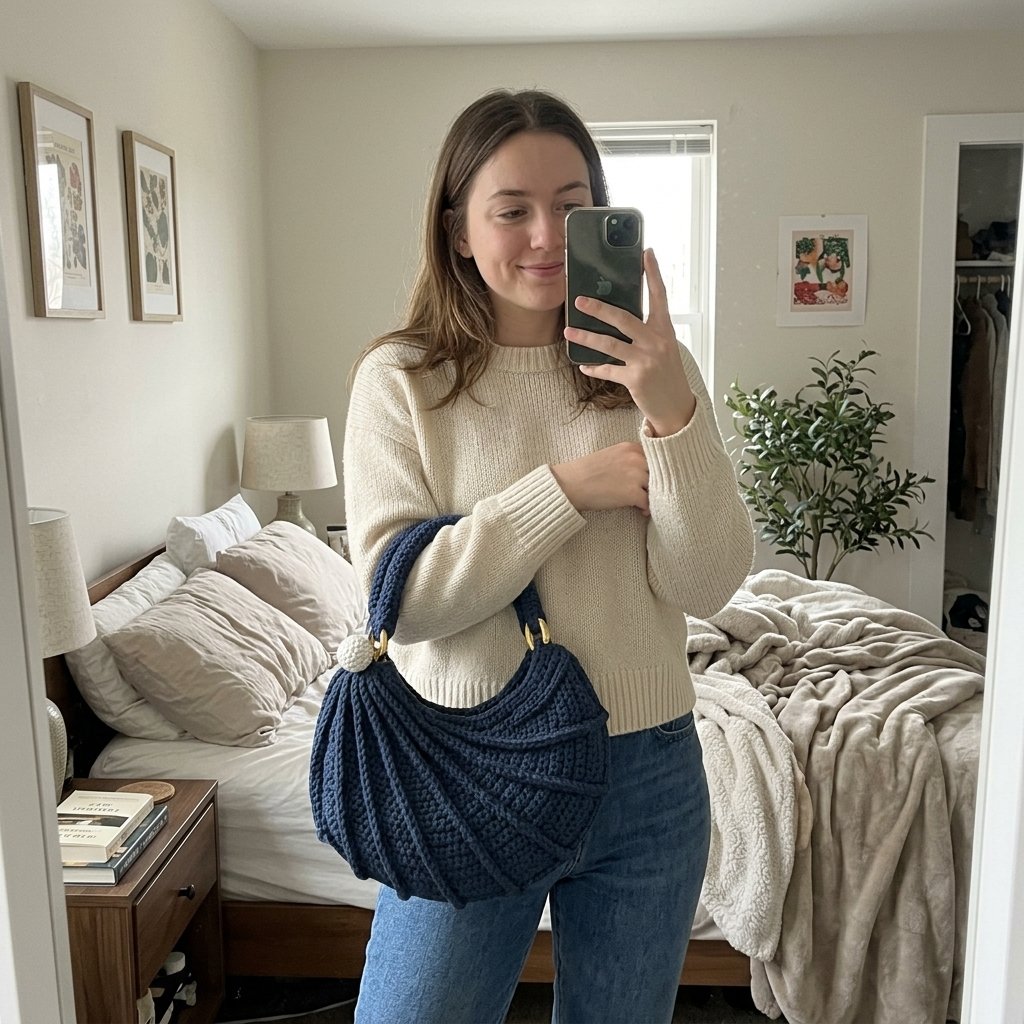
This bag has become one of my favorite makes to show off — that fan of raised, swirling ribs radiating across the front looks so much more complicated than it actually is, and the little crocheted pearl nestled at the handle is such a satisfying detail to make yourself instead of buying. It holds its structure beautifully too; once the two panels are joined, this bag genuinely stands on its own without any extra support.
I’ll walk through it in the order I built it: the two matching panels, joining them together, the raised swirl detail that gives the bag its signature look, the handle, and finally the crochet pearl.
Materials
| Item | Notes |
| 2mm cotton cord yarn | A firm, structured cotton is what gives this bag its shape |
| 3.5mm crochet hook | Main hook for the bag body and handle |
| 2.5mm crochet hook | For the smaller-scale pearl |
| Small amount of white yarn | For the pearl |
| Small amount of fiberfill stuffing | To fill the pearl |
| Clear/invisible thread | For stitching the raised swirl detail in place |
| Bag hardware (rings or clasps) | For attaching the handle — swivel rings or O-rings both work nicely |
| Tapestry needle | |
| Stitch markers | You’ll want several for marking the swirl detail points |
| Scissors | |
| Craft glue (optional) | I still recommend sewing the pearl on for a more secure finish |
Abbreviations (US Terms)
| Abbreviation | Meaning |
| ch | chain |
| sl st | slip stitch |
| sc | single crochet |
| inc | increase (2 sc in the same stitch) |
| dec | decrease |
| Invisible dec | worked through the front loop only of the next 2 sts, for a smoother, less bulky decrease |
| BLO / FLO | back loop only / front loop only |
| MR | magic ring |
| st(s) | stitch(es) |
Part 1: The Bag Panels (Make 2)
Both the front and back panel are worked identically — this pattern uses a distinctive edge technique throughout: the very first and last stitch of every row is worked as a slip stitch rather than a single crochet, and you always skip the previous row’s ending slip stitch before starting the next row. This little rhythm is what keeps both edges of the panel neat, tapered, and symmetrical as the increases build a fan shape across the piece.
Foundation: chain 45 (this should measure about 27cm long).
Row 1: ch 1. Working into the back bumps of your foundation chain throughout this row: starting in the 2nd chain, sl st. Then work 43 sc across the back bumps. In the last chain, sl st.
From here, turn without a turning chain before every row, skip the sl st from the row below, and sl st into the next stitch to begin.
| Row | Instructions |
| 2 | (inc, 7 sc) ×6 — 6 increases total. End with sl st, skip the last st. |
| 3 | 45 sc across. End with sl st, skip the last st. |
| 4 | inc, 8 sc, (inc, 7 sc) ×3, inc, 8 sc, inc — 6 increases total. End with sl st, skip the last st. |
| 5 | 47 sc across. End with sl st, skip the last st. |
| 6 | 10 sc, (inc, 7 sc) ×3, inc, 10 sc — 4 increases total. End with sl st, skip the last st. |
| 7 | 47 sc across. End with sl st, skip the last st. |
From here, repeat Rows 6 and 7, alternating between them, until you reach Row 25 — that’s 18 more rows. I’d recommend a stitch marker on Row 7 once you start this repeat, just to keep track of which of the two you’re on.
Finishing the panel: cut your yarn and weave in the end. Attach a fresh length of yarn and work sc evenly all the way around the entire outer edge of the panel, working 1 sc into each row along both long edges. Fasten off and weave in the end.
Repeat this entire panel twice — one becomes your front, one your back.
Part 2: Joining the Panels
With your two panels together, insert your hook through the back loop of the front panel and the front loop of the back panel at the same time, and work a slip stitch to join them. Continue working slip stitches this way all the way around the sides and bottom, leaving the top open. You’ll feel the bag start to hold its own structure as you go — it’s a lovely moment in this project.
Part 3: The Raised Swirl Detail
This is the signature feature of the whole bag, and it’s built from separate lengths of chain, stitched onto the surface afterward to create the raised, radiating ribs.
Marking your points: starting from the top of the bag opening, count 9 stitches and place a marker at stitch 10. Continue around: on the side, count 19 stitches and mark stitch 20. At the bottom, count 9 stitches and mark, then another 9 stitches and mark again. Continue this same rhythm all the way around until you have 8 marked points total. (Feel free to add more or fewer points to adjust how many ribs your bag has — this is very customizable.)
Making the 7 chain lengths: each one starts with a slip knot, leaving a generous tail (a few wraps around your hand is a good gauge — you’ll use this tail later to help finish and secure the detail), then a length of chain:
| Chain # | Chain Length |
| 1 | 37 |
| 2 | 42 |
| 3 | 47 |
| 4 | 49 |
| 5 | 50 |
| 6 | 50 |
| 7 | 52 |
Because this chain has some natural stretch, check each length against your actual bag as you go, and add a stitch or two if you need a little more length.
Attaching the chains: starting near the top of the bag, stitch each chain down onto the surface using your clear thread, running it diagonally across the bag and securing it at each marked point as you reach them — angling it slightly toward the back of the bag at each securing point. Repeat this for all 7 chains, working from the shortest to the longest, so they fan out across the bag face.
Gathering the ends: bring the top ends of all 7 chains together near your starting point, and use thread stitched between them to gather them into one neat, pinched cluster.
The finishing round: work into the raised loops created by this gathered cluster. Once you reach the end, work an invisible decrease. Then: BLO sc, invisible dec. Then continue in a repeat of 2 sc, invisible dec all the way around, securing each of the 7 chain ends into the round with an invisible decrease as you reach them along the way. Fasten off and weave in your end.
Part 4: The Handle
Worked as a continuous ridged tube.
- Make a magic ring, work 6 sc into it, and close with a slip stitch.
- Turn your work. Working into the back loop of each stitch, work 1 sc in each of the 6 stitches, and close the round with a slip stitch.
- Repeat step 2 over and over, working every round into the back loop only, until your handle reaches the length you want — mine came out to about 27cm, but shorter or longer both work depending on the look you’re going for.
Attach the handle to the bag using your rings or clasps of choice (or sew it directly to the bag if you’d rather skip the hardware).
Part 5: The Crochet Pearl
A sweet way to skip buying a faux pearl bead — you can just make your own.
| Round | Instructions | Stitch Count |
| 1 | 6 sc in a magic ring, close with sl st | 6 |
| 2 | ch 1, 6 inc around, close with sl st | 12 |
| 3 | ch 1, (1 sc, inc) ×6, close with sl st | 18 |
| 4–6 | ch 1, 18 sc around (3 rounds) | 18 |
| 7 | ch 1, (1 sc, invisible dec) ×6 — stuff the pearl firmly before closing further | 12 |
| 8 (final) | ch 1, invisible dec ×6, close with sl st | 6 |
If you’d like a larger pearl, simply add one or two more increase rounds after Round 3 before moving on.
Cut your yarn leaving a long tail. Weave the tail through the remaining stitches around the opening and pull gently to cinch it closed, then pass the needle through the center and back out through the middle once more to neaten and secure everything.
Attach the finished pearl to the bag — right at the point where the handle meets the bag looks lovely — sewing it on for the most secure finish (glue works in a pinch, but sewing holds up much better over time).
And that’s the whole bag — panels, that gorgeous swirling raised detail, a handle, and a pearl you made yourself from a bit of white yarn. I love how every part of this design is so easy to customize: add more ribs to the swirl, lengthen or shorten the handle, or size up the pearl for an even bolder statement piece.