Easy Striped Crochet Scarf Pattern – Granny Stitch Crochet Tutorial for Beginners
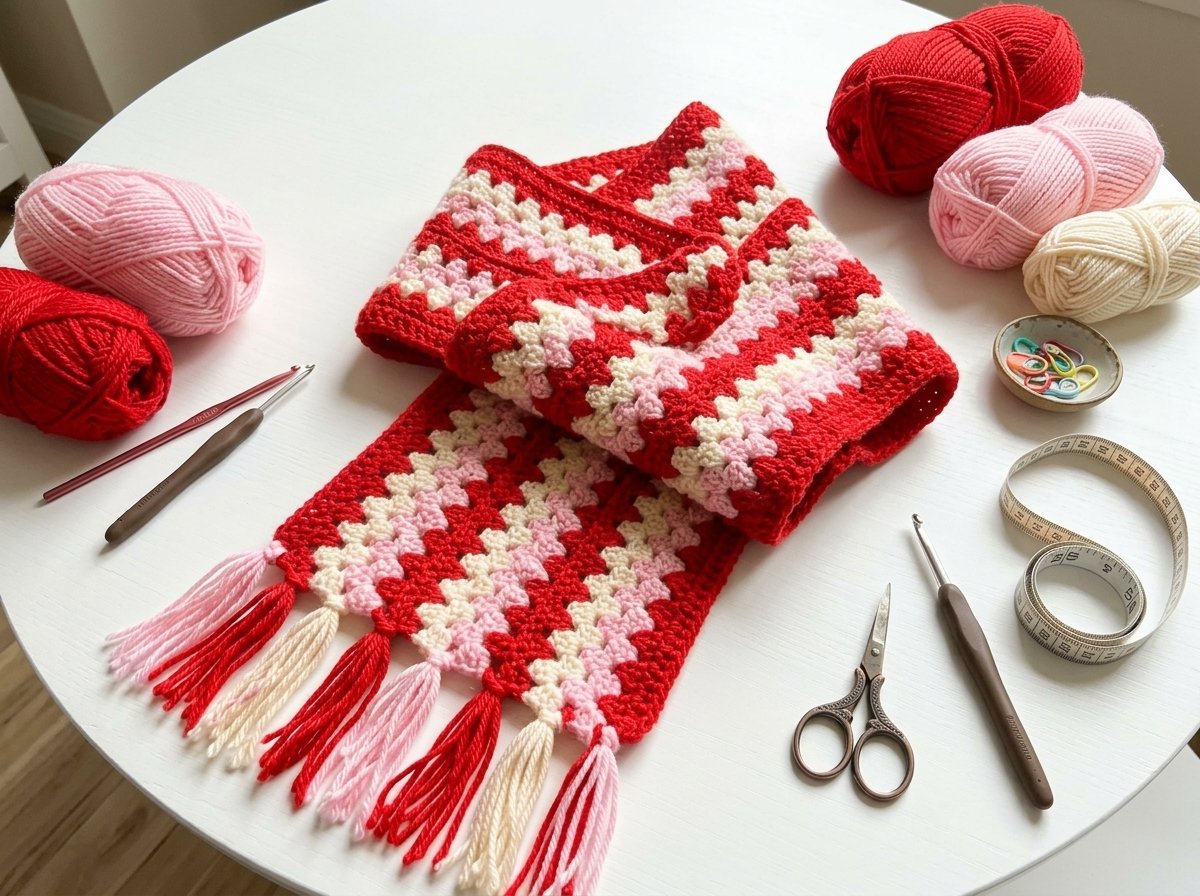
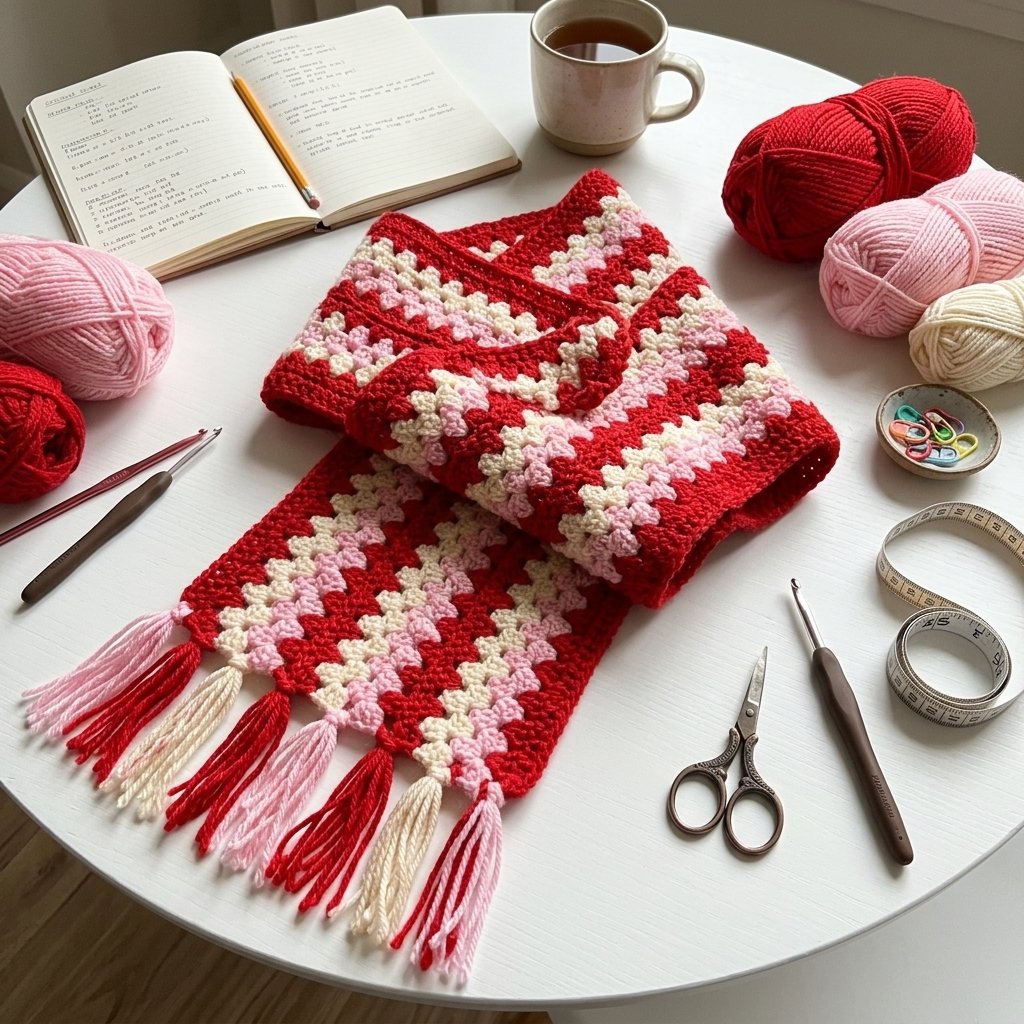
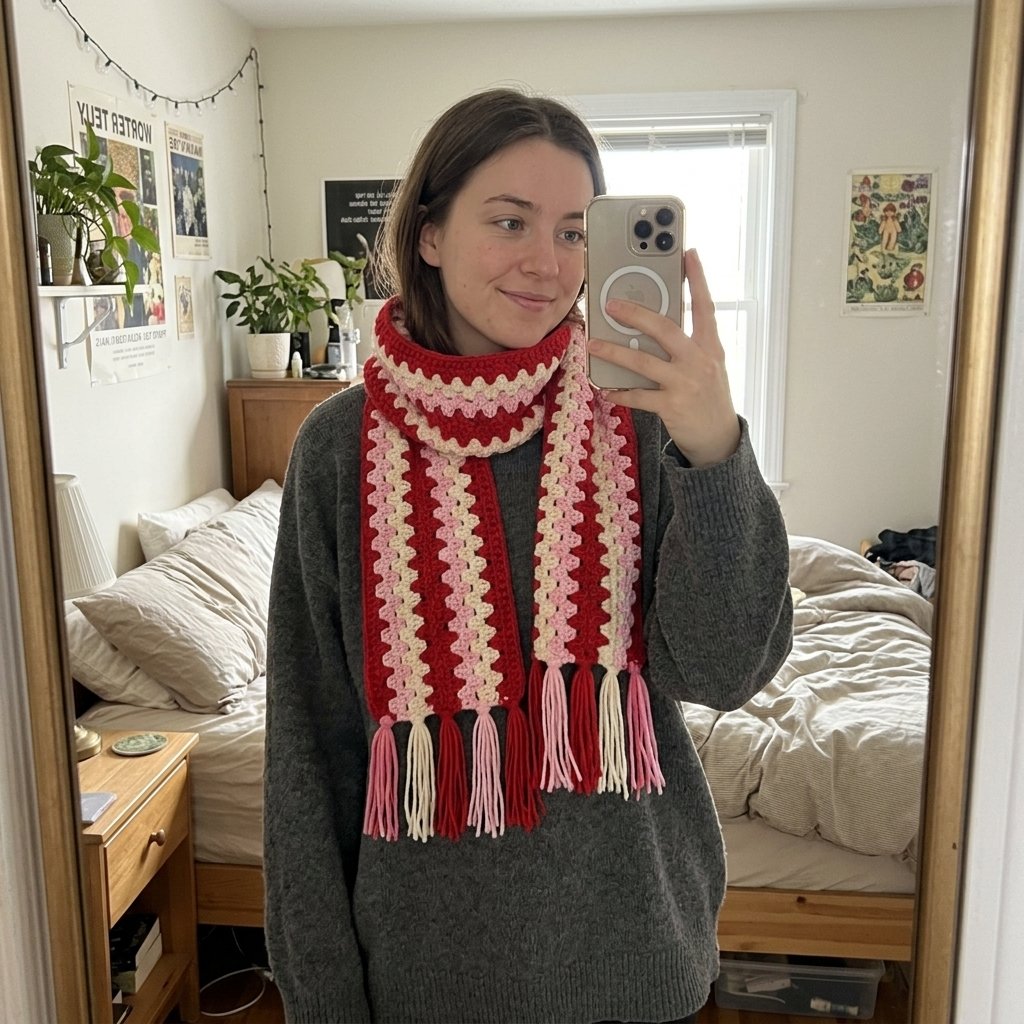
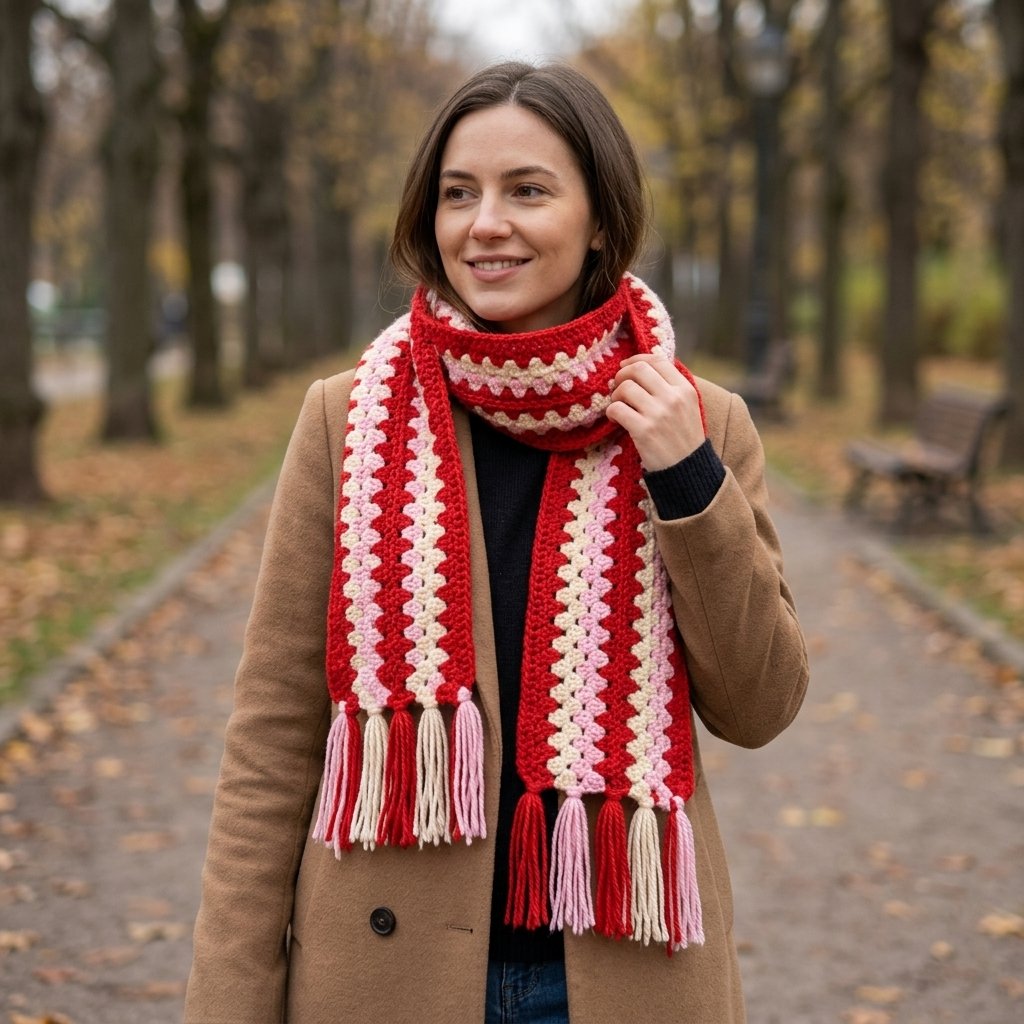
A classic granny-cluster scarf worked lengthwise in three alternating colors, finished with hand-tied tassels on both ends. The whole thing is built from one repeating 3-double-crochet cluster, worked in 2-row color stripes — genuinely simple once the rhythm clicks, and the long lengthwise construction means no seaming at all.
Quick glance
| Time | Skill | Finished size | Hook |
| 4–6 hrs | Beginner | Adjustable length and width | 5.5mm |
A note on hook size: the yarn used calls for a 5mm hook, but sizing up to 5.5mm gives the scarf a softer, less stiff drape. Use 5mm if you’d rather match the yarn label exactly — both work fine.
Materials
- Worsted weight (#4) yarn in 3 colors (2 skeins of your main color, 1 each of the two accent colors is a reasonable starting ratio)
- 5.5mm crochet hook (or 5mm)
- A rectangular card (credit-card sized) for wrapping tassels
- Optional: a slightly larger hook (6mm) for pulling tassels through
- Yarn needle, scissors
Terms & abbreviations
| Abbrev | Term | Notes |
| ch | chain | — |
| dc | double crochet | the only stitch used throughout |
| sp | space | the gap between clusters — later rows work into this, not into a stitch |
| cluster | granny cluster | 3 dc worked together into the same stitch or space |
Sizing note
This scarf is worked lengthwise, so your starting chain sets the scarf’s length, and your total row count sets its width. The pictured scarf used a chain of 243 and 14 total rows — adjust either number freely for a longer, shorter, wider, or narrower scarf.
Pattern
Foundation: Chain 243 (or your desired length). Keep a tally on paper every 10–20 chains so you don’t lose count on a chain this long.
Row 1: Work 2 dc into the 3rd chain from your hook (this counts as your first cluster). Skip 2 chains, then work 3 dc into the next chain. Repeat *skip 2, 3 dc* all the way down the chain. At the very last chain, work 3 dc into that final stitch to close the row.
Row 2: Turn your work, chain 3. Work a 3-dc cluster into the first space (the gap between clusters from the row below — not into an actual stitch). Continue placing a 3-dc cluster into each space all the way down the row.
Ending a row — two possibilities:
- If the row ends in a space: work your final 3-dc cluster into that last space.
- If the row ends on top of a cluster: work 1 dc into the top of that cluster’s 3rd stitch to close the row.
Tie off after every 2 rows to prepare for a color change.
Changing Color
- Turn your work and insert your hook into the top of the last stitch you made.
- Attach your new color with a slip knot, pull it through, and chain 3.
- Yarn over and work 2 dc into that same first space (the chain-3 plus these 2 dc together form your first cluster in the new color).
- Continue the same cluster pattern down the row as before.
Work 2 rows in each color, alternating through your 3 colors in whatever order you like, until you reach your desired scarf width (14 total rows was used for the pictured scarf).
Tassels
You’ll need one tassel per space along each short end of the scarf — count your end-row spaces to know how many you need (7 per end in the pictured scarf, 14 total).
Make each tassel:
- Hold your yarn against your card and wrap it around 4 times (wrap more times for a thicker tassel, fewer for thinner).
- Cut the working yarn off the ball, then carefully cut along the bottom edge of the wrapped loops (opposite the folded top) while holding it firmly. You’ll be left with a U-shaped bundle of strands.
Attach each tassel:
- Insert a hook (sizing up from your scarf hook works well) into an end-row space.
- Grab the tassel by its folded top (the “U”) and pull that fold through the space to form a loop.
- Wrap the loose strand ends around and pull them through that loop to cinch the tassel in place.
No hook needed if you’d rather do this by hand — just pinch the folded top through the space with your fingers and follow the same wrap-and-pull-through step.
Repeat for every space along both ends, alternating colors as you like — or hold two colors together while wrapping for a mixed-color tassel.
Common mistakes
| Mistake | Fix |
| Foundation chain twists partway through | Check periodically as you work Row 1 that the chain hasn’t flipped — it’s hard to fully correct once several rows are worked over it |
| Rows come out a different width than the last | Always work into spaces, not stitches, for Row 2 onward — working into the stitches themselves shifts your cluster count |
| Color change looks messy | Make sure you’re inserting into the top of the very last stitch made, and pulling your new color through cleanly before chaining 3 |
| Tassels look uneven in length | Trim all the tassels together at the end, once they’re all attached, rather than trying to match each one individually as you go |
Finishing
Weave in all remaining ends from both the color changes and the tassels. Give the tassels a final trim once they’re all attached so the ends line up evenly.