Easy Crochet Mesh Bandana Pattern (Free & Beginner-Friendly)
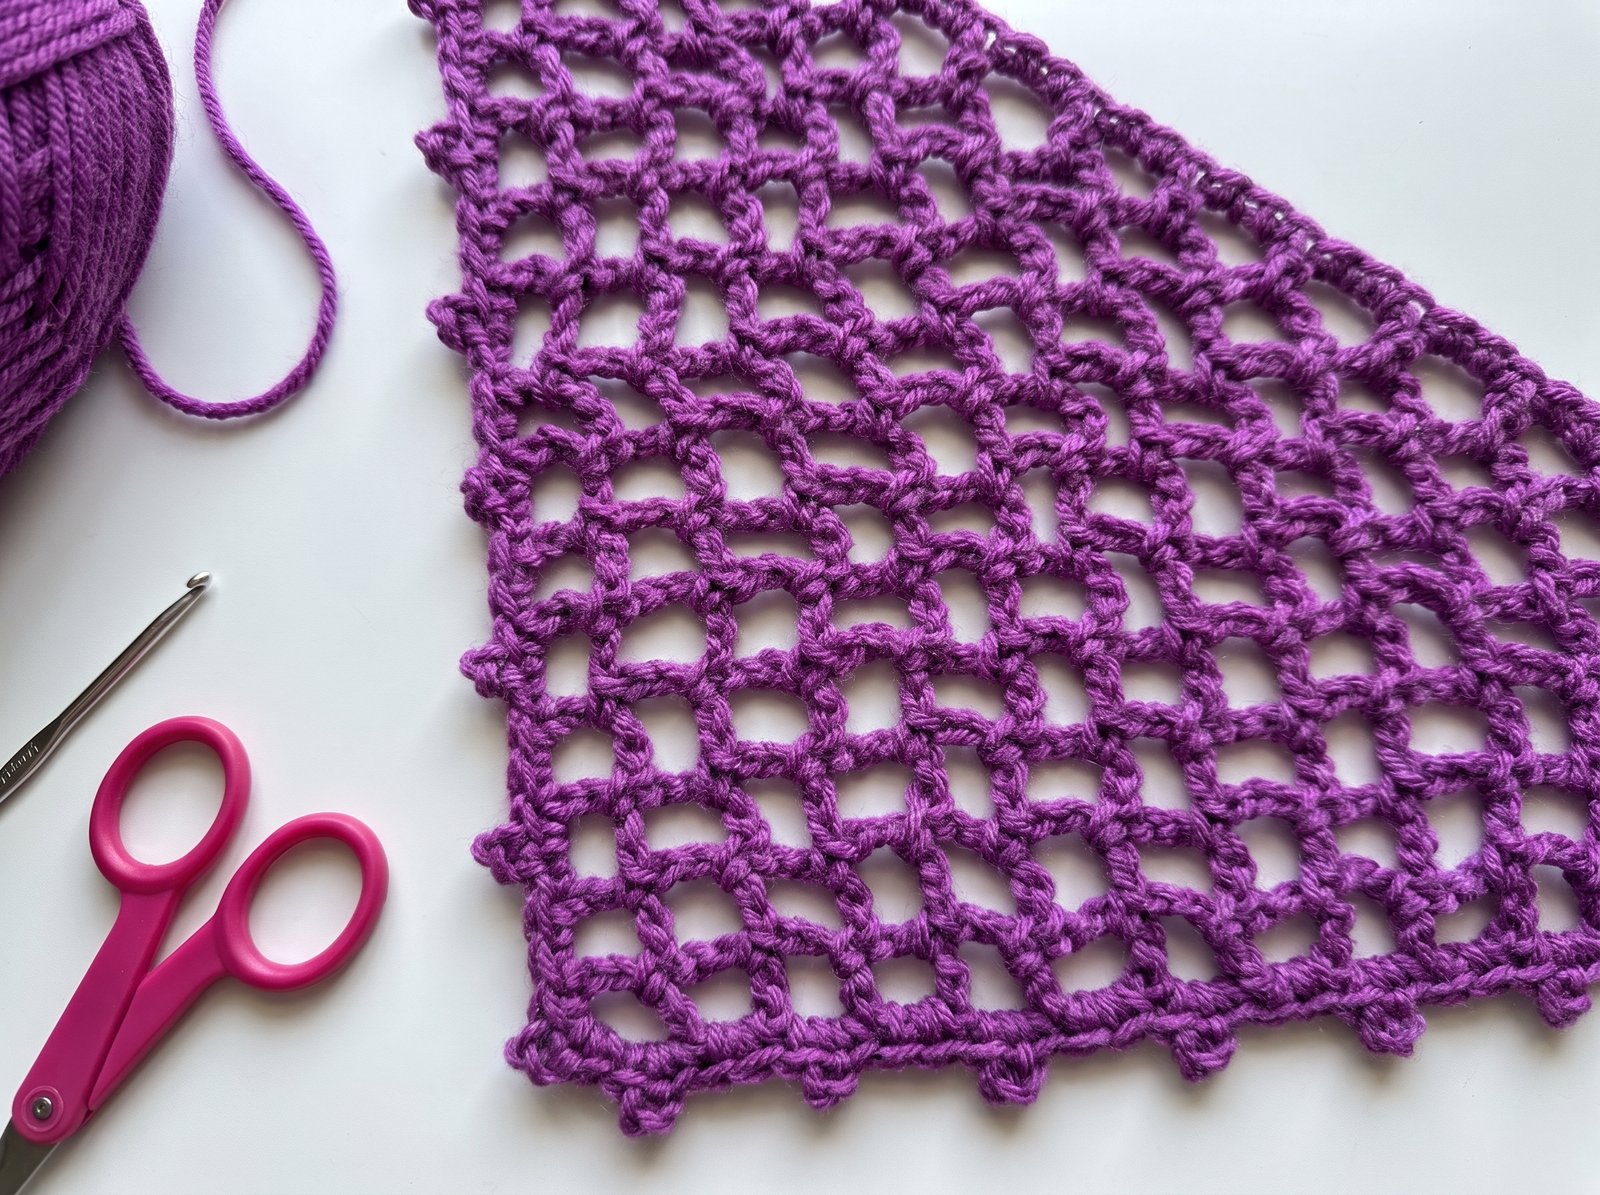
A lightweight, lacy mesh bandana that grows from a single point into a full triangle, finished with a delicate picot edge and long ties. It’s genuinely flexible on sizing — the same basic construction works as a hair bandana, a pet bandana, or even a waist wrap, just by adjusting how many rows you work before starting the border.
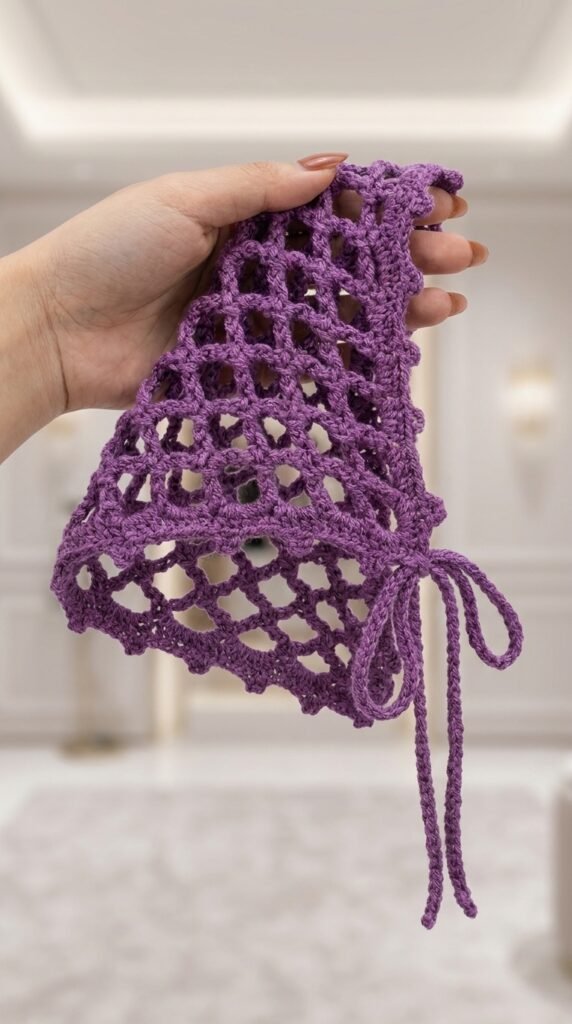
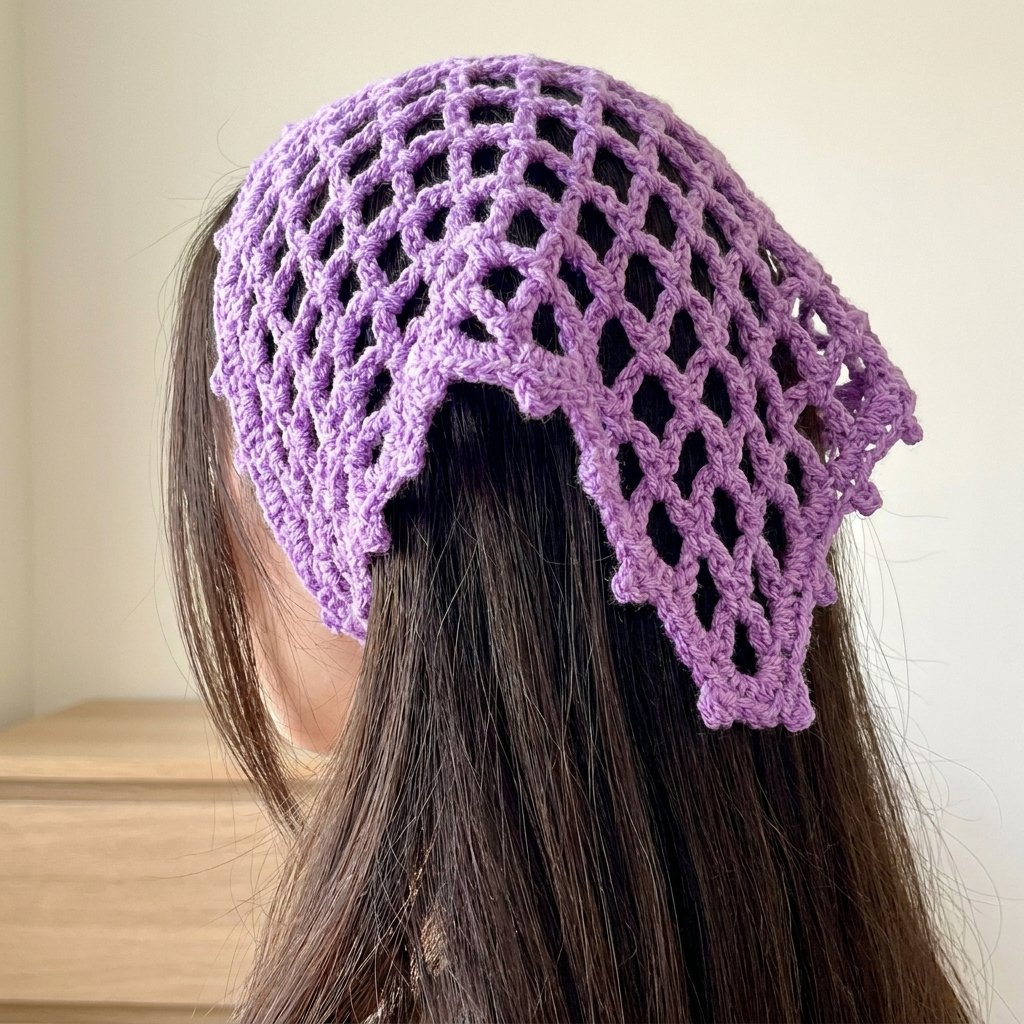
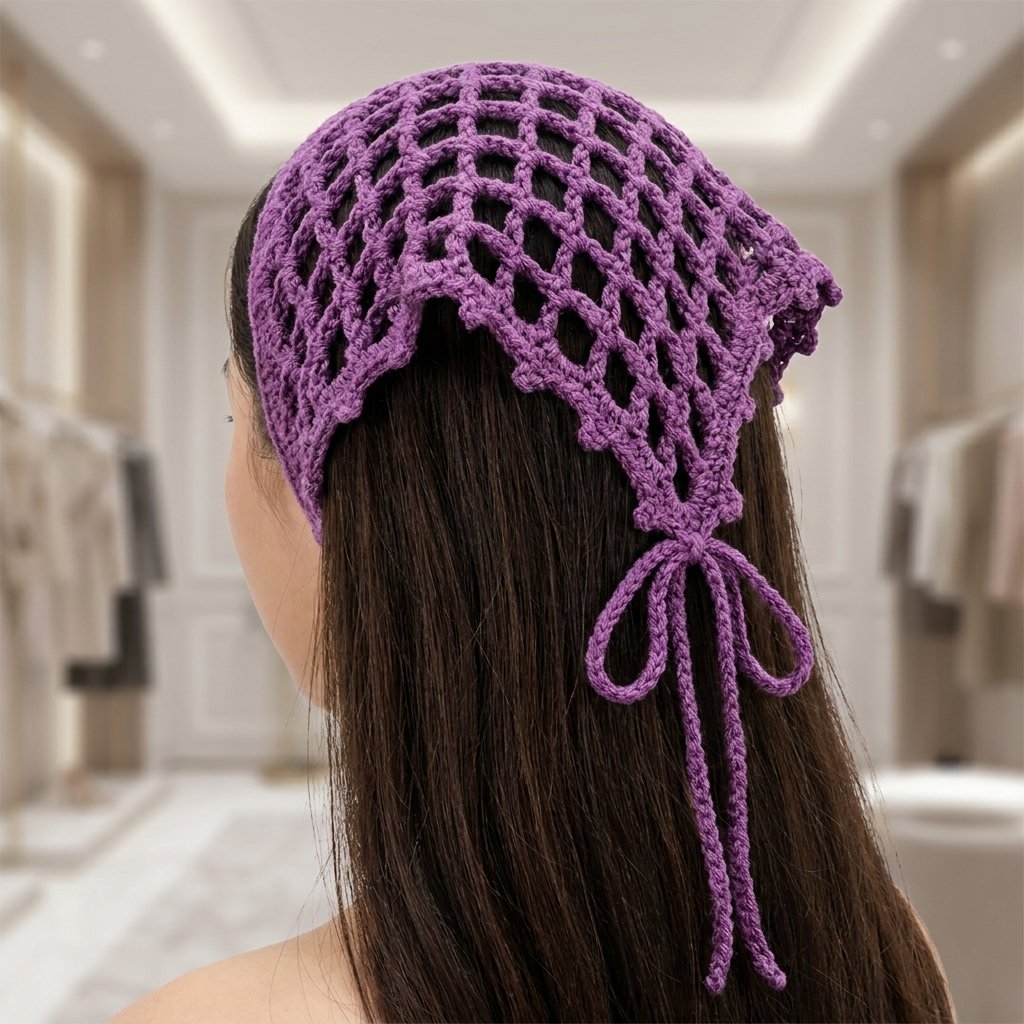
Quick glance
| Time | Skill | Size | Hook |
| 3–4 hrs | Beginner (picot edge is the one technique past absolute-basics) | Fully adjustable | 3.5mm |

Materials
- Worsted weight yarn — acrylic or cotton both work; cotton gives a more flowy, draped finish
- 3.5mm crochet hook
- Scissors
- Yarn needle for weaving in ends
Terms & abbreviations
| Abbrev | Term | Notes |
| ch | chain | — |
| dc | double crochet | — |
| sc | single crochet | — |
| sl st | slip stitch | used for the ties and to close the final row |
| picot | picot stitch | ch 3, then slip stitch into the bottom 2 loops of that same ch-3 |
| sp(s) | space(s) | the mesh openings you’ll be working into |
| st(s) | stitch(es) | — |
Sizing note
This bandana is sized entirely by how many mesh rows you work before starting the border — there’s no fixed row count. Keep working Part 2 until the triangle reaches the width you want: a smaller pet bandana needs only a handful of rows, while a full-size head or waist bandana needs quite a few more. Try the piece against whatever it’s for periodically as you go, since it’s easy to check progress on a flat mesh triangle.
Part 1 — Foundation & Point
Foundation: Chain 9.
Row 1: Work 1 double crochet into the very first chain you made (the one closest to your slip knot) — this single stitch forms the point of the bandana. From here on, you’ll always be working on the side opposite your yarn tail; that tail marks the point.
Chain 8 to begin the next row.
Part 2 — Mesh Body (increasing triangle)
Row 2: Turn. Single crochet into the first space (the loop formed at the point). Chain 5. Double crochet into the 3rd chain over, counting from the yarn tail side — this anchors the row.
Chain 8 to begin the next row.
Row 3: Turn. Single crochet into the first space. Chain 5. Single crochet into the next space. Chain 5. Double crochet into the 3rd chain (same anchor technique as Row 2).
Chain 8 to begin the next row.
Row 4 onward: Turn. Work a single crochet into each existing space, chaining 5 between each one. Finish every row the same way — double crochet into the 3rd chain at the anchor point. Chain 8 to begin the next row.
Each row adds exactly one more sc + ch-5 mesh space than the row before it. Repeat this growing pattern until your triangle reaches your target size.
Part 3 — First Tie
Without fastening off, continue straight from your last row’s working yarn: chain 40 (or your own preferred length — just make sure it’s long enough to comfortably tie for whatever you’re using the bandana for).
Work back down the chain: slip stitch into every chain, starting in the 2nd chain from your hook, all the way back to the base.
Part 4 — Picot Border
Starting from the base of the first tie, work down the diagonal edge of the triangle toward the point:
- Into the first space: 1 single crochet, then 1 picot (ch 3, slip stitch into the bottom 2 loops of that ch-3), then 1 more single crochet into that same space.
- Into the next space: 2 single crochet.
- Repeat this alternating pattern — picot + sc in one space, then 2 sc in the next — all the way down to the point.
At the point, continue the same alternating pattern back up the second diagonal edge, all the way to the opposite top corner.
Part 5 — Second Tie
At the second top corner, chain the same length as your first tie, then work back down with a slip stitch in every chain, starting in the 2nd chain from the hook — same as Part 3.
Part 6 — Top Edge Finish
Work back across the top (widest) edge of the bandana: 3 single crochet into each space, all the way across from the second tie’s base to the first tie’s base.
Finish: Slip stitch into the very first stitch of this final row to close. Chain 1, cut your yarn, and pull it through to fasten off.
Common mistakes
| Mistake | Fix |
| Losing track of the “3rd chain” anchor point | Always count from the yarn tail side, not your current working side |
| Mesh spaces come out uneven | Keep chain-5 loops at consistent tension — not too tight, not too loose |
| Tie ends up too short to actually tie | Loosely measure around your head (or intended use) before committing to your final tie length — easy to add chains, much harder to lengthen after fastening off |
| Picot stitches look sloppy or lean sideways | Make sure your slip stitch catches both loops at the base of the ch-3, not just one strand |
Finishing
Weave in all remaining ends — the point tail, both tie ends, and any joins along the way.
Write a review
 no image