Crochet Plush Stingray Pattern – No-Sew Free Amigurumi Crochet Tutorial
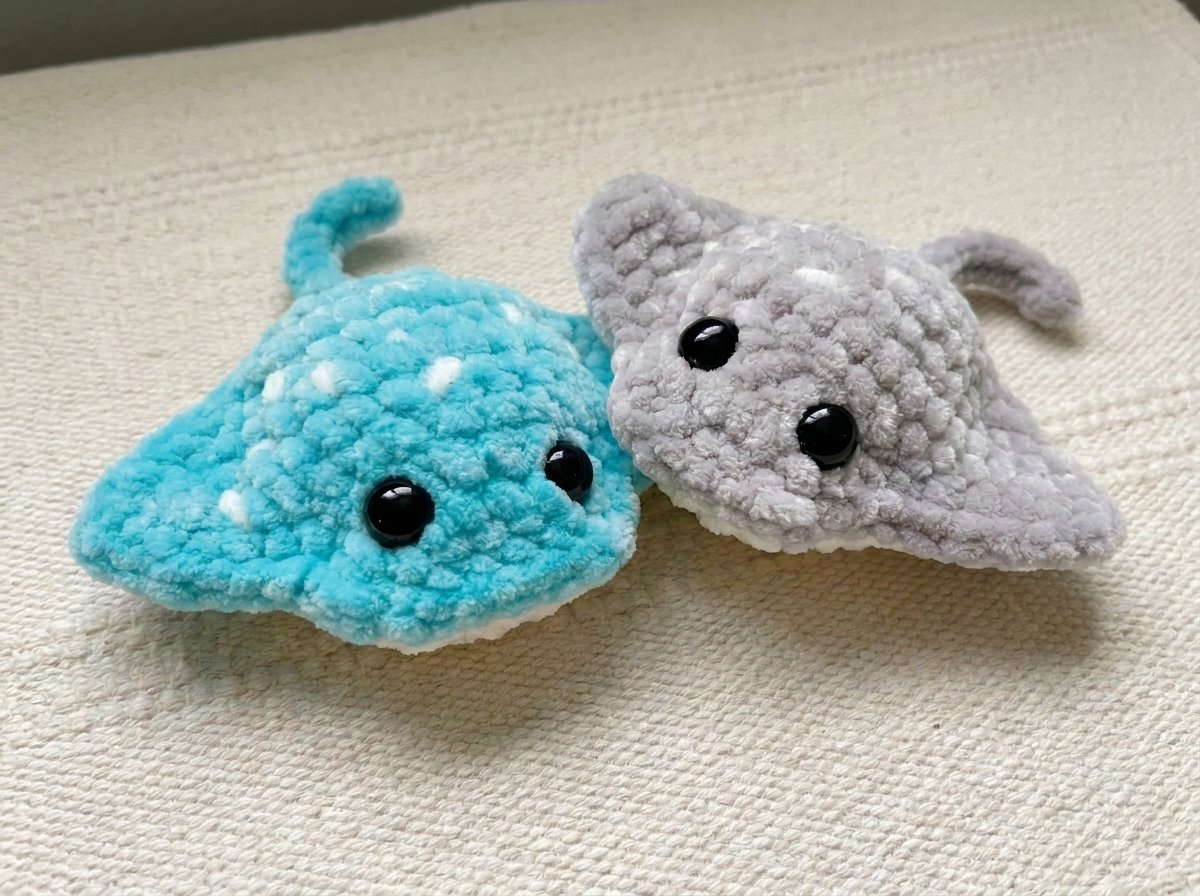
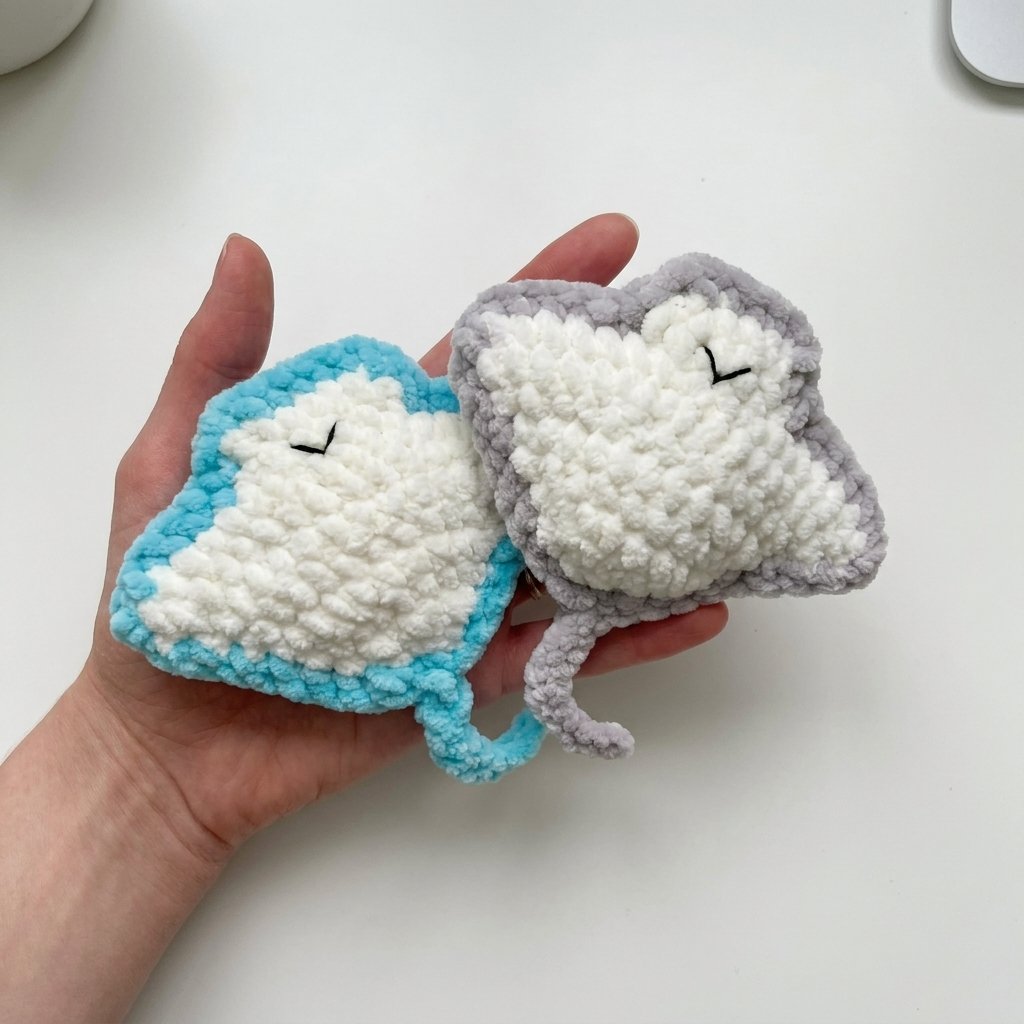
Every so often I want a project that’s finished before I’ve even settled all the way into the couch, and this little stingray is exactly that. It uses barely any yarn, sticks to just four stitches the whole way through — chain, single crochet, slip stitch, and increase — and comes together into the most satisfying flat little plush shape. I genuinely mean it when I say this is a 45-minute make from start to finish, and it’s basically no-sew: the two halves join with a simple single crochet border instead of hand-sewing a seam.
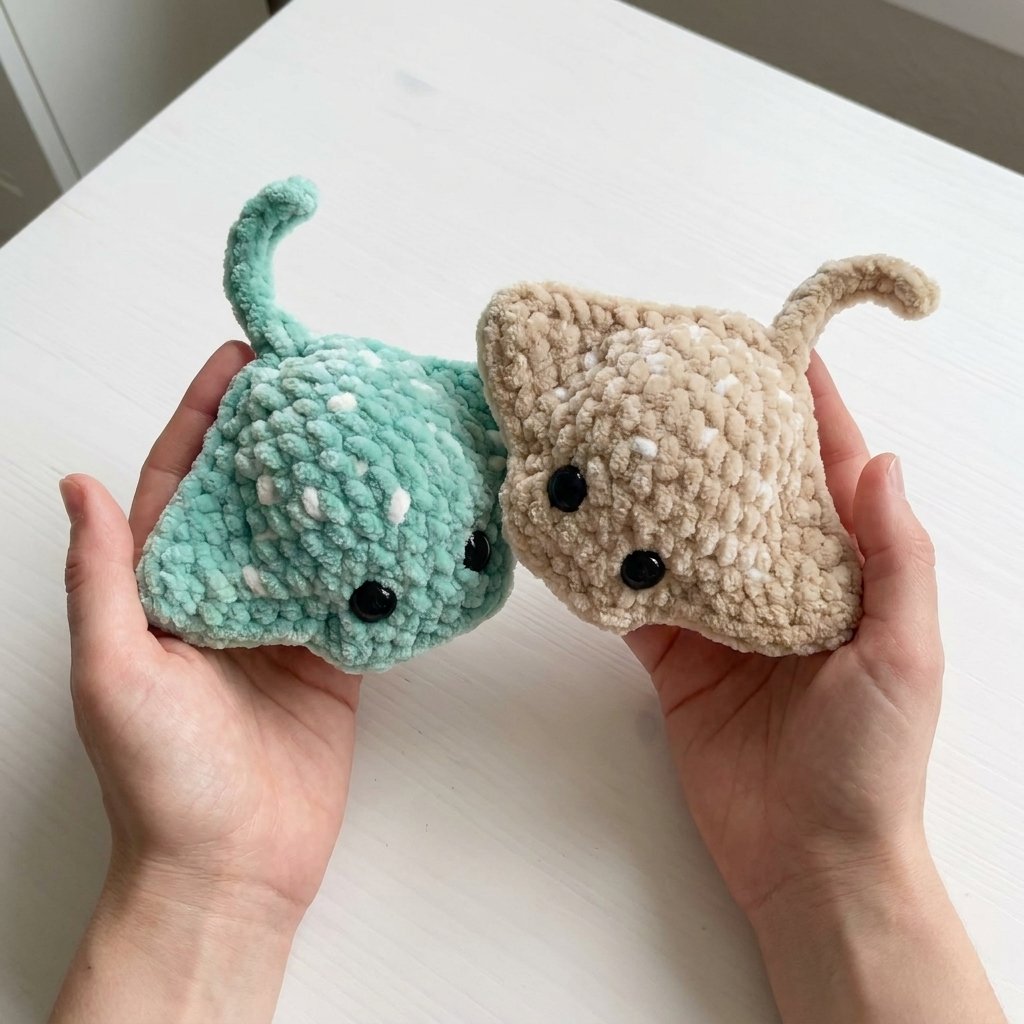
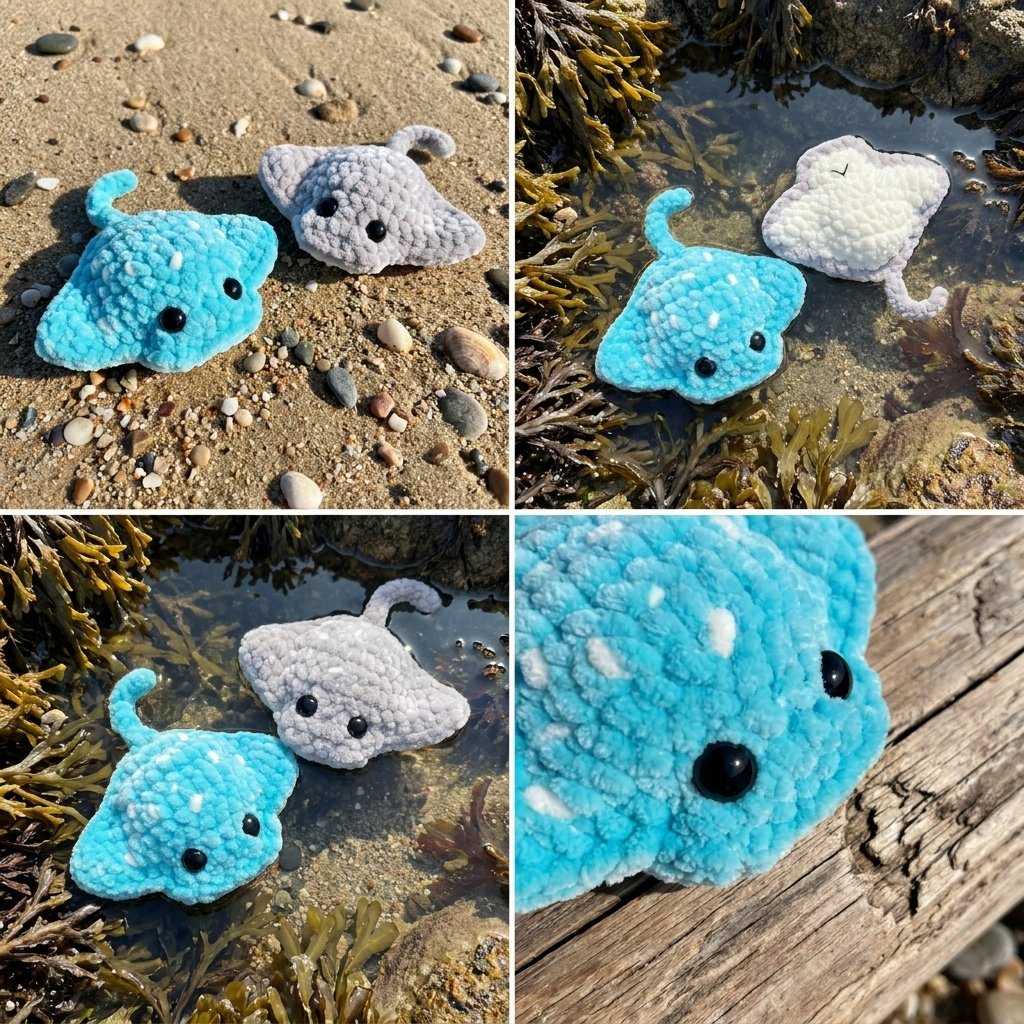
I love making a little “school” of these in different colors — they’re endlessly cute lined up on a shelf, and they make a really sweet, quick handmade gift.
Materials
| Item | Notes |
| Super bulky (weight 6) yarn, main color | This is your top piece and the tail — I used blue for one and gray for the other |
| Super bulky yarn, belly/contrast color | White or cream works beautifully — this becomes the entire underside piece |
| Small amount of white yarn | For the decorative spots on top (this can be the same as your belly color) |
| 5mm crochet hook | |
| Pair of 12mm black safety eyes | |
| Yarn/tapestry needle | |
| Black embroidery floss | For the smile |
| Small amount of stuffing | Just enough for the center of the body — these are meant to stay pretty flat |
| Scissors |
Any yarn weight works for this pattern with the right hook to match — I just love how quickly it grows in a super bulky plush yarn.
Abbreviations (US Terms)
| Abbreviation | Meaning |
| ch | chain |
| sl st | slip stitch |
| sc | single crochet |
| inc | increase (2 sc worked into the same stitch) |
| st(s) | stitch(es) |
How This Little Ray Comes Together
- Crochet the top piece (main color), including its small head extension, and insert the safety eyes.
- Crochet an identical bottom piece in your belly color.
- Join the two pieces together with a single crochet border, pausing to stuff, embroider the smile, and then finish closing it up.
- Add a simple slip-stitched tail directly onto the body — no sewing required.
- Sew on a few decorative spots and give it a little shape.
Part 1: The Top Piece (Main Color)
This whole piece is worked flat, turning your work at the end of every row.
| Row | Instructions | Stitch Count |
| 1 | Ch 4, turn. Sc 1, inc, sc 1 across the chains | 4 |
| 2 | Ch 1, turn. Inc in every stitch across | 8 |
| 3 | Ch 1, turn. Inc, 6 sc, inc | 10 |
| 4 | Ch 1, turn. Inc, 8 sc, inc | 12 |
| 5 | Ch 1, turn. Inc, 10 sc, inc | 14 |
| 6 | Ch 1, turn. Inc, 12 sc, inc | 16 |
| 7 | Ch 1, turn. Inc, 14 sc, inc | 18 |
| 8 | Ch 1, turn. 1 sc in each stitch across, no increases | 18 |
Fasten off, leaving a short tail to weave in later. This diamond-ish shape is the wide body of your ray.
The head: you’ll add a little extension centered on this last row of 18 stitches.
- Count 6 stitches over from one edge, and attach your yarn in the 7th stitch.
- Sc across the next 6 stitches (so you’re only working the center 6 of the 18 — 6 stitches free on each side).
| Row | Instructions | Stitch Count |
| 9 (above) | 6 sc across the center | 6 |
| 10 | Ch 1, turn. 6 sc across | 6 |
Don’t fasten off this time — leave the working yarn attached. You’ll use it in a bit to join the two halves together.
Adding the eyes: insert your safety eyes between these last two head rows, spacing them about 3 stitches apart, and attach the backings.
Part 2: The Bottom Piece (Belly Color)
Repeat every step from Part 1 exactly the same way, but in your belly/contrast color — this is what gives you that lovely solid white underside. The only difference: at the end of Row 10, go ahead and fasten off completely rather than leaving the yarn attached, since you already have live yarn ready to go on the top piece.
Part 3: Joining the Two Pieces
- Line up your top and bottom pieces so all the edges match.
- Using the working yarn still attached to your top piece, insert your hook through a stitch on the top piece and the matching stitch on the bottom piece together, and work a single crochet through both layers. Continue this all the way around the entire outer edge of the ray as a joining border.
- When you have about 10 stitches left unworked (right around the bottom-center, near the mouth), stop and set your hook aside — you’ll finish this last stretch after stuffing and the smile.
If the back of a safety eye ever gets in the way of your hook, just nudge it gently to the side with your fingers, make your stitch, and let it settle back into place.
Part 4: Stuffing and the Smile
- Weave in any loose ends now, before the opening gets any smaller (tuck away the very last two tail-ends for later).
- Add just a small amount of stuffing to the center of the body only — leave the two wing edges and the face completely flat. Rays are meant to stay soft and flat rather than round and puffy, so resist the urge to overstuff.
- Thread a strand of black embroidery floss onto your needle (no need to knot the end yet). Bring it out through the remaining open gap, between the last two rows of the body.
- Make one horizontal stitch, then bring the floss up one row, centering it, and stitch back down into that same starting point to form a simple “V” shape smile.
- Once it looks straight and centered to your eye, tie the two floss ends together in a knot and tuck them inside the body.
- Finish single crocheting the remaining border stitches closed, joining with a slip stitch to your very first border stitch once you’re all the way around. Fasten off and weave in the tail.
Part 5: The Tail (No Sewing Required)
- Using your main body color, find the center stitch at the back of the ray (opposite the head) and attach your yarn there with a slip stitch.
- Chain 9.
- Working back down that chain, work 8 slip stitches — slip stitches rather than single crochet is what keeps this tail thin and straight instead of curling up.
- Once you’re back at the body, work one more slip stitch directly into the body itself to anchor the tail securely.
- Fasten off and weave in both remaining tail ends into the body.
Part 6: The Spots
- Thread a length of white (or contrast) yarn onto your needle. If your plush yarn feels a little thin to show up well, try doubling up two strands on the needle at once.
- Bring the needle up from the underside of the body through to the top at one point, leaving a tail on the bottom to knot off later.
- Sew small, individual straight stitches scattered across the top of the body — about 10 or 11 total looks great, but there’s no need to count carefully. Placing them a little randomly is exactly what makes it look natural.
- Once you’re happy with the spots, bring your needle back down through to the same starting point on the underside.
- Tie the two tails together in a knot and weave the ends inside the body.
Finishing Up
Give the whole ray a once-over to tidy up any stray fuzz from the plush yarn, then gently bend both wing tips upward just slightly for a more playful, swimming pose. And that’s it — your little ray is ready to swim off to a shelf, a bag charm, or straight into someone’s hands as a gift.
I love how forgiving this pattern is — every color combination I’ve tried has turned out charming, and it’s such a satisfying make when you want something finished in under an hour. Happy hooking!