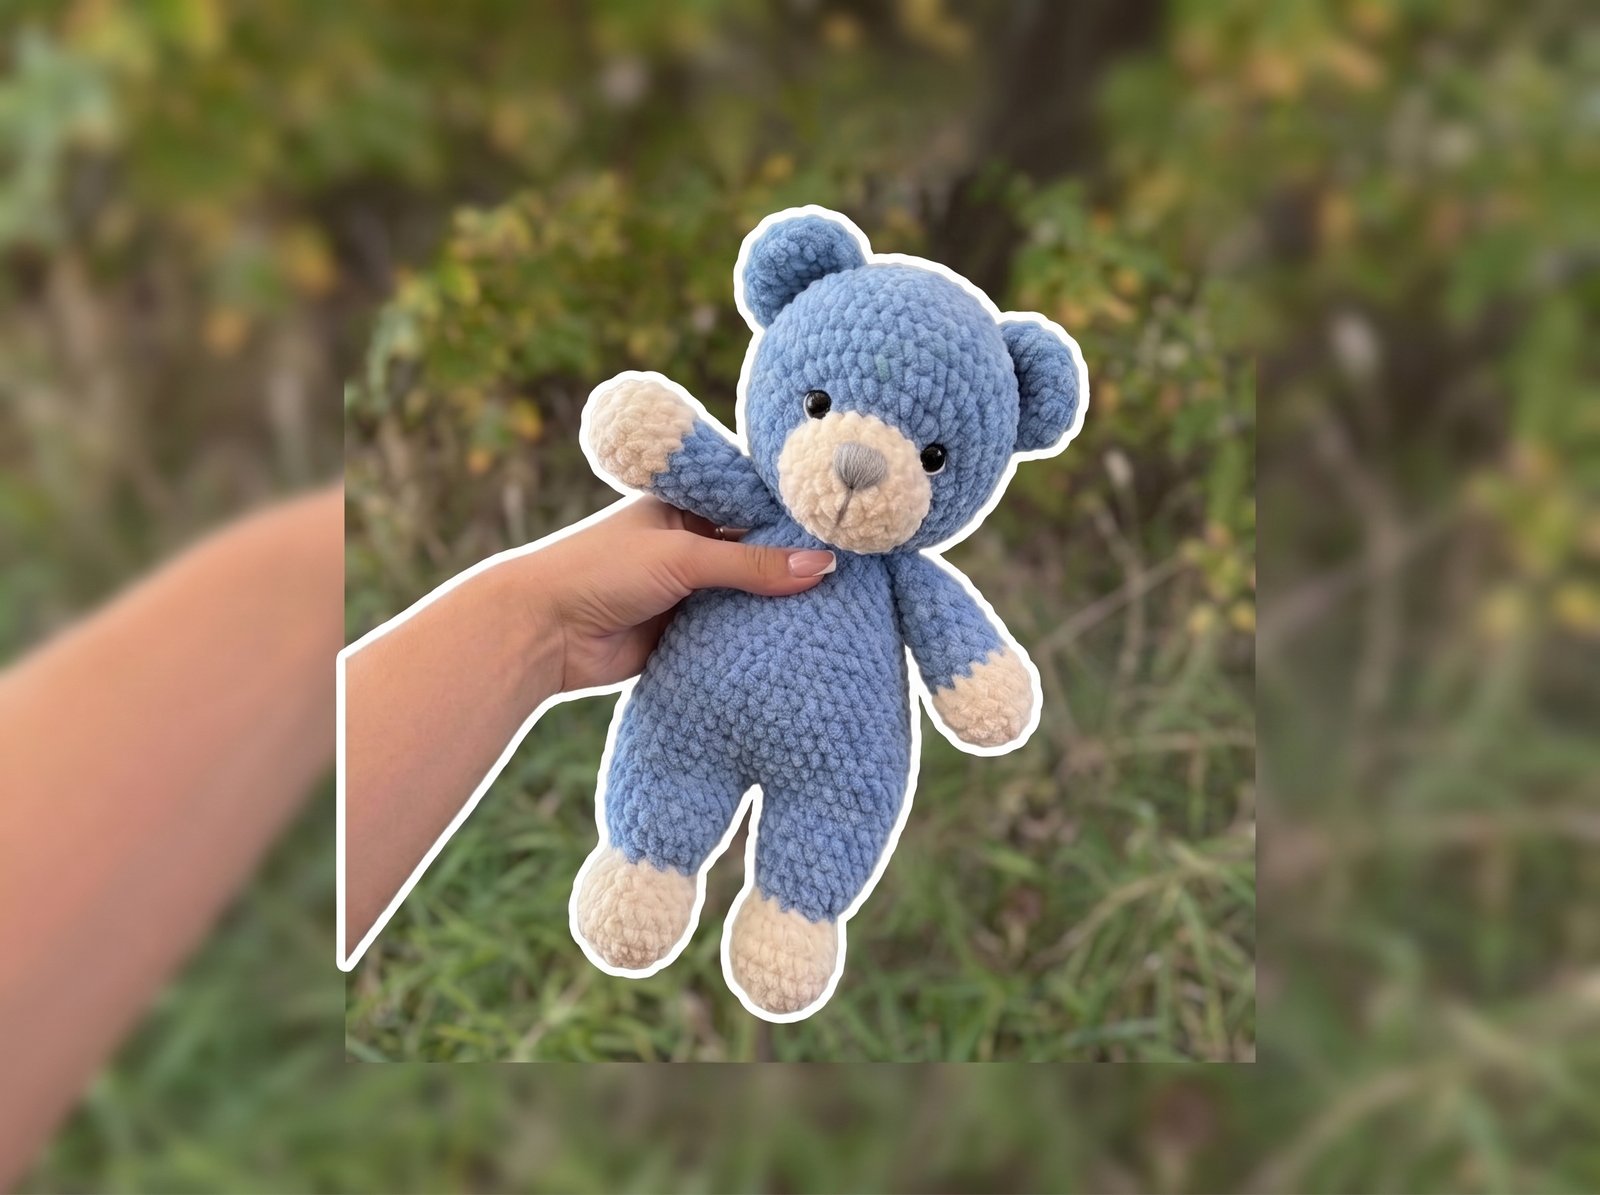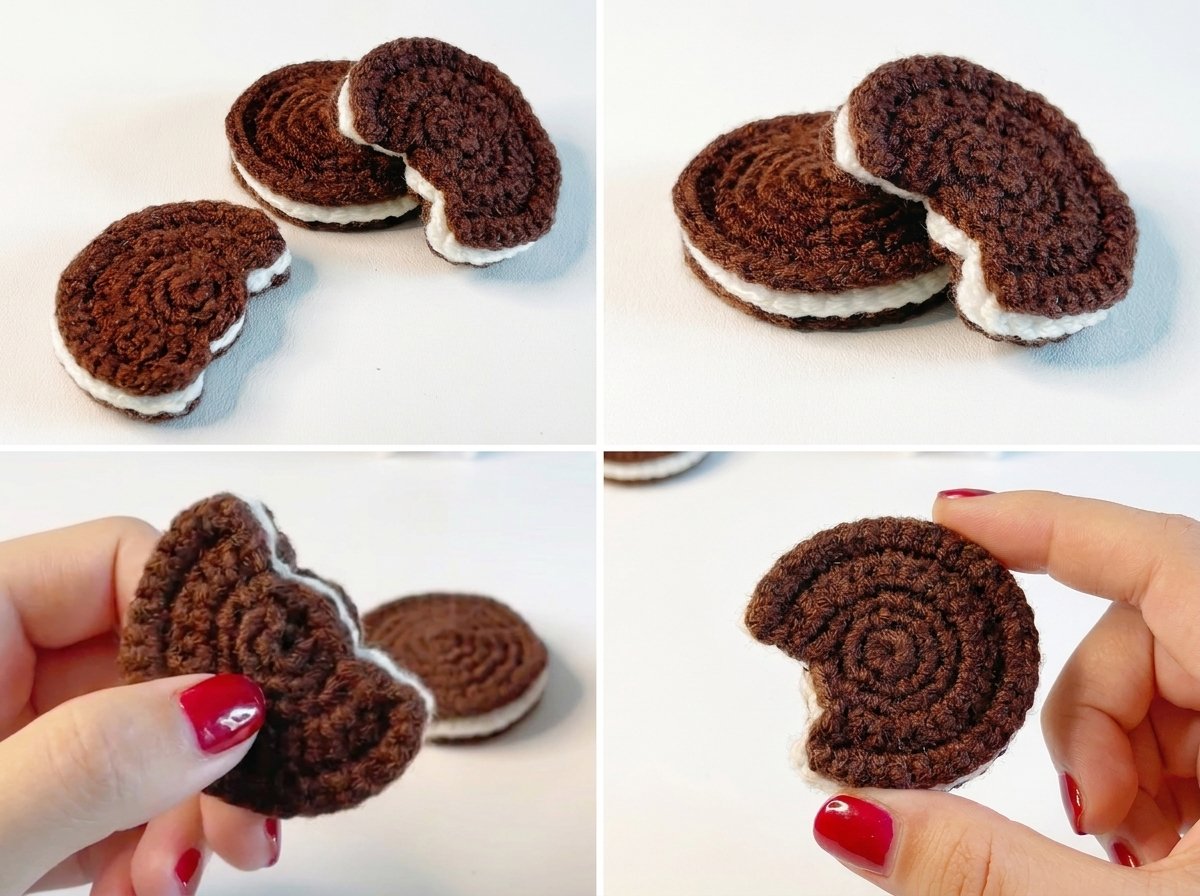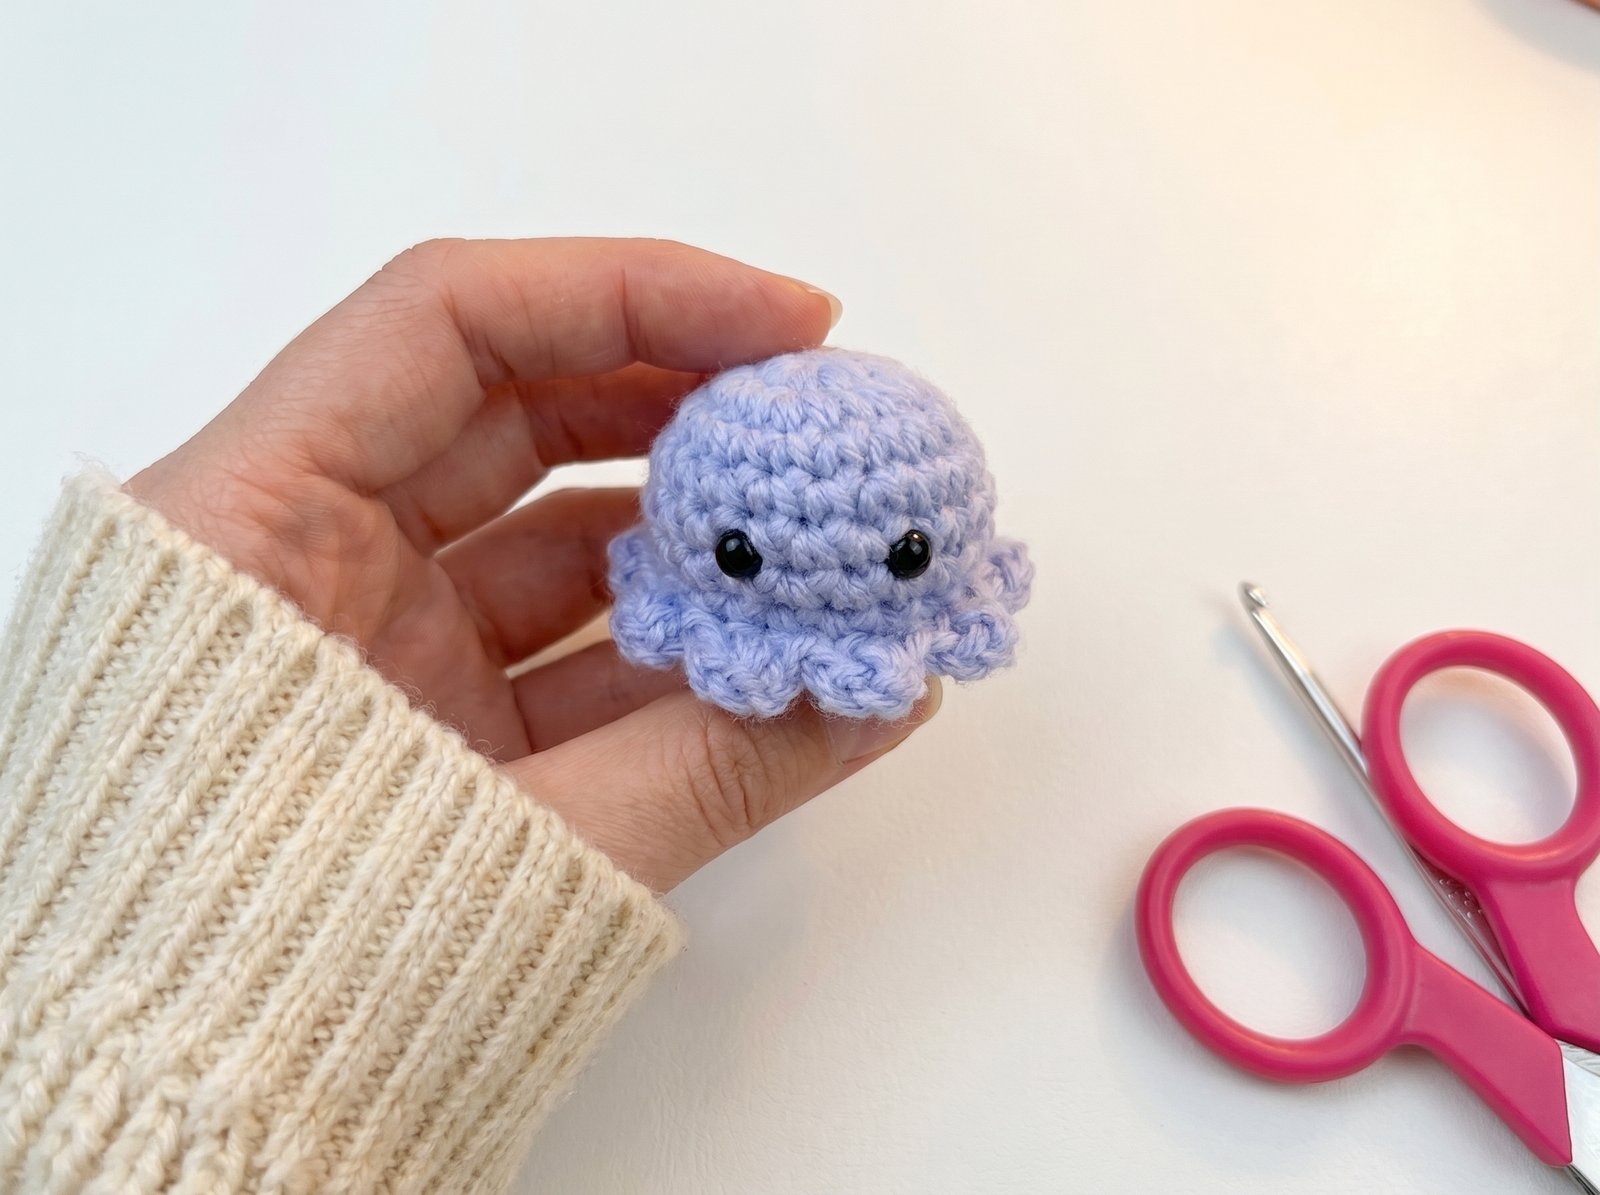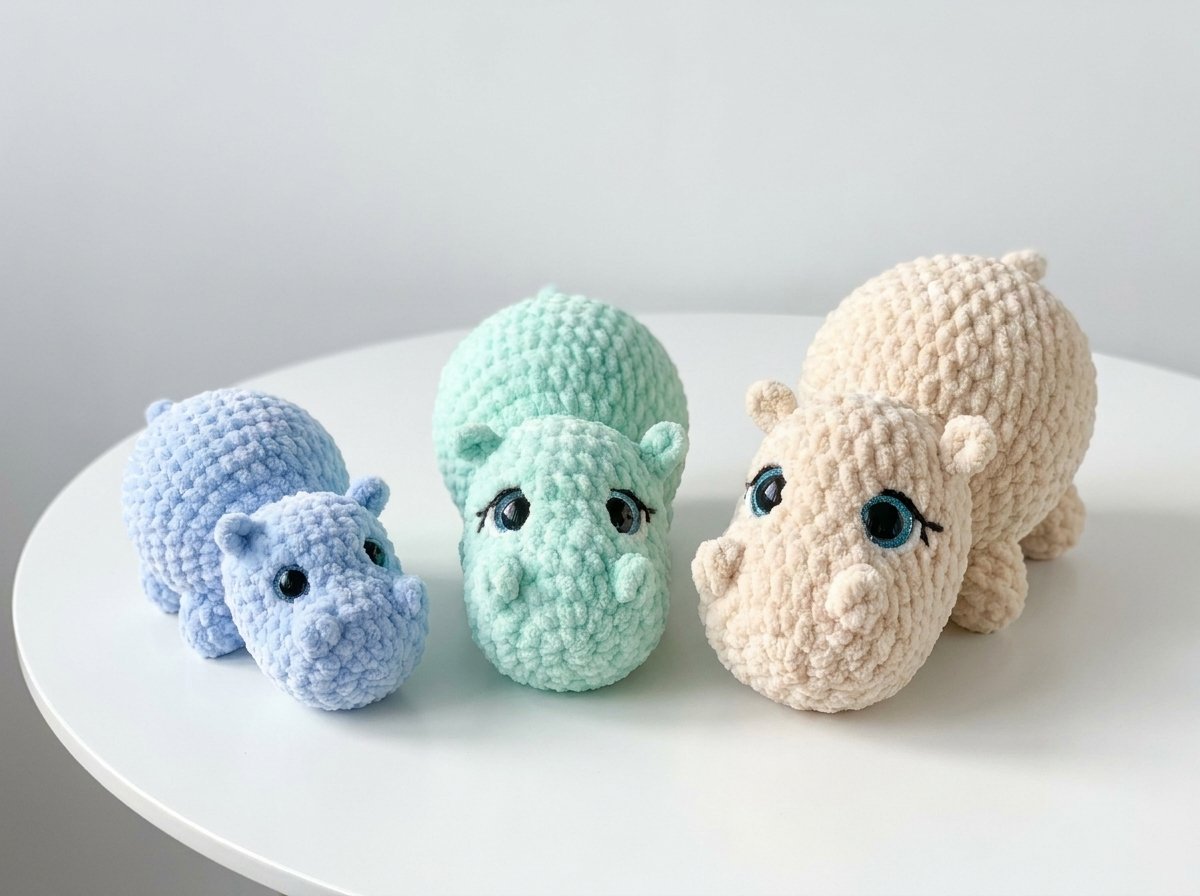
No-Sew Crochet Duck Pattern (Easy & Beginner-Friendly)
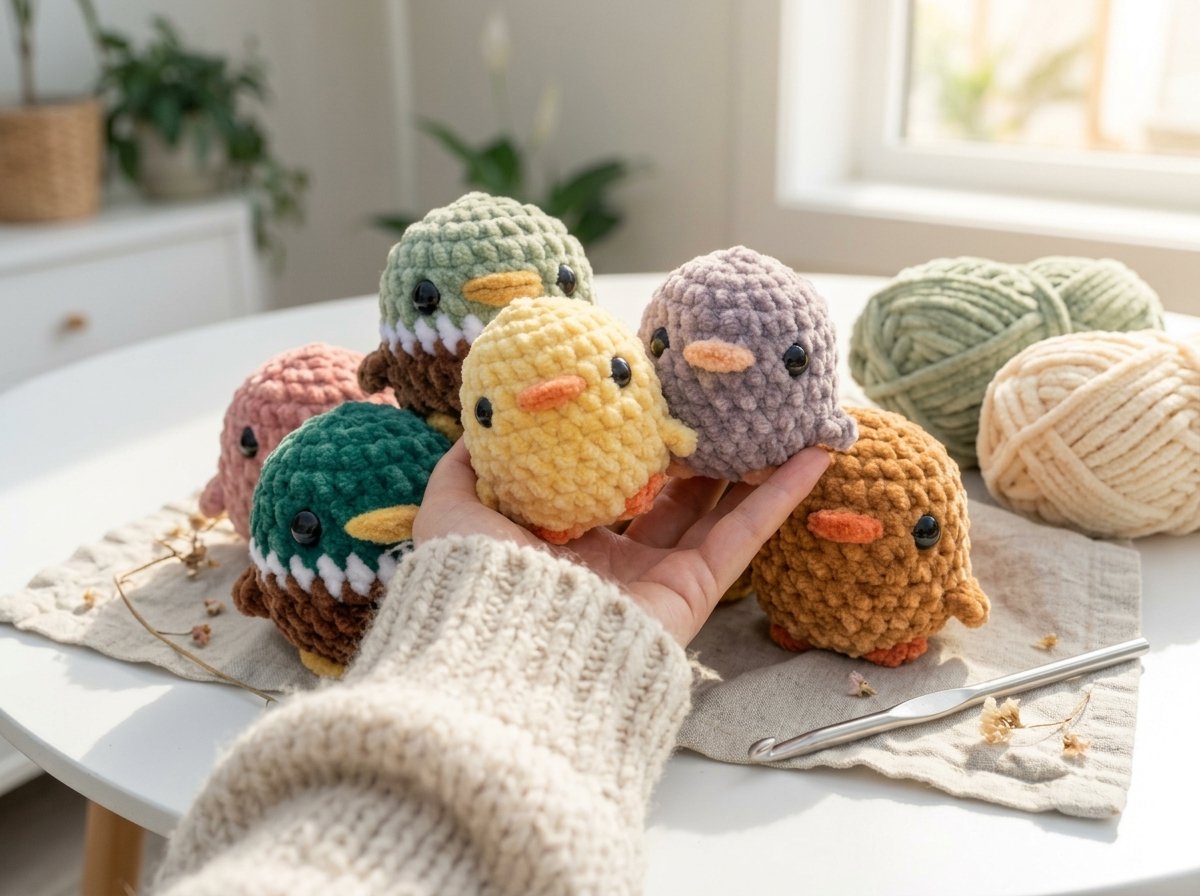
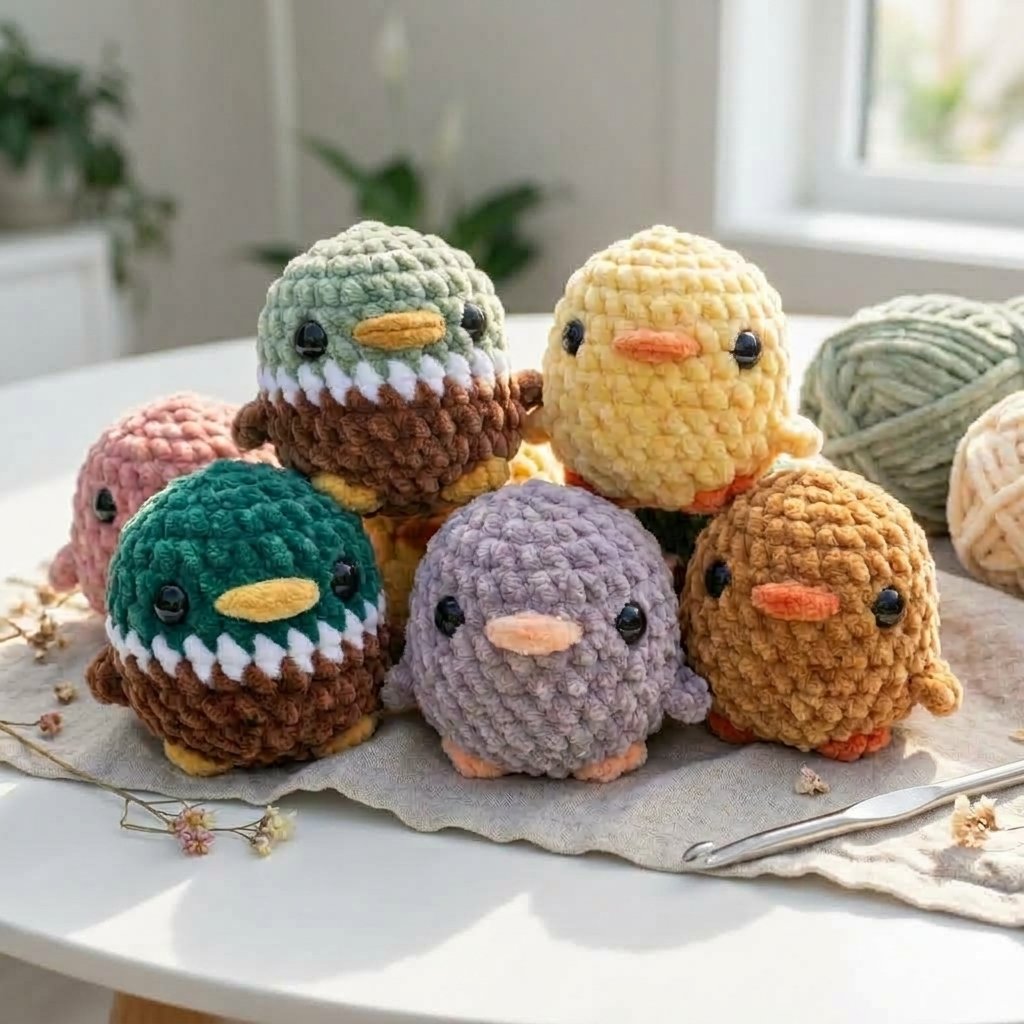
A round, huggable duck with a color-blocked mallard-style body, small 3D wings, and cute little bubble-stitch feet peeking out front — genuinely no separate pieces to sew on, everything is built directly into the body as you go. Also works as a simple single-color yellow duckling if you’d rather skip the color changes.
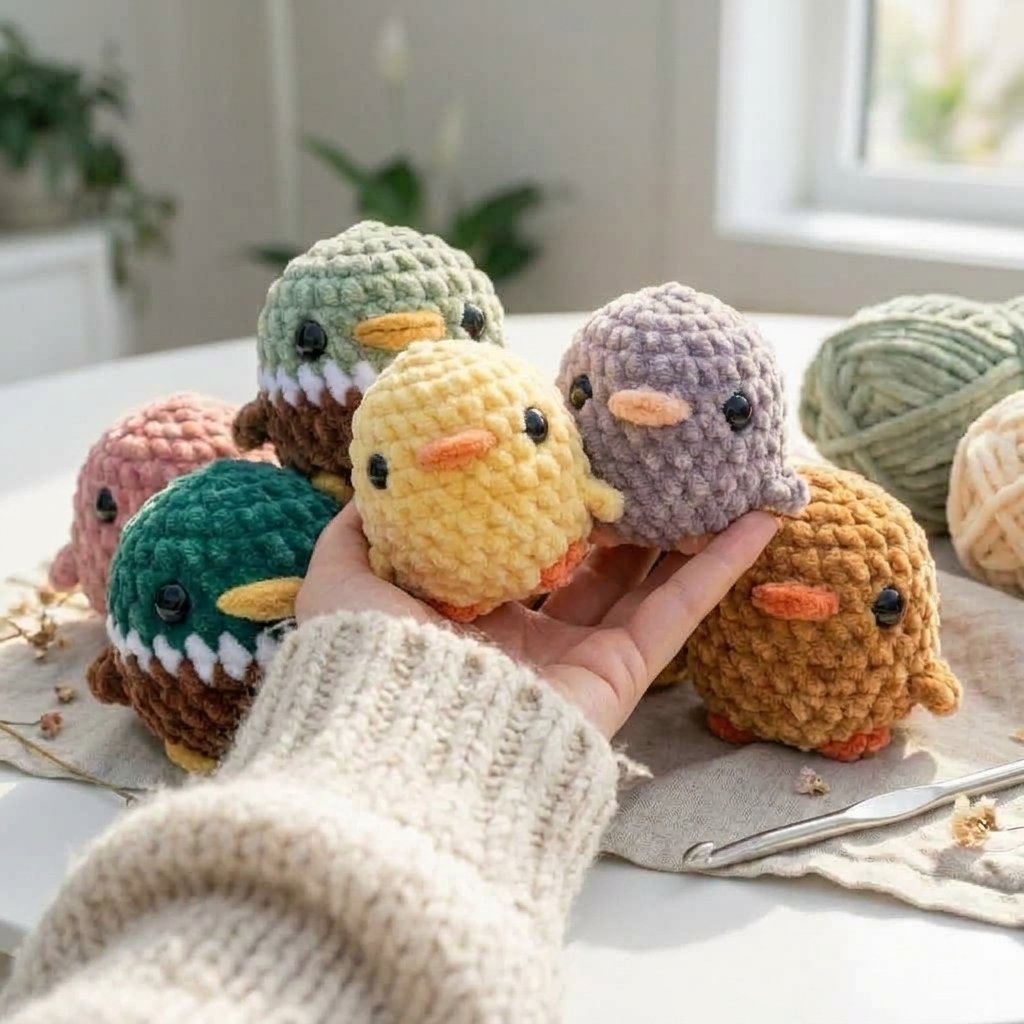
Quick glance
| Time | Skill | Finished size | Hook |
| 2–3 hrs | Intermediate | Small, palm-sized | 5mm |
Materials
- Chunky yarn — for the mallard-style duck: green, white, and brown (body), plus yellow (beak/feet accents). For the simple yellow duck: one primary color (body) plus a secondary color for the beak and feet
- 5mm crochet hook
- 12mm safety eyes
- Polyester fiberfill stuffing
- Yarn needle, scissors
- Stitch marker (scrap yarn works fine)
Terms & abbreviations
| Abbrev | Term | Notes |
| sc | single crochet | the primary stitch throughout |
| inc | increase | 2 sc in same st |
| dec | decrease | 2 sc worked together as 1 |
| bubble st | bubble/puff stitch | 4 incomplete loops worked into one stitch, closed together — used for the feet |
| MR | magic ring | — |
| st(s) | stitch(es) | — |
| rnd(s) | round(s), continuous spiral | — |
Body
| Rnd | Instruction | St count |
| 1 | 6 sc in MR | 6 |
| 2 | inc around | 12 |
| 3 | [sc 1, inc] x6 | 18 |
| 4 | [sc 2, inc] x6 | 24 |
| 5–7 | sc around (3 rounds, main color) | 24 |
At the last stitch of Round 7, switch to white (pull through the final loop with your new color).
Round 8 (white): Sc around. At the last stitch, switch to brown.
Wings (worked as part of the next round)
Round 9 (brown): Sc 6. Then make a wing: chain 2, work an increase (2 sc) into the first of those 2 chains, then sc back into the original body stitch you started from — this anchors the wing flap. Sc 12 across the body, then repeat the same wing construction on the other side. Finish with sc 6 to complete the round. (24 base sts, plus 2 wing flaps)
Attach the safety eyes now, positioned between Rounds 6 and 7, spaced 6–7 stitches apart, centered between the two wings.
Round 10: Sc around, navigating past the wing flaps as you go (work the base stitches, skipping over the wing appendages themselves). (24 sts)
Round 11: [sc 2, dec] x6. (18 sts)
Feet (bubble stitch detail, worked into Round 12)
This round blends decreases with two bubble-stitch “feet” bumps, using yellow yarn for the bubbles and brown to close them:
- Sc 1, dec, sc 1, dec — switch to yellow partway through finishing that second decrease.
- Work a bubble stitch into the next stitch: (yarn over, insert hook, pull up a loop, yarn over, pull through 2 loops) repeated 4 times into the same stitch, without closing between repeats — you’ll have 5 loops on your hook. Switch to brown and pull through all 5 loops to close the bubble. Gently pop/push the bubble to the front for dimension.
- Decrease into the next stitch (brown).
- Sc 1, dec — switch to yellow again during that decrease.
- Work a second bubble stitch the same way, closing with brown.
- Decrease immediately after. Cut the yellow yarn — you won’t need it again.
- Finish the round with sc 1, dec (brown).
(12 sts total after this round)
Stuff the duck now, before closing the final round.
Round 12 (final): Dec around. (6 sts)
Cut yarn, leaving a short tail. Thread onto a needle and sew through the front loop only of each remaining stitch, then pull tight to close. Bring the tail to a random point on the body, trim, and poke the end inside to hide it.
Beak Embroidery
Using yellow yarn, bring your needle in from the side of the head to the stitch next to one eye, pull through, then bring it across to the stitch next to the other eye. Repeat this back-and-forth pass once more to build up a small solid beak shape between the eyes, then tie off and hide the tail inside.
For the simple single-color duck, use your secondary/accent color for this embroidery instead of yellow.
Common mistakes
| Mistake | Fix |
| Wings look flat instead of 3D | Make sure the increase is worked into the first of the 2 chain stitches, not just anywhere in the loop — that’s what gives the wing its little flap shape |
| Losing track of the round while passing the wings | Count carefully on either side of each wing (6, then 12, then 6) rather than just continuing blindly — it’s easy to add or skip a stitch here |
| Bubble-stitch feet look uneven | Keep tension consistent across all 4 loops of each bubble before closing — a looser loop makes one side of the bump bigger than the other |
| Eyes sit off-center from the wings | Double check the 6–7 stitch spacing on both sides before clipping the eyes in permanently |
Finishing
Weave in any remaining ends. For the two-color mallard version, double check all your color-change points are secure before moving on, since there are several throughout this pattern.