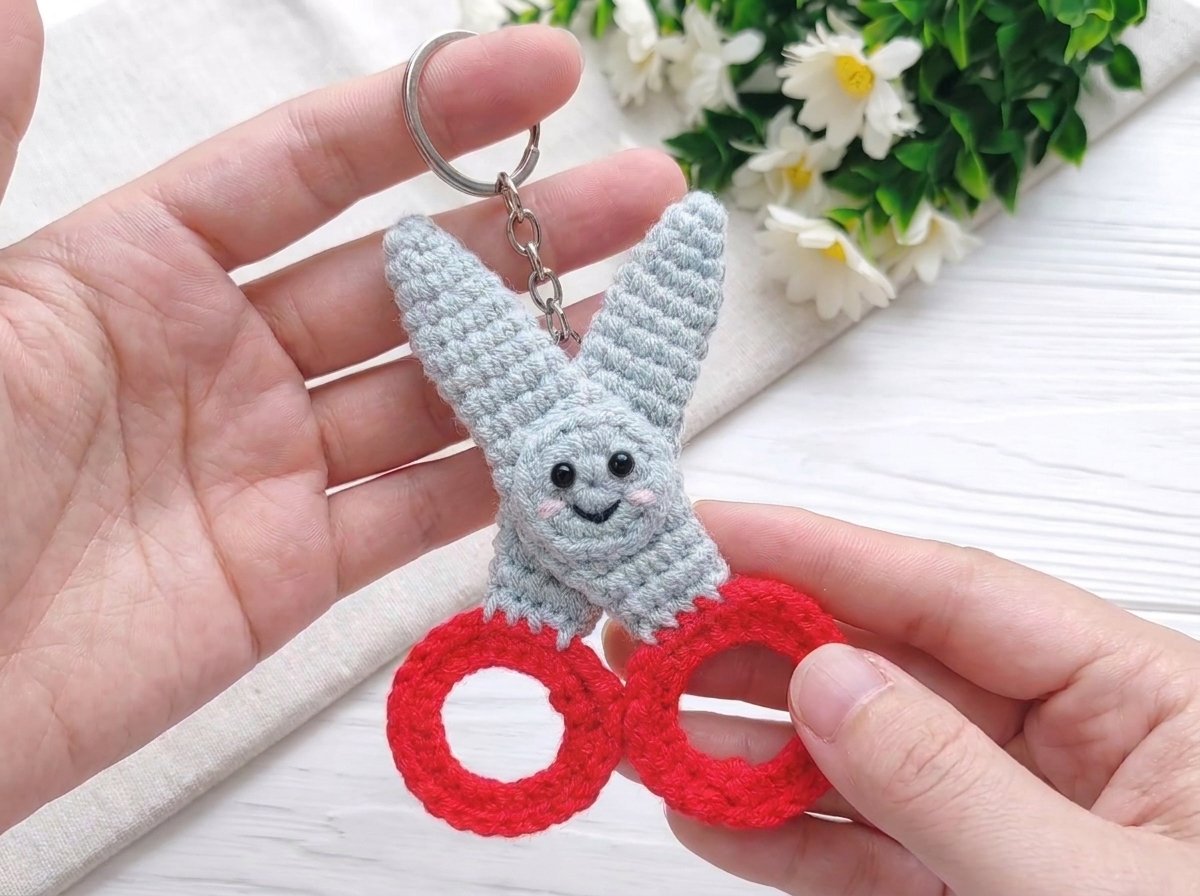
Cute Crochet Scissors Charm Keychain Pattern – Easy Mini Crochet Accessory
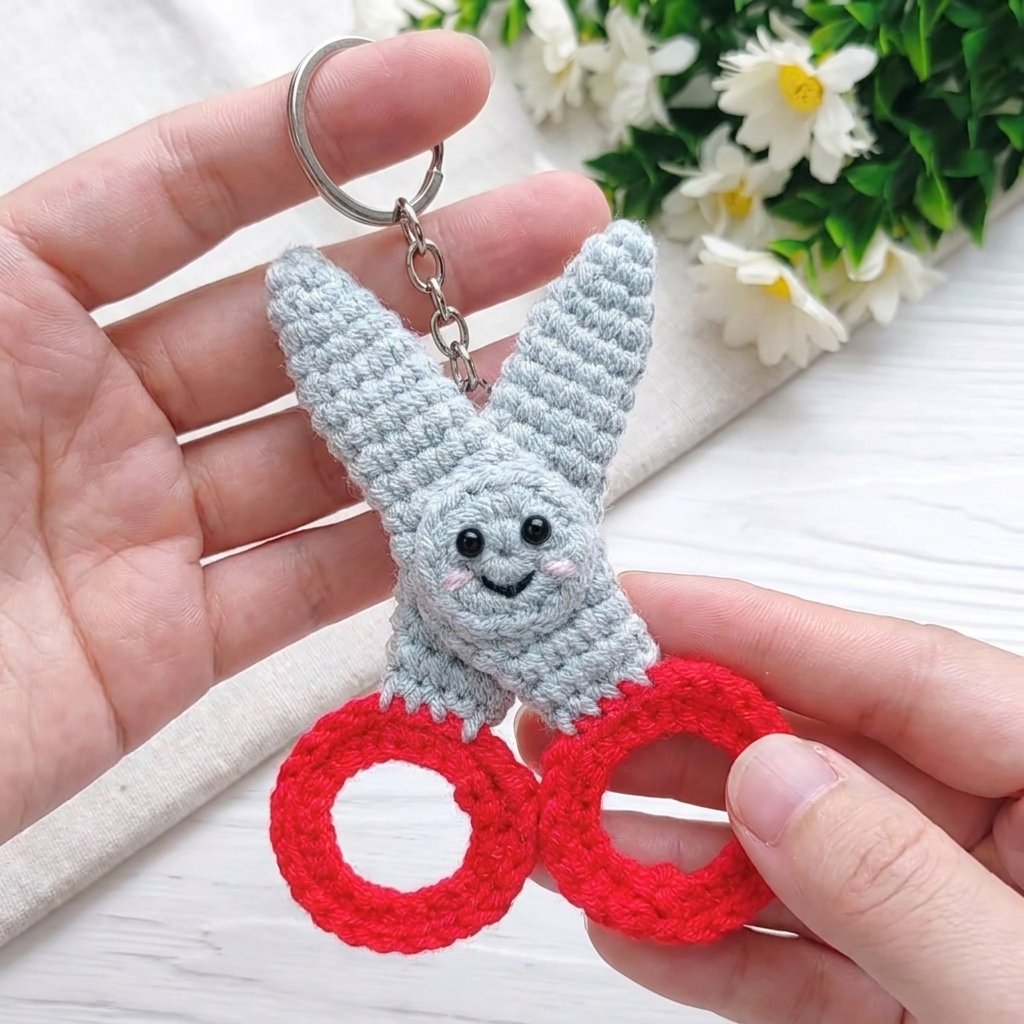
A tiny pair of scissors with a sweet bunny face where the blades meet — built from four separate small pieces (two blades, a pivot, and two ring-shaped handles) that come together into a genuinely charming keychain or bag charm.

Quick glance
| Time | Skill | Finished size | Hook |
| 2–3 hrs | Intermediate | Small keychain charm | 2.0mm |
Materials
- Milk cotton yarn: grey (blades/pivot), red (handles)
- 2.0mm crochet hook
- Two 4mm safety eyes
- Keychain ring/clasp
- Black thread (mouth embroidery), pink thread (cheek blush)
- Craft glue, pliers
- Yarn needle, scissors
Terms & abbreviations
| Abbrev | Term | Notes |
| ch | chain | — |
| sc | single crochet | the only stitch used throughout |
| inc | increase | 2 sc in same st |
| dec | decrease | 2 sc worked together as 1 |
| sl st | slip stitch | — |
| MR | magic ring / circular cast-on | — |
| st(s) | stitch(es) | — |
| rnd(s) | round(s) | — |
Part 1 — Blade (make 2)
| Rnd | Instruction | St count |
| 1 | MR, 4 sc | 4 |
| 2 | [sc 1, inc] x2 | 6 |
| 3 | [sc 1, inc, sc 1] x2 | 8 |
| 4 | [sc 3, inc] x2 | 10 |
| 5–10 | sc around (6 rounds even) | 10 |
| 11 | [sc 2, inc, sc 2] x2 | 12 |
| 12 | [sc 5, inc] x2 | 14 |
| 13–14 | sc around (2 rounds even) | 14 |
| 15 | [sc 5, dec] x2 | 12 |
| 16 | [sc 2, dec, sc 2] x2 | 10 |
| 17–18 | sc around (2 rounds even) | 10 |
| 19 | sc around | 9 |
Fasten off, leaving a long tail for sewing. Repeat to make a second blade.
Part 2 — Pivot
Round 1: MR, 8 sc. Join with a slip stitch. (8 sts)
Round 2: Chain 1, inc in every stitch around. (16 sts)
Fasten off, leaving a tail for sewing.
Part 3 — Handle (make 2)
Foundation: Make a small starting loop, then chain 24.
Round 1: Join into a ring by working into the raised back ridge of your first chain with a slip stitch. Chain 1, then sc into the raised back ridge of each of the 24 chains around. (24 sc)
Round 2: Work 24 slip stitches around, for a neat, slightly raised finished rim.
Fasten off. Make a second handle the same way — one with a longer tail left for sewing, the other with just enough to weave in.
Assembly
The source video moves quickly from the materials list into a finished piece without narrating each assembly step — the following is based on standard construction and the reference photo:
- Position the two blades side by side so their pointed tips angle outward, like an open pair of scissors.
- Sew or glue the pivot piece where the two blades cross, securing them together at that center point.
- Attach the two ring-shaped handles below the blades, one on each side.
- Attach the two safety eyes onto the pivot/face area.
- Embroider a small smile in black thread beneath the eyes, and add pink blush marks on each cheek.
- Attach a keychain ring/clasp at the top of the piece.
Common mistakes
| Mistake | Fix |
| Blades don’t taper evenly | Compare both blades side by side at each checkpoint round before moving to the next — small drift compounds over 19 rounds |
| Handles look floppy instead of holding their ring shape | Make sure Round 1 is worked into the back ridge specifically, not just any part of the chain — this is what gives the ring its structure |
| Face looks off-center | Place the eyes and embroidery after both blades are joined to the pivot, using the finished piece as your guide rather than positioning on a single blade alone |
Finishing
Weave in all remaining ends. Let any glued elements set fully before regular handling, especially the keychain attachment point.