Little Bee Crochet Keychain Pattern – Cute Big-Eyed Bee Amigurumi Charm
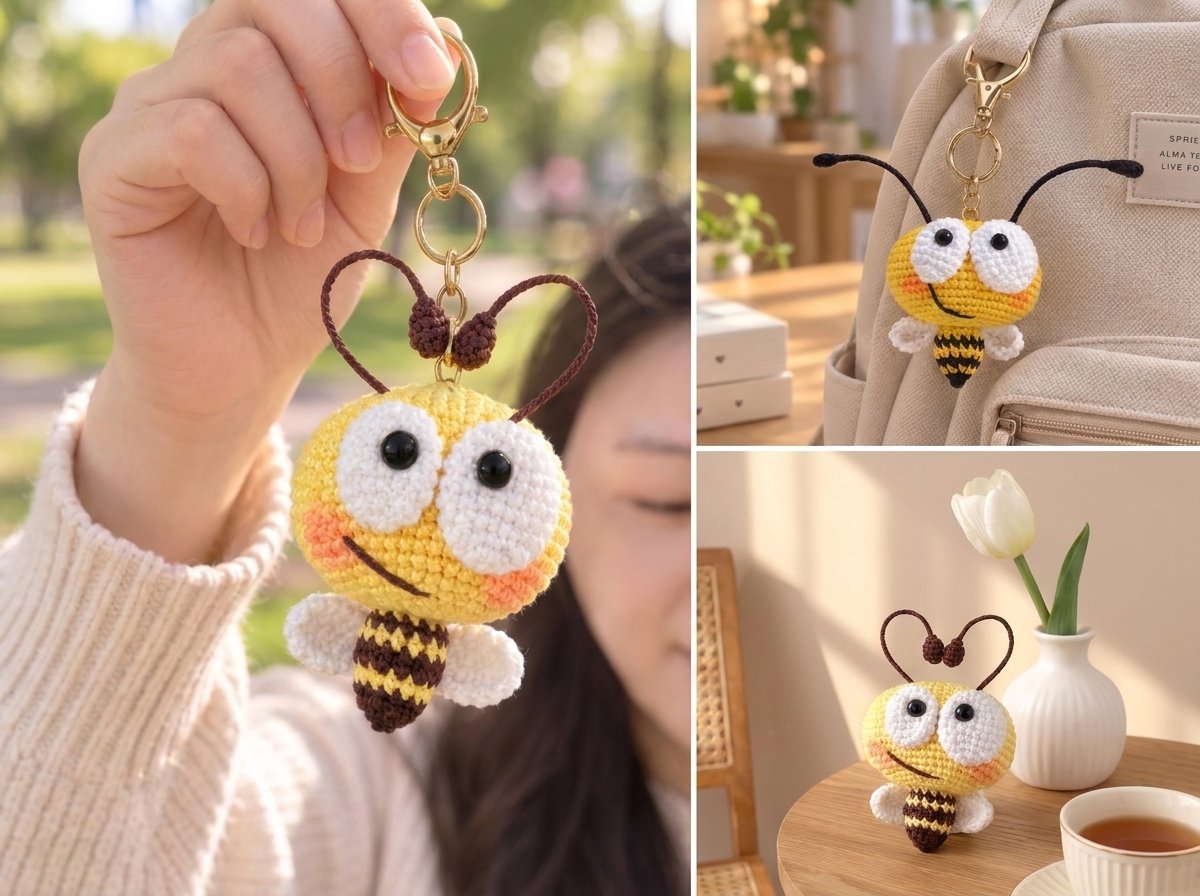
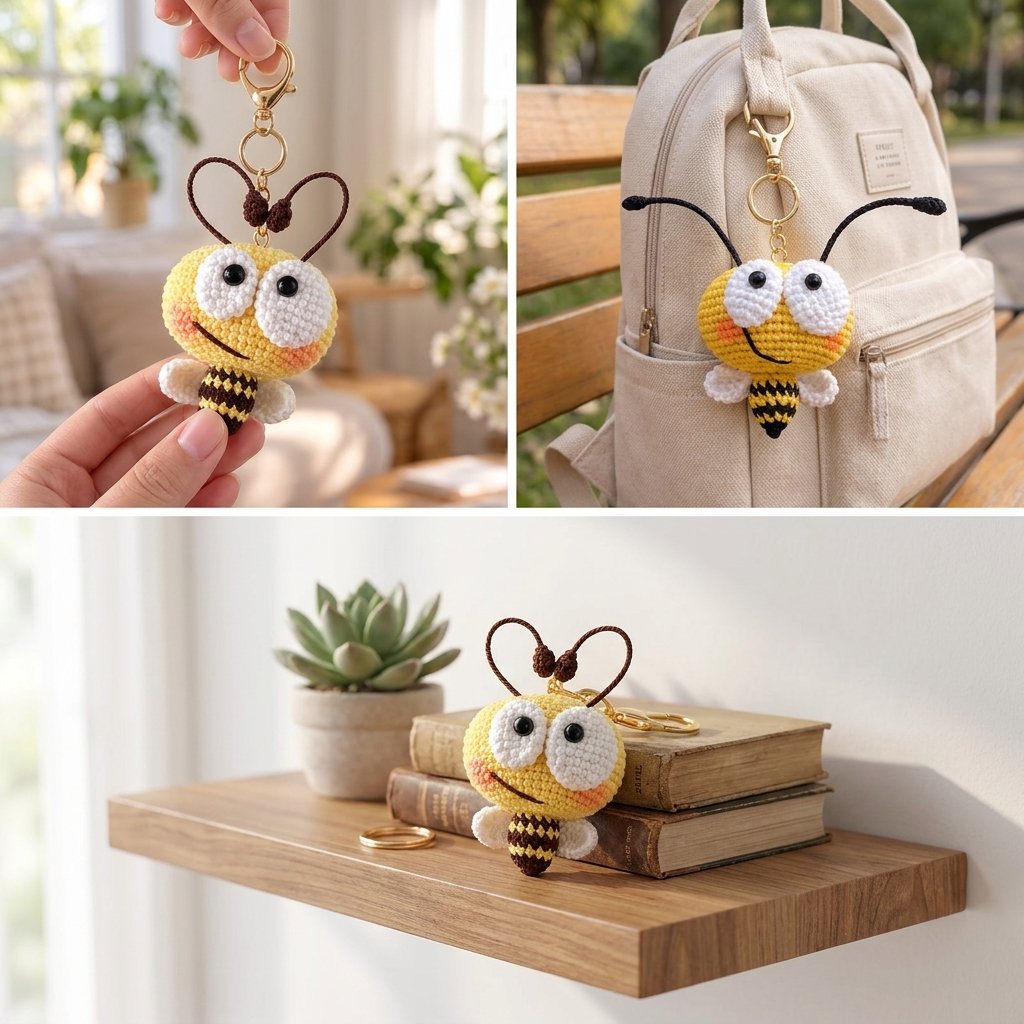
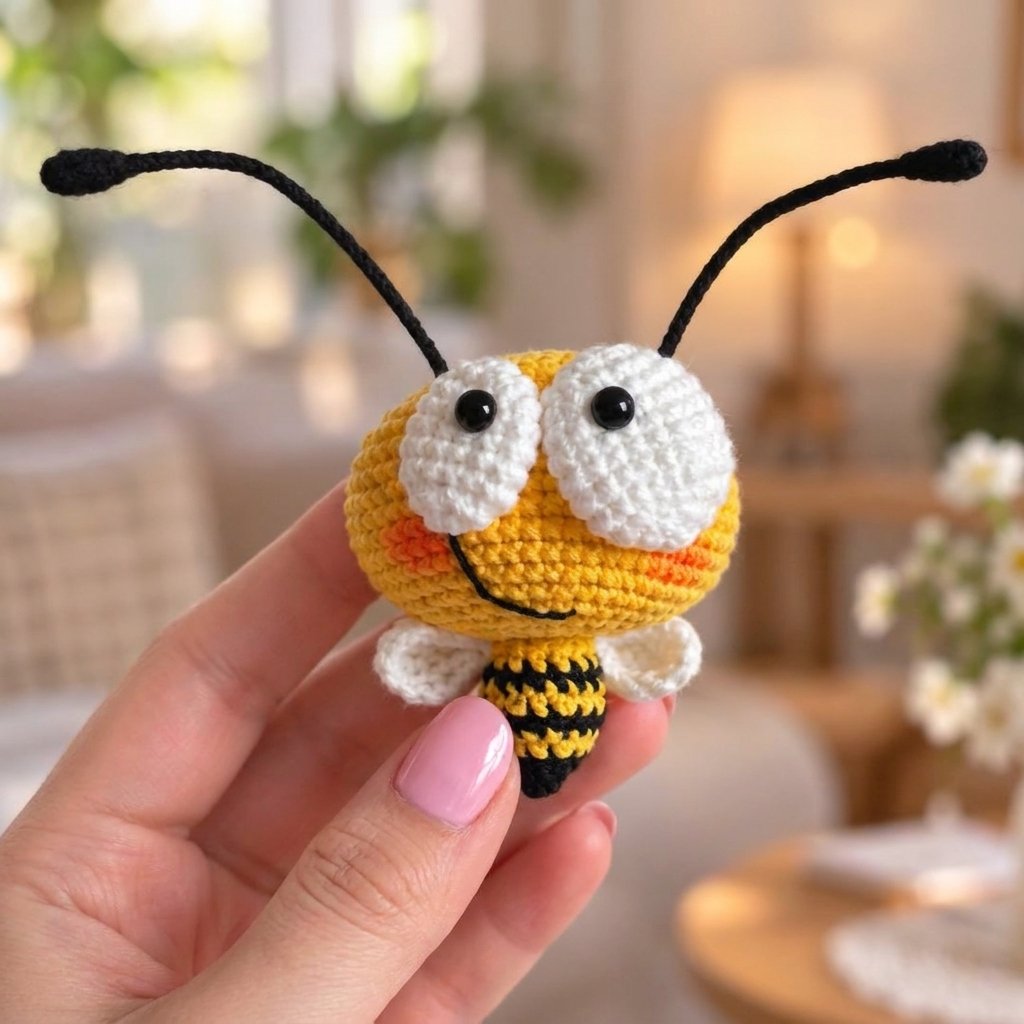
This little bee has such a fun, oversized-eye look that I couldn’t resist turning it into a pattern of its own. It’s a quick make — perfect as a keychain, a bag charm, or a small handmade gift — and every piece is simple single crochet with a bit of shaping. The personality really comes from those two big white eyes and the striped black-and-yellow body tapering down like a proper little stinger.
Let’s go through it piece by piece: the head, the body, the eyes, the wings, and the antennae.
Materials
| Item | Notes |
| 2mm yarn, main color (yellow/orange) | For the head |
| 2mm yarn, black | For the body stripes and antennae |
| 2mm yarn, yellow | For the body stripes |
| 2mm yarn, white | For the eyes and wings |
| 3mm crochet hook | |
| Pair of safety eyes | |
| Small amount of stuffing | |
| Tapestry needle | |
| Stitch marker | Handy for the head’s longer plain rounds |
| Scissors | |
| Small amount of orange or pink yarn (optional) | For blush details on the cheeks, if you’d like them |
Abbreviations (US Terms)
| Abbreviation | Meaning |
| ch | chain |
| sl st | slip stitch |
| sc | single crochet |
| hdc | half double crochet |
| dc | double crochet |
| inc | increase (2 sc in the same stitch) |
| dec | decrease |
| MR | magic ring |
| st(s) | stitch(es) |
Part 1: The Head
The head starts as a flat oval, similar to a mini amigurumi sole, and builds up into a wide, gently rounded shape.
| Round | Instructions | Stitch Count |
| 1 | Ch 10, skip the first ch, turn. Work 1 inc + 7 sc across one side, then 4 sc all into the same last stitch, then 7 sc + 1 inc back along the other side | 22 |
| 2 | (inc, 10 sc) ×2 | 24 |
| 3 | (2 inc, 10 sc) ×2 | 28 |
| 4 | (4 inc, 10 sc) ×2 | 36 |
| 5 | (8 inc, 10 sc) ×2 | 52 |
| 6 | 7 sc, inc, 25 sc, inc, 18 sc | 54 |
| 7–13 | 54 sc around (7 rounds) | 54 |
| 14 | (7 sc, dec) ×6 | 48 |
| 15 | (6 sc, dec) ×6 | 42 |
From here, continue decreasing evenly, round by round, in the same gentle style as Rounds 14–15, until the opening is small. Stuff the head firmly as you close it up, then finish off and weave in the end.
Part 2: The Body
The body is worked in alternating black and yellow to create the classic bee stripes, tapering to a point at the bottom.
| Round | Color | Instructions | Stitch Count |
| 1 | Black | 5 sc in a magic ring | 5 |
| 2 | Black → switch to yellow at the end | inc, 4 sc | 6 |
| 3 | Yellow → switch to black at the end | 6 inc around | 12 |
| 4 | Black → switch to yellow at the end | (1 sc, inc) ×6 | 18 |
| 5 | Yellow | 3 sc, dec, 6 sc, dec, 3 sc | 14 |
| 6 | Switch to black partway, as needed for your stripe | 3 sc, dec, 5 sc, dec, 2 sc | 12 |
| 7 | — | 12 sc around | 12 |
Lightly stuff the body, then sew it securely to the underside of the head, making sure it’s centered before you tighten your stitches.
Part 3: The Eyes (Make 2)
These oversized white eyes are what give the bee its sweet expression.
| Round | Instructions | Stitch Count |
| 1 | 6 sc in a magic ring | 6 |
| 2 | 6 inc around | 12 |
| 3 | (1 sc, inc) ×6 | 18 |
| 4–9 | 18 sc around (6 rounds) | 18 |
| 10 | (1 sc, dec) ×6 | 12 |
| 11 (final) | 6 dec around | 6 |
Before closing the eye completely, insert your safety eye between Rounds 5 and 6 — this placement is what determines the bee’s expression, so take a moment to check it looks right before securing the backing. Lightly stuff and close. Repeat to make a second, matching eye.
Part 4: The Wings (Make 2)
Worked flat, starting from a small chain.
Row 1: chain 7, turn. Work 5 sl st, then 2 sl st into the last stitch (this rounds the tip), then continue with 5 sl st back along the other side of the chain. You should have 12 stitches total.
Row 2: 1 sc, 3 hdc, 1 dc, 2 dc increases, 1 dc, 3 hdc, 1 sc — this graduated mix of stitch heights is what curves the wing into its rounded shape. You should end with 14 stitches. Keep your increases a little loose here so the wing lies flat rather than curling.
Fasten off and repeat for a second wing.
Part 5: The Antennae (Make 2)
Each antenna starts as a tiny bead-like tip.
| Round | Instructions | Stitch Count |
| 1 | 4 sc in a magic ring | 4 |
| 2 | 1 sc, 1 inc around | 6 |
| 3 (final) | 3 decreases | 3 |
This gives you the small rounded tip you can see at the top of each antenna. For the long curved stalk connecting the tip down to the head, work a length of chain or a thin single-crochet cord to your desired length — adjust this to match the look in your reference photo, keeping both antennae the same length for a balanced, symmetrical finish.
Assembly
- Attach both wings to the back of the body, just below where the head and body meet.
- Attach both antennae to the top of the head, curving them outward and slightly forward.
- If you’d like, add a small blush detail to each cheek using a bit of orange or pink yarn, stitched or brushed on lightly.
- Weave in any remaining ends, and your bee is ready to be attached to a keyring or bag clip.
And there’s your little bee — quick to make, endlessly cute, and a lovely one to whip up in multiples as gifts. The big eyes really do all the emotional heavy lifting here, so don’t be afraid to make them a touch bigger or smaller to adjust just how sweet (or how sleepy) you want your bee to look.