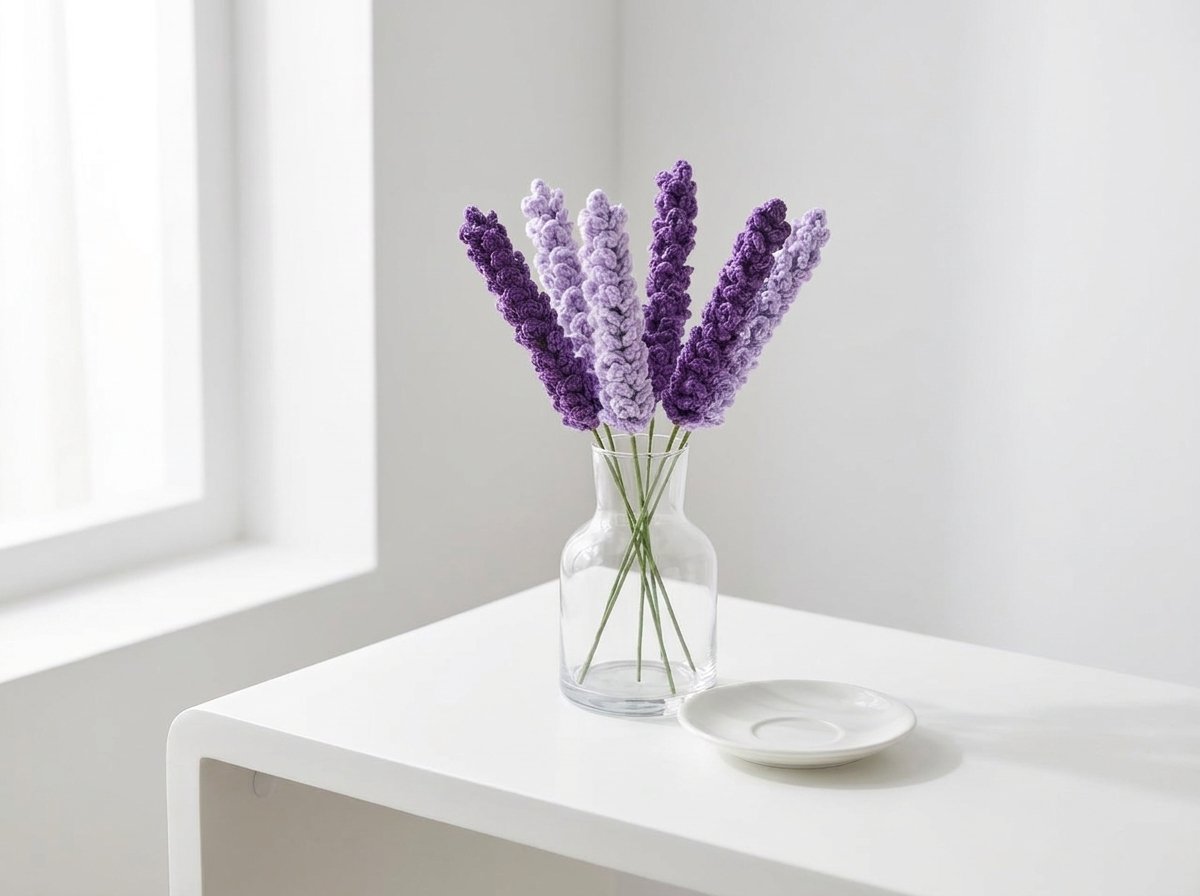
How to Crochet Lavender Flowers – Easy Beginner-Friendly Crochet Flower Pattern
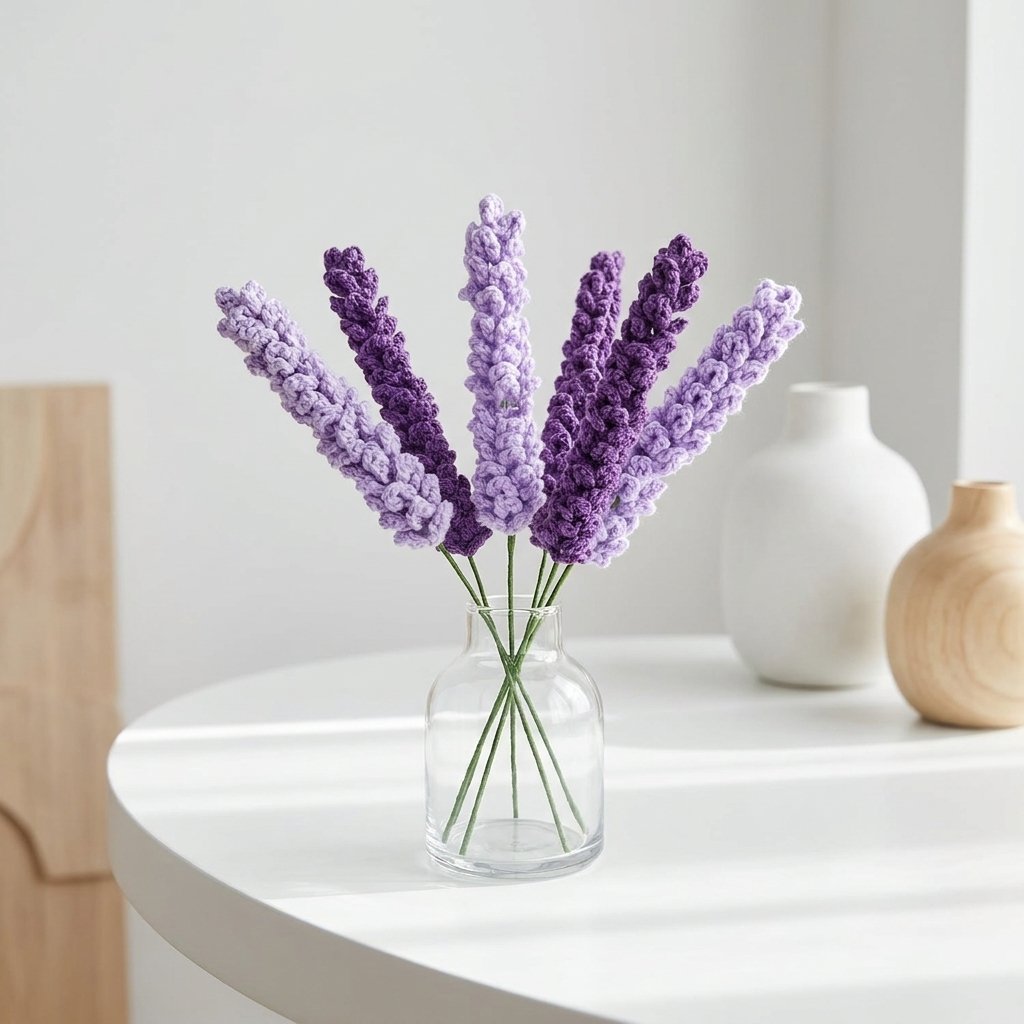
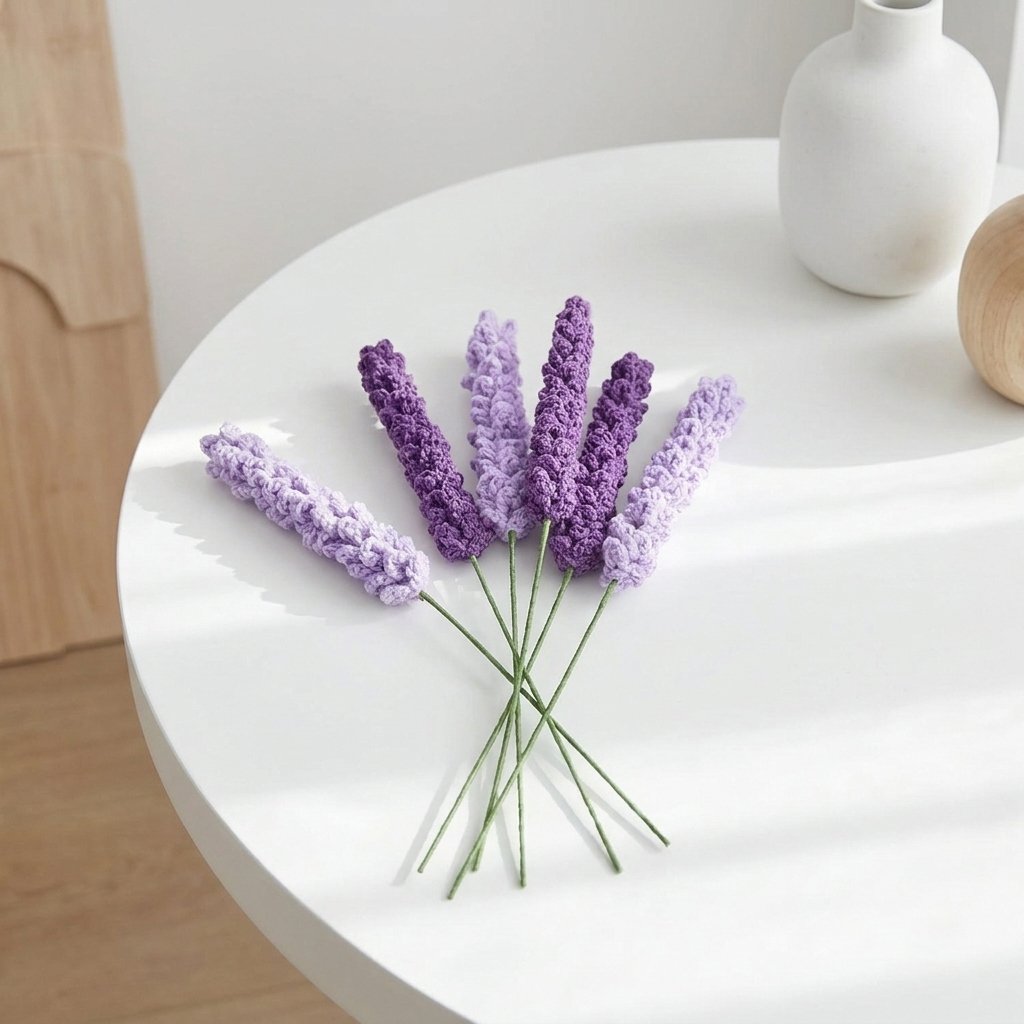
A realistic lavender stem built from a long foundation chain and a simple repeating bud pattern — no shaping rounds, no counting stitches into circles, just chain, slip stitch, and a wrap-around stem to finish. Looks far more intricate than it actually is to make.
Quick glance
| Time | Skill | Finished size | Hook |
| 30–45 min per stem | Beginner | Adjustable length | 3.5mm |
Materials
- Worsted weight acrylic yarn — purple (flower), green (stem wrap)
- 3.5mm crochet hook
- Floral wire stems
- Hot glue
- Scissors
Terms & abbreviations
| Abbrev | Term | Notes |
| ch | chain | — |
| dc | double crochet | used only at the very start |
| sl st | slip stitch | the primary stitch for the buds |
| st(s) | stitch(es) | — |
Sizing note
Your foundation chain length sets the length of the finished lavender flower — chain more for a longer stem of buds, fewer for a shorter one. 70 chains was used for the pictured flower.
Pattern
Foundation: Chain 70 (or your preferred length).
Starting cluster: Work 2 dc into the 3rd chain from your hook. Chain 3, then slip stitch back into that same chain. Slip stitch into the next chain.
Buds (repeat down the entire chain): Chain 6, then slip stitch back into that same chain you just chained from. Slip stitch into the next chain. Repeat this *chain 6, slip stitch into same chain, slip stitch into next chain* sequence all the way down to the end of your foundation chain.
The piece will naturally start to curl as you work — that’s completely normal and part of how the finished lavender gets its dimensional, budded look.
Finishing the flower: Once you reach the end of your chain, work one more slip stitch into the last chain. Chain 1, cut your yarn, and pull it through to fasten off. Tie the two yarn tails together a couple of times to secure, then trim — leaving a small bit of yarn past the knot so it doesn’t come undone. You can weave these tails up into the chain to hide them, though they’re not very noticeable left as they are.
Making the Stem
- Put a small dot of hot glue on the end of your floral wire stem, then press the end of your green yarn into it. Let it cool for a moment.
- Wrap the green yarn tightly around the floral stem, working your way down to the end. Wrapping snugly is what keeps it secure — extra glue along the way is optional.
- Once you reach the end, leave a small bit of stem showing, then add a bit more hot glue to secure the yarn there.
- Continue wrapping over the glued section, then trim the yarn.
- Add a touch more hot glue to the cut end, and carefully use the side of your glue gun to gently melt/flatten the acrylic yarn end so it blends smoothly — take care not to burn yourself, and don’t overdo the melting.
Attaching the Flower to the Stem
- Identify the starting end of your flower piece (the small rounded section where you worked the original 2 dc) — this is the end you’ll attach first, not the end where you cut your yarn.
- Add hot glue to the top of your stem and wrap the flower’s starting round piece around it, pressing to secure.
- Once cooled, continue wrapping the rest of the flower piece around and around the stem, working down toward the base. It doesn’t need to look perfect yet.
- Once fully wrapped, gently bunch/adjust the buds along the stem until you’re happy with how they’re distributed.
- Add a final bit of hot glue at the base — securing both to the stem and tucking down the last little bud where you cut your yarn — to finish it off neatly.
Common mistakes
| Mistake | Fix |
| Flower piece curls too tightly to work with | This is expected as you build the buds — it uncurls naturally once wrapped around the stem |
| Stem wrap looks loose or slips | Wrap the yarn snugly and consistently rather than relying on glue alone to hold it in place |
| Melted yarn end looks messy | Use just the side of the glue gun briefly — over-melting makes it worse, not better |
| Buds bunch unevenly on the stem | Adjust and redistribute them by hand before your final gluing step, not after |
Finishing
Let all glued points fully cool and set before handling. Make a few stems in different purple shades, as shown in the reference photo, for a fuller bunch.