Easy Crochet Blanket Patterns For Beginners
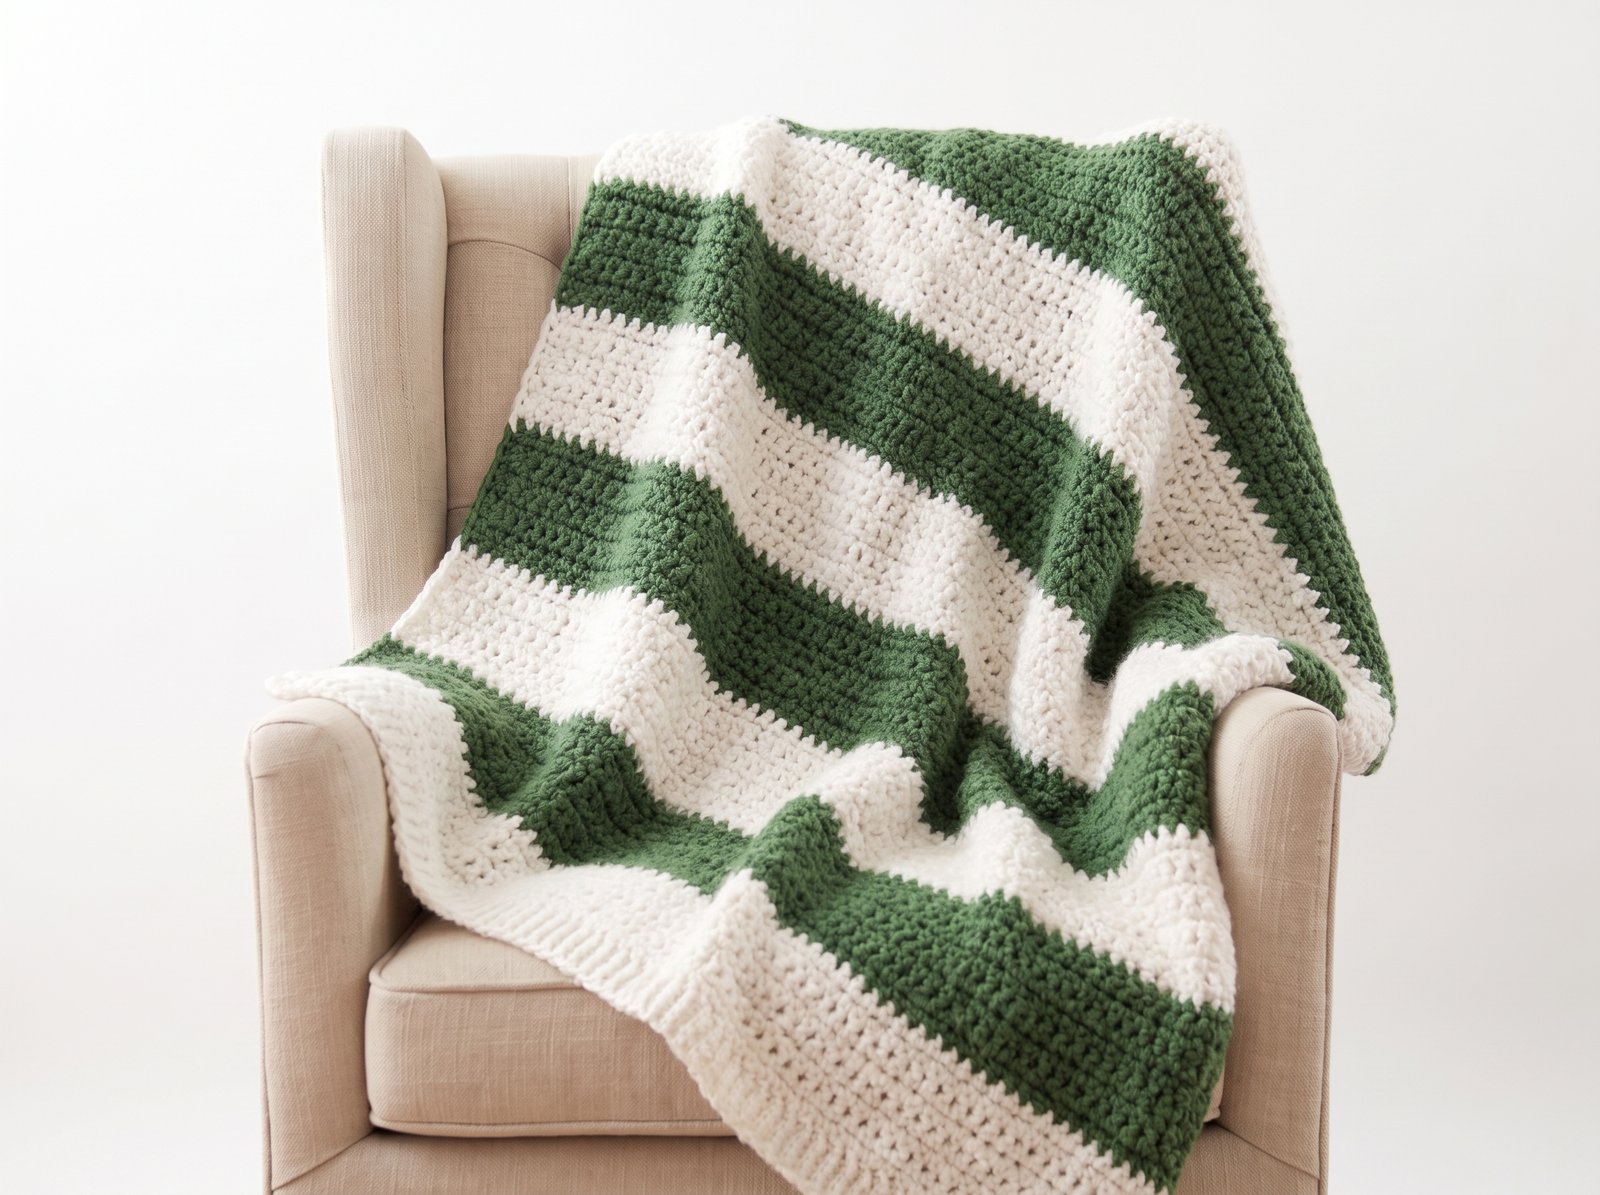
If you’ve been told a blanket is too ambitious for a first project, this one’s the exception. Worked in super bulky yarn with a giant hook and nothing more complicated than a single crochet stitch, this striped throw grows fast enough that you can realistically finish it in about a week working just an hour a day — which makes it one of the few blanket patterns that’s actually a good beginner project instead of a months-long slog.
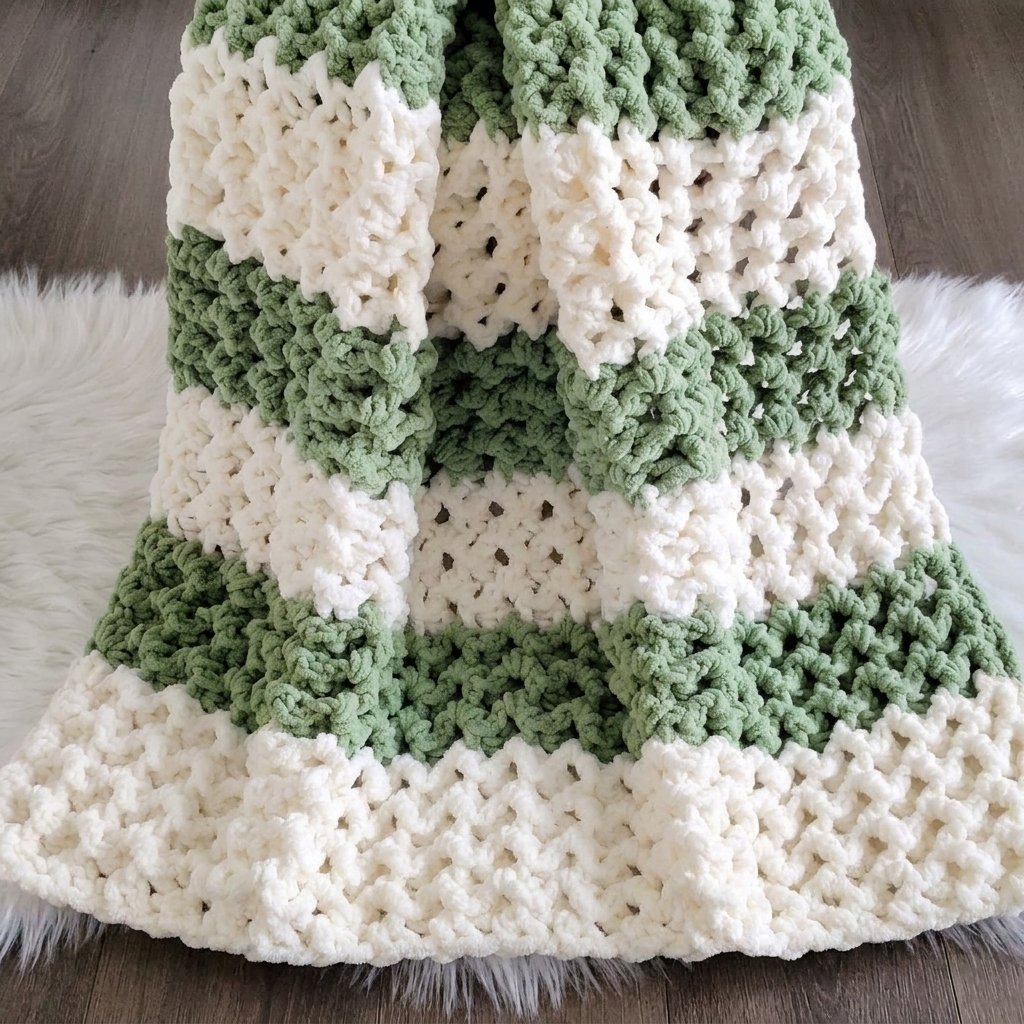
Quick glance
| Time | Skill | Stripes | Hook |
| ~1 week (1 hr/day) | Beginner | 9 total (5 + 4) | 15mm |
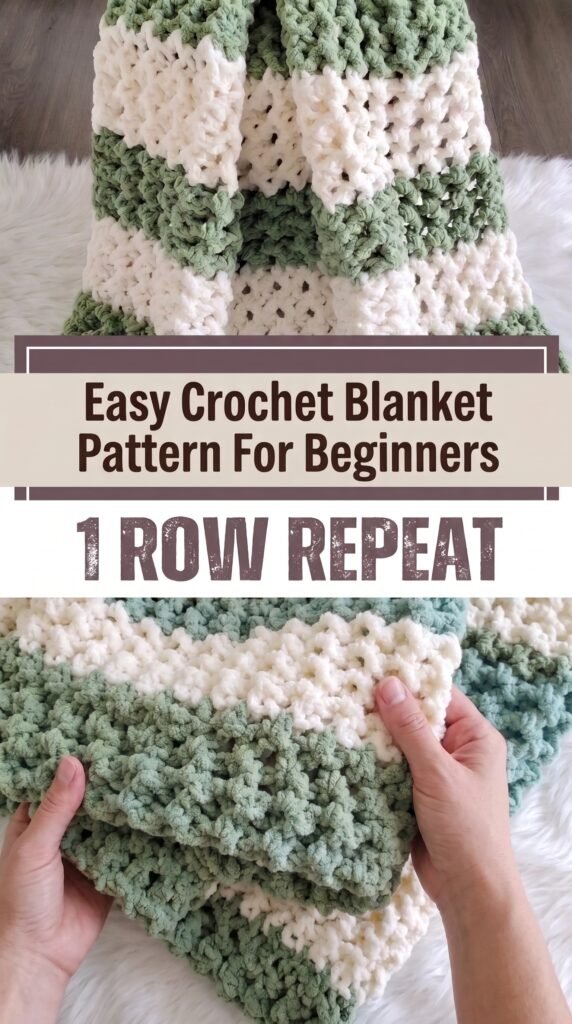
Materials
- Super bulky (#6) weight yarn in 2 colors — the original uses Lion Brand Wool-Ease Thick & Quick, but any super bulky #6 yarn will substitute fine
- 15mm crochet hook
- Yarn needle for weaving in ends
Terms & abbreviations
| Abbrev | Term | Notes |
| ch | chain | — |
| sc | single crochet | the only stitch used in this entire pattern |
| st(s) | stitch(es) | — |
| row(s) | row(s) | worked flat, turning at the end of each row |
Pattern
Foundation: Chain 75.
Row 1: Single crochet in the 2nd chain from your hook, and in each chain across. (74 sc)
Row 2 onward: Chain 1, turn. Single crochet in the first stitch, and in each stitch across to the end.
Finding your first and last stitch: This trips up almost every beginner on this pattern, so don’t worry if it takes you a few rows to get consistent. At the start of a row, your first stitch is the one directly next to the turning chain you just made — it’s easy to accidentally skip. At the end of a row, the last stitch often looks slightly distorted or hard to spot — check carefully so you don’t lose a stitch there, since that’s the #1 cause of a blanket that gradually narrows.
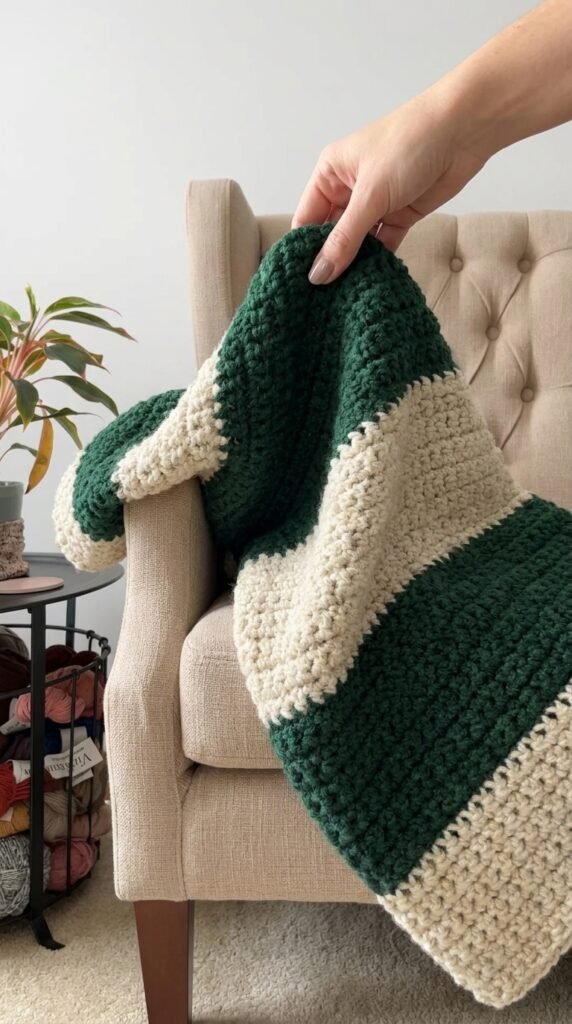
Color sequence: Work 13 rows in Color A, then switch to Color B. Continue alternating every 13 rows: A, B, A, B, A — for a total of 9 stripes (5 in Color A, 4 in Color B), starting and ending on Color A.
Counting your rows and stripes
With this stitch pattern, each color block shows a visible ridge line, and you’ll see 2 rows between each pair of lines — so count until you have 6 defined ridge lines per stripe block to confirm 12 rows, plus one additional row to reach 13.
Joining a new yarn (mid-row or new color)
- Work until 2 loops remain on your hook on what will be your last stitch of the old yarn.
- Instead of pulling the old color through, lay your new color over the hook (leaving a 6-inch tail) and pull it through both loops — this completes the stitch and switches colors in one motion.
- Flip your work and tie the two tails together in a simple knot to secure the join.
- If you’re joining mid-row (not at a color-change edge), lay both tails along the top of your next few stitches and crochet over them as you go — this buries the ends as you work so you don’t have to weave them in later. For color-change joins at the edge, leave the tails to weave in at the end instead, since working over them there looks less clean.
Stitch count checkpoint
Count your stitches at the end of every row for at least your first 5–6 rows, until finding your first and last stitch becomes automatic. After that, checking every 3–4 rows is enough to catch drift before it becomes a problem worth ripping back for.
| Checkpoint | Expected count |
| End of Row 1 | 74 sc |
| Every row after | 74 sc (should stay constant throughout) |
Common mistakes
| Mistake | Fix |
| Blanket gradually narrows | First stitch of the row is being skipped — it’s the stitch right next to the turning chain |
| Blanket gradually widens | Turning chain is being counted as a stitch — don’t work an extra stitch into it |
| Edges look uneven/wavy | Normal in the first several rows for new crocheters — settles out with practice, don’t rip back over minor edge waviness alone |
Finishing
Once your final stripe (Color A) is complete, fasten off by cutting your yarn and pulling the tail through your last loop. Weave in the tail with a yarn needle, going back and forth a couple of times through nearby stitches rather than just once — this keeps the end from working itself loose over time. Trim any leftover tail bits from stitches you worked over earlier, and weave in the remaining stripe-edge ends by matching the tail to its same color as you go.
Write a review
 no image