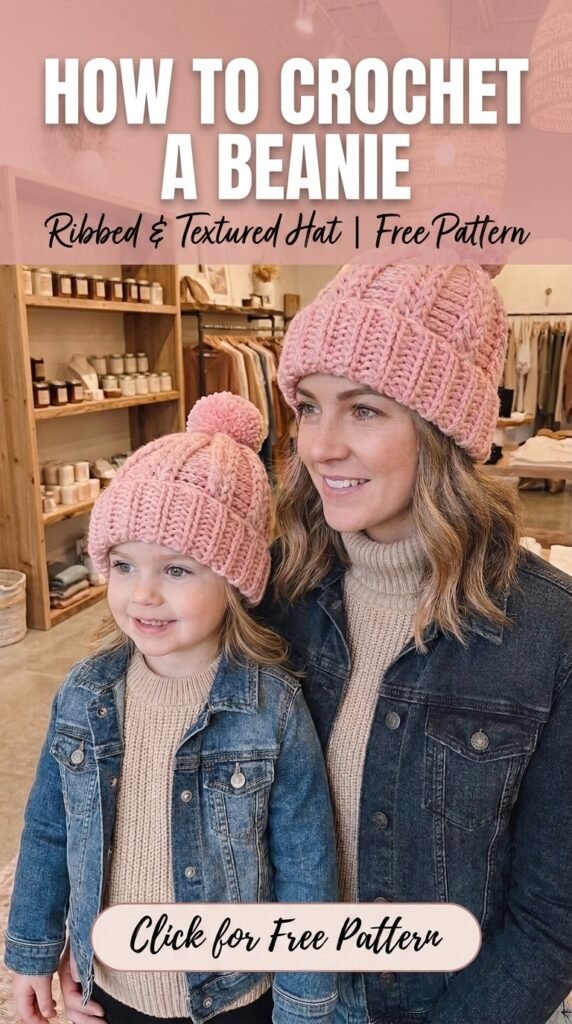
How to Crochet a Beanie — Ribbed & Textured Hat | Free Pattern
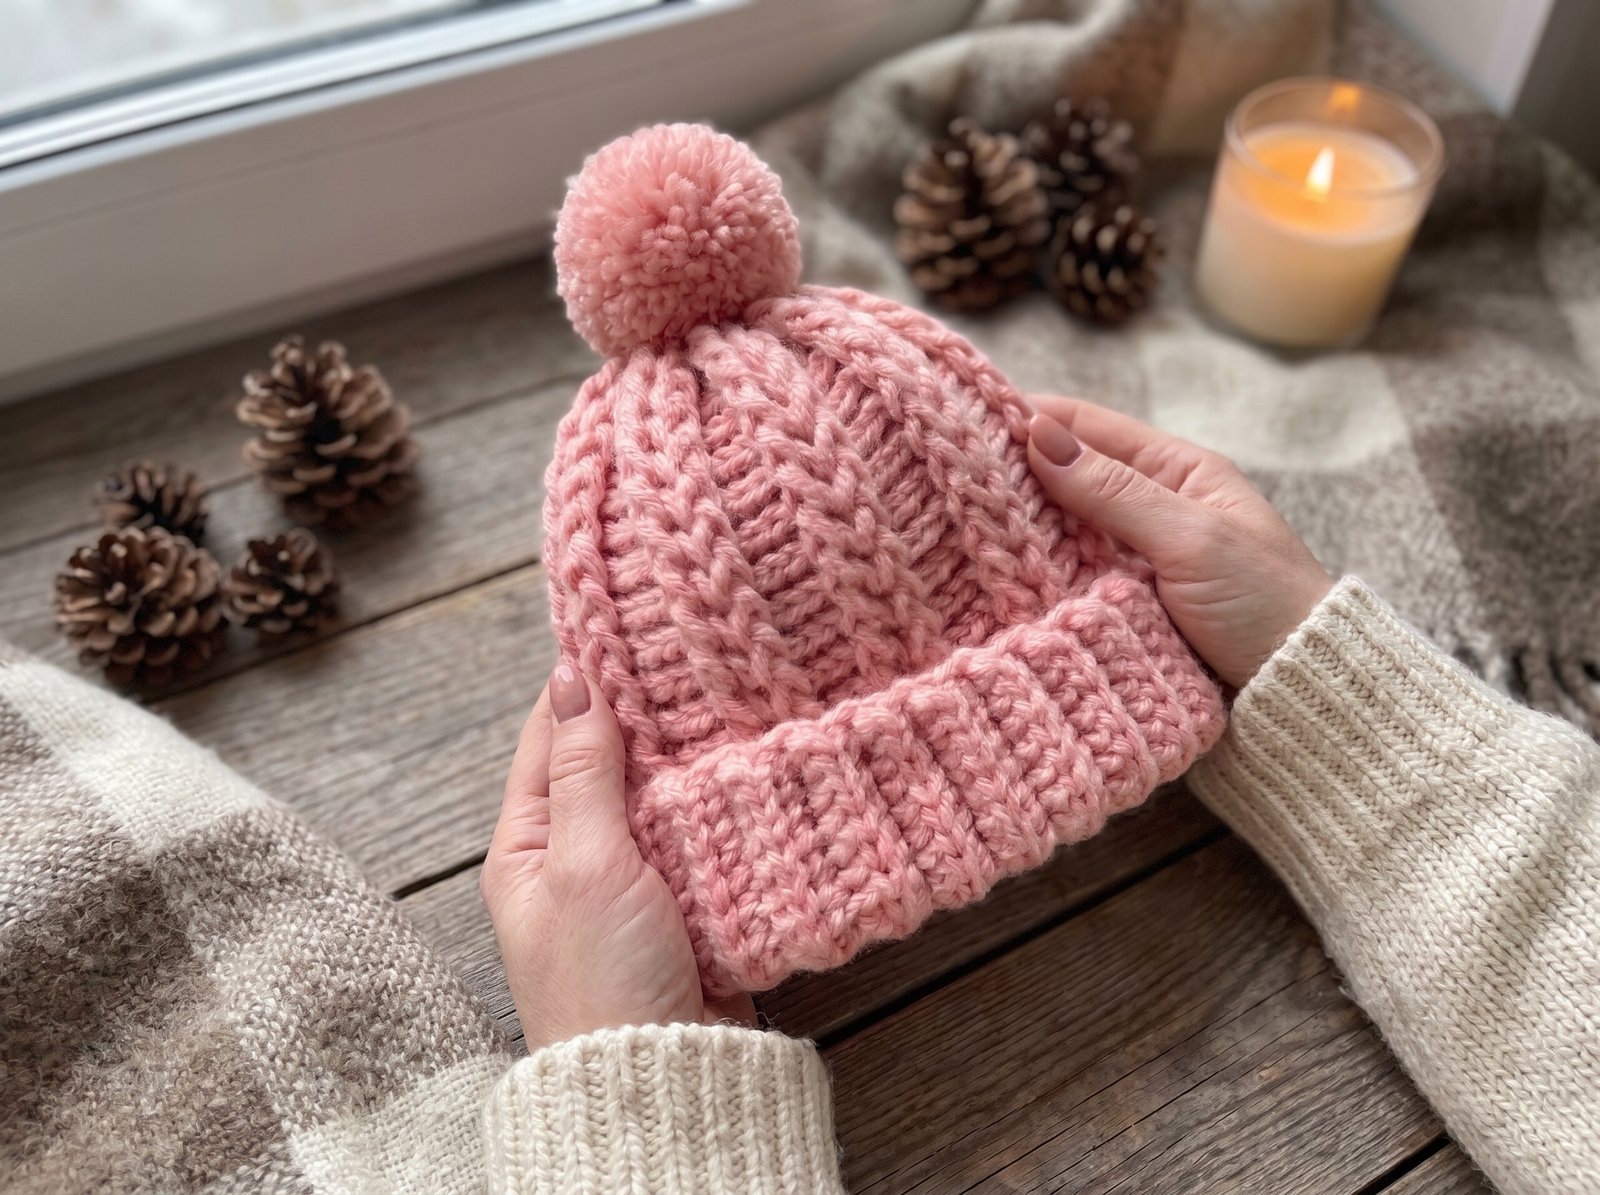
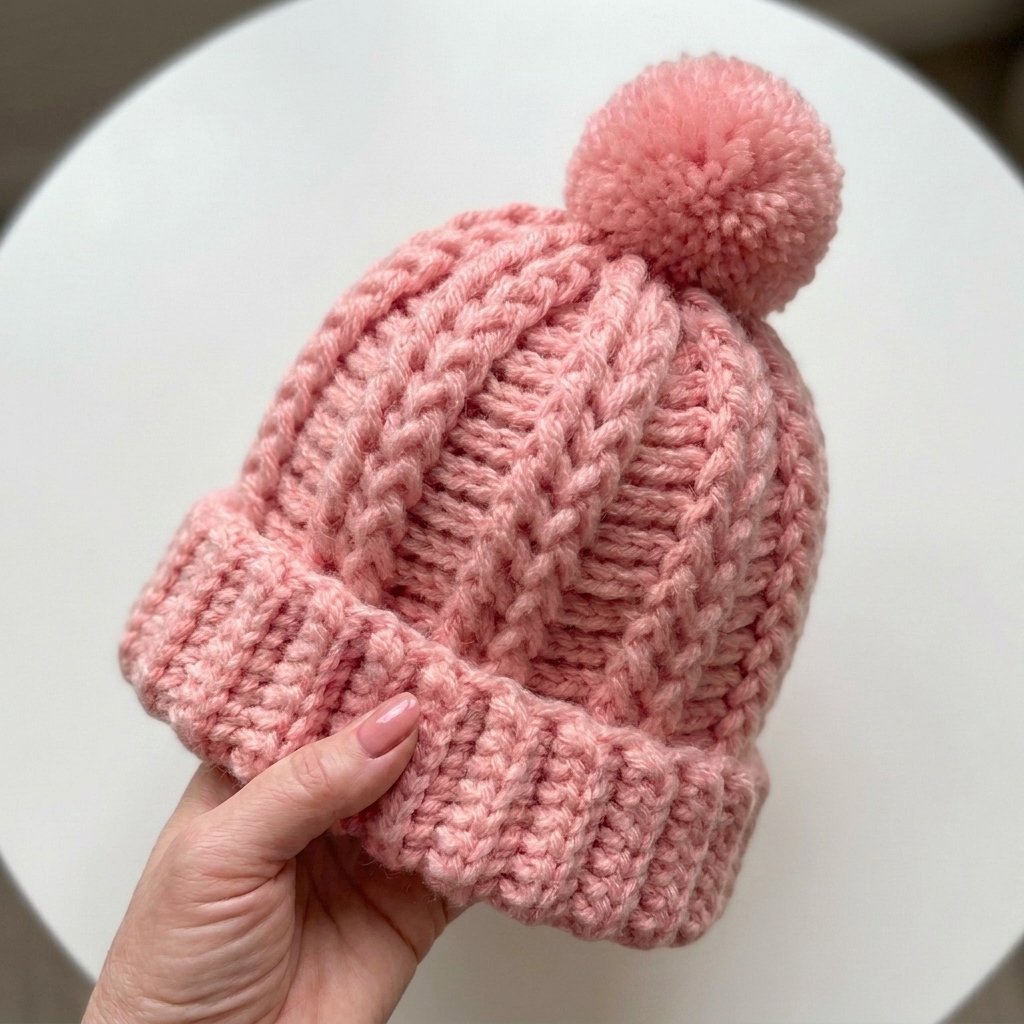
A cozy, structured beanie built in two distinct parts: a stretchy ribbed brim worked sideways in rows, then a textured post-stitch crown that creates those raised vertical lines running up to the crown. It’s a step up from a basic hat pattern — the post-stitch texture and shaped decrease rounds take some getting used to — but the technique is genuinely worth learning since it opens the door to a lot of other textured accessory patterns.

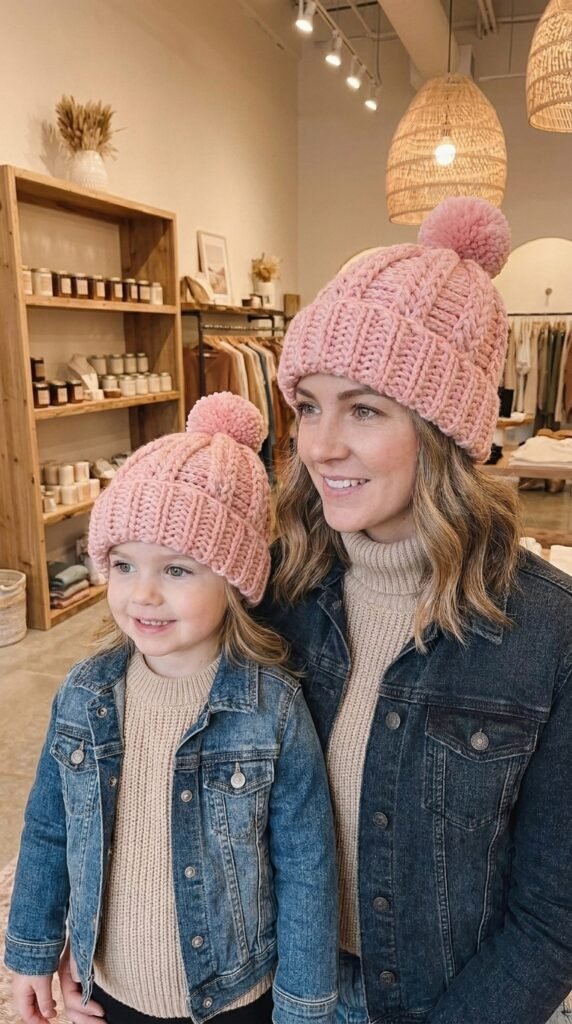
Quick glance
| Time | Skill | Size | Hook |
| 3–4 hrs | Intermediate | Fully adjustable (baby through adult) | 5mm |
Materials
- Worsted/aran weight wool or wool-blend yarn
- 5mm crochet hook
- Tapestry/yarn needle
- Optional: pompom (store-bought or handmade)
Terms & abbreviations
| Abbrev | Term | Notes |
| ch | chain | — |
| dc | double crochet | used for the ribbed brim |
| tr | treble crochet | used for the crown |
| BPtr | back post treble crochet | insert hook around the post of the stitch from behind |
| FPtr | front post treble crochet | insert hook around the post of the stitch from the front |
| BLO | back loop only | used throughout the ribbed brim for the ridged texture |
| tr2tog | treble 2 together | decrease — combines 2 back post trebles into 1 stitch |
| st(s) | stitch(es) | — |
| row(s)/rnd(s) | row(s) worked flat for the brim, joined rounds for the crown | — |
Gauge & sizing note
This pattern is sized by measured length rather than a fixed stitch gauge, so precise gauge matching isn’t critical — what matters is measuring your own ribbed brim as you go. Before starting the full brim, work a 6-row swatch and measure its length. Use that to calculate how many total rows you’ll need (see sizing guide below), since row tension varies enough between crocheters that a universal row count won’t fit everyone the same way.
Sizing guide
Measure head circumference and subtract 5cm (the ribbing has natural stretch, so a slightly smaller finished measurement gives a secure, non-slouchy fit).
| Size | Approx. head circumference | Target ribbing length |
| Baby | 34–40 cm | 29–35 cm |
| Toddler | 44–48 cm | 39–43 cm |
| Child | 50–52 cm | 45–47 cm |
| Adult | 54–58 cm | 49–53 cm |
Once you know your target length, work the brim in multiples of 6 rows, finishing with 5 additional rows at the end (so your total will be a number like 6n + 5). Use your swatch measurement to figure out how many multiples of 6 get you closest to your target length before adding those final 5.
Part 1 — Ribbed Brim (worked flat, sideways)
Foundation: Chain 10.
Row 1: Dc in the 2nd chain from your hook and in each chain across. (9 dc)
Row 2 onward: Chain 1, turn. Working through the back loop only of each stitch, dc across. (9 dc every row)
Repeat Row 2 until your strip reaches your target length from the sizing guide above, following the multiples-of-6-plus-5 row count rule.
Join into a ring: With the strip’s two short ends together, single crochet them closed to form a loop. Note: this pattern is worked entirely on what becomes the wrong side of the hat, so the ribbed texture will flip to show correctly once the hat is finished and turned right-side out.
Part 2 — Foundation Round for the Crown
Chain 2. Work 1 treble crochet into each row-end along the top edge of the ribbed brim, spacing evenly around the full circle. Your final treble crochet of the round should land directly on top of the single crochet seam from joining the brim. Join with a slip stitch to close the round.
Your stitch count for this round matches your total row count from Part 1.
Part 3 — Textured Crown Body
Every round: Chain 2, then repeat around: 4 back post treble crochet, 2 front post treble crochet. Join to close each round.
Repeat this round until your crown reaches your desired height — the original hat used 19cm, but you can work fewer rounds for a more fitted beanie or more rounds for a slouchier finish.
Tip: if your total stitch count isn’t an exact multiple of 6 (the repeat width), finish each round with a partial repeat right at the seam point — it won’t be visible in the finished hat, the same way a slightly uneven repeat count is handled in any all-over stitch pattern.
Part 4 — Decrease Rounds (3 total)
These three rounds gradually taper the crown closed. Each one folds one more stitch from the back-post group into the decrease.
Decrease Round 1: Chain 2, then repeat around: work a tr2tog over the first 2 back-post stitches of each repeat (decreasing them into 1), then 2 plain BPtr, then 2 FPtr as usual.
Decrease Round 2: Chain 2, then repeat around: work a tr2tog combining the previous round’s decrease stitch with the next BPtr stitch, then 1 plain BPtr, then 2 FPtr as usual.
Decrease Round 3: Chain 2, then repeat around: work a tr2tog combining the previous decrease stitch with the final remaining BPtr stitch (no plain back-post stitches left this round), then 2 FPtr as usual.
Stitch count checkpoints
| Round | Stitch count (relative to starting count) |
| Foundation tr round | matches total brim row count |
| Texture rounds | stays constant |
| Decrease Rnd 1 | ~5/6 of starting count |
| Decrease Rnd 2 | ~4/6 of starting count |
| Decrease Rnd 3 | ~3/6 of starting count |
Part 5 — Closing the Top
Cut your yarn leaving a long tail and thread it onto a tapestry needle. Weave through all remaining top stitches, then pull tight to gather and close the opening. Secure with a few small stitches on the inside (wrong side) before weaving in the tail.
Common mistakes
| Mistake | Fix |
| Front/back post stitches mixed up | BPtr wraps around the post from behind (hook enters from back to front); FPtr wraps from the front (hook enters from front to back) — double check direction before each stitch until it’s automatic |
| Ribbing looks flat, no ridge texture | Missed working into the back loop only — check you’re skipping the front loop on every row |
| Hat too loose or too tight | Ribbing length wasn’t adjusted for your actual gauge — always swatch 6 rows and measure before committing to a full-length brim |
| Decrease rounds look uneven | Losing track of which stitches belong to the previous round’s decrease — place a stitch marker in the first decrease stitch of each round as a reference point |
Finishing
Turn the hat right-side out — the ribbed texture and post-stitch pattern will show correctly once flipped. Attach a pompom to the top if you’d like, or leave it plain for a simpler finish.
Write a review
 no image