Crochet Cute Owl Bag – Easy Free Owl Crochet Bag Pattern for Beginners
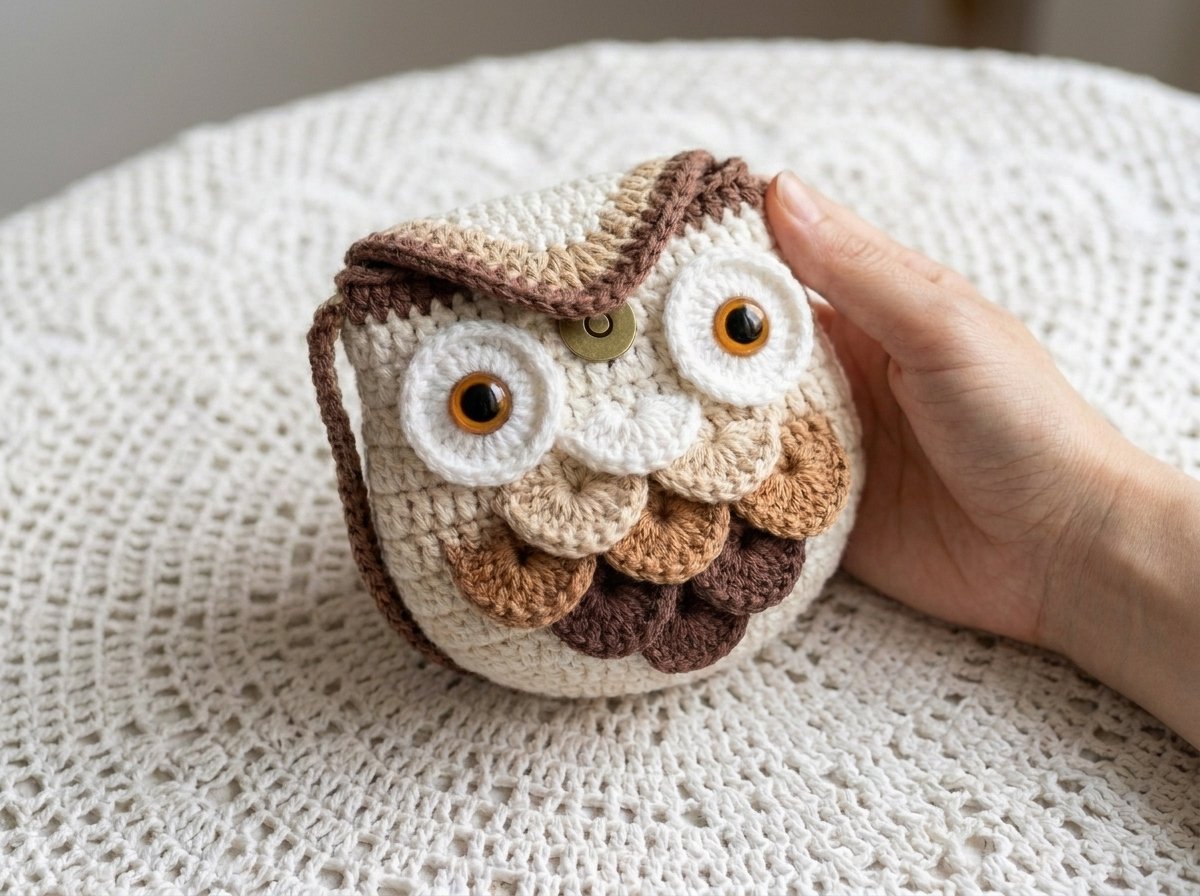
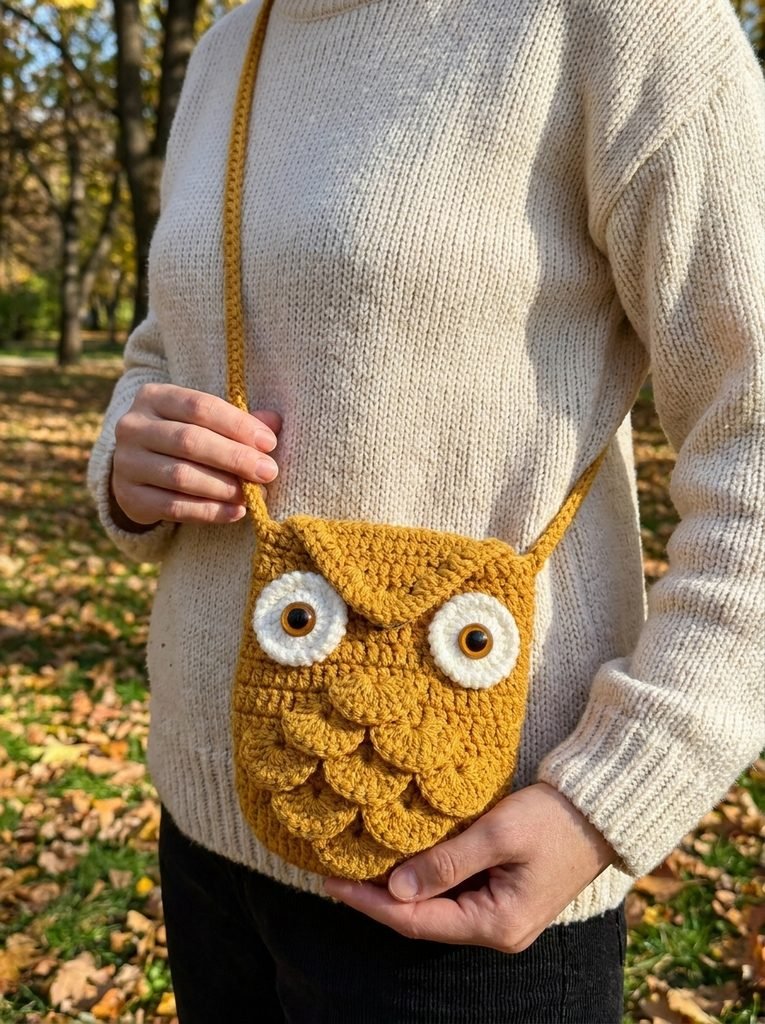
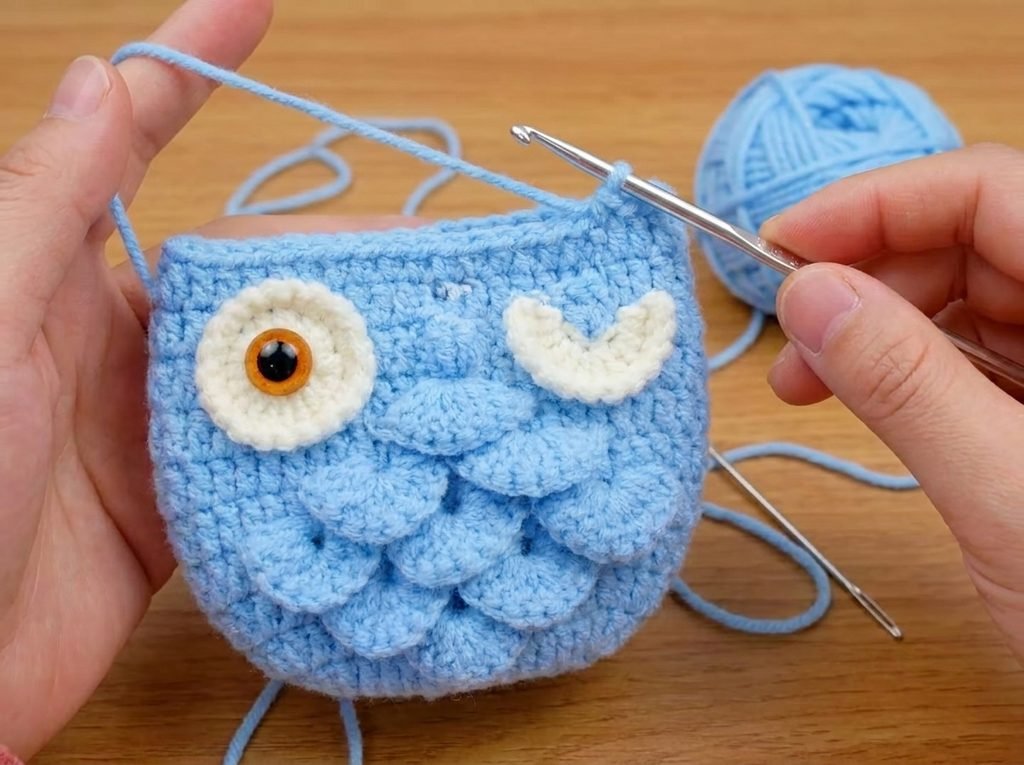
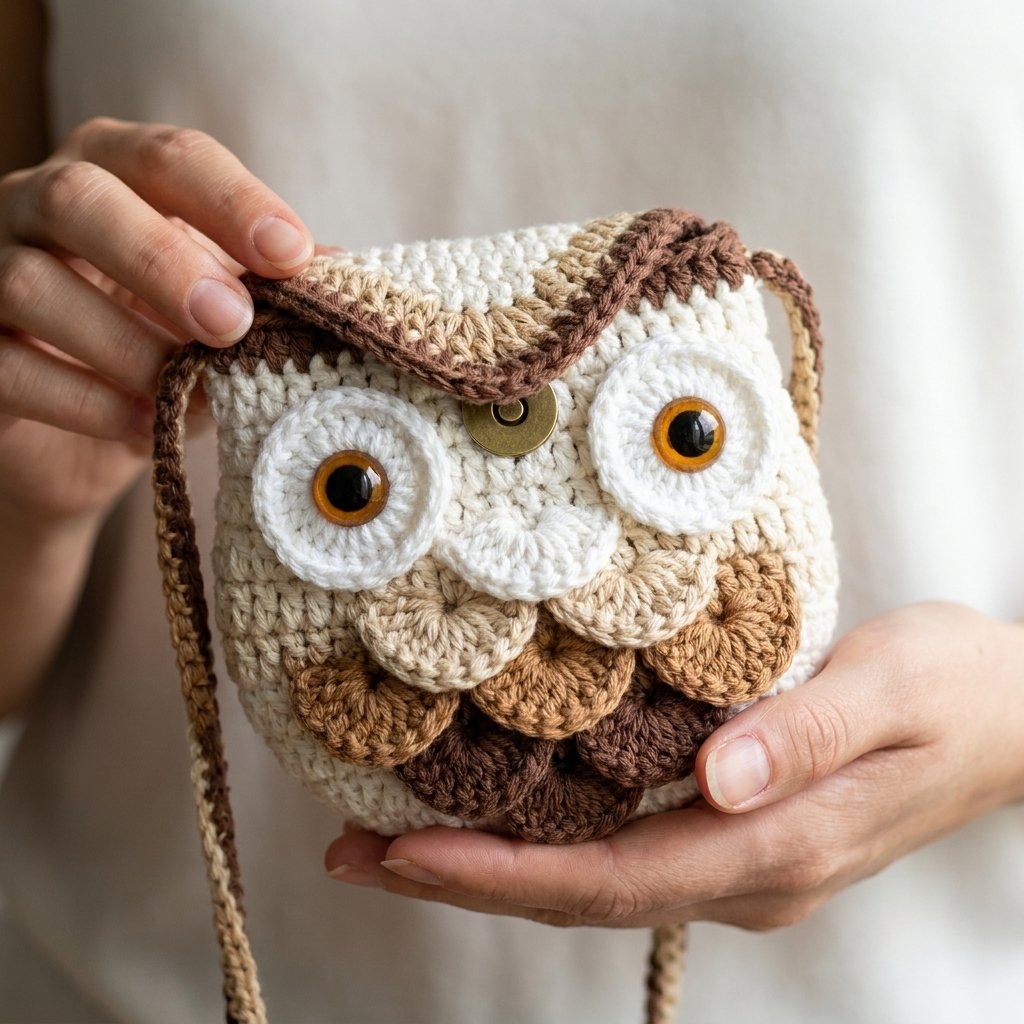
A small, round owl-shaped bag with layered crocodile-stitch “feathers” covering the lower body, big googly eyes, and a braided crossbody strap. The feather texture is worked as a separate embellishment pass directly onto the body — the same general approach used in crocodile stitch projects, just applied here as an owl’s chest feathers instead of the usual fish-scale look.
Quick glance
| Time | Skill | Finished size | Hook |
| 5–7 hrs | Advanced | Small pouch/bag | 2.0mm |
Materials
- Milk cotton yarn, held with 4 strands together throughout: main body color (tan/beige shown), plus white for the eye trim
- 2.0mm crochet hook
- Two 12mm simulated glass eyes (wire-backed, not standard safety eyes)
- One 18mm magnetic snap closure
- Pliers (for trimming/bending the eye wire backing)
- Craft glue
- Tapestry needle, scissors
Terms & abbreviations
| Abbrev | Term | Notes |
| ch | chain | called “lock stitch” in the source |
| sc | single crochet | called “short stitch” |
| dc | double crochet | called “long stitch” |
| dec | decrease | 2 sts worked together as 1 |
| popcorn | popcorn/bobble stitch | small raised texture detail |
| twisted sc | a crab-stitch-style edge finish | worked by twisting the hook before pulling through, used for finished edges |
| sl st | slip stitch | called “pull stitch” |
| st(s) | stitch(es) | — |
| rnd(s)/row(s) | joined rounds for the body base; flat rows for the ear tufts and feathers | — |
Part 1 — Main Body
Foundation: Chain 16. Work an oval base (standard technique: sc around the chain with increases at both curved ends).
Round 1: (32 sc total)
Round 2: Chain 2 (standing stitch), work in dc with increases distributed around. (38 dc)
Round 3: Chain 2, continue dc with increases. (42 dc)
Round 4: Chain 2, continue dc with increases — this round begins introducing the V-stitch “branch” points that the crocodile-stitch feathers will later be worked onto. (46 dc)
Round 5: Chain 2, continue dc with increases and branch points. (50 dc)
Round 6: Chain 2, work dc with V-stitch branch points around — this round stays at the same stitch count as Round 5, since it’s establishing crocodile-stitch branches rather than shaping the body further. (50 dc)
Round 7: Chain 2, continue the same branch-point pattern. (50 dc)
Round 8: Chain 2, begin decreasing — work dc2tog decreases distributed around. (48 dc)
Round 9: Chain 2, continue decreasing. This round also includes a small popcorn stitch detail (5 dc worked as a popcorn/bobble) — position based on the reference photo, likely a small brow or beak accent. (42 dc)
Rounds 10–11: Dc around, plain. (42 dc, both rounds)
Round 12: Switch to sc. Sc around. (42 sc)
Part 2 — Ear Tufts (worked flat, tapering to points)
Starting from Round 12, the piece splits into flat, turned rows rather than continuing as a joined round — this forms the two pointed tufts at the top of the owl’s head.
Row 13: Chain 1, sc across roughly half the round. (19 sc)
Row 14: Turn, sc across. (19 sc)
Row 15: Turn, sc 1, sc 15, dec 1. (17 sts)
Row 16: Turn, dec 1, sc 13, dec 1. (15 sts)
Row 17: Turn, dec 1, sc 11, dec 1. (13 sts)
Row 18: Turn, dec 1, sc 9, dec 1. (11 sts)
Row 19: Turn, sc 1, sc 7, sc 1. (9 sts)
Row 20: Turn, sc 1, sc 5, sc 1. (7 sts)
Row 21: Turn, sc 1, sc 3, sc 1. (the source states 7 sts here, which doesn’t match the tapering trend of the surrounding rows — this looks like a transcription/translation slip. Expect roughly 5 sts based on the pattern’s shaping logic.)
Row 22: Turn, sc, sc, dec. (3 sts)
Row 23: Turn, dec, sc. (2 sts)
Row 24: Work one round of twisted sc around the remaining edge as a finishing border. Fasten off, weave in end.
Part 3 — Feathers (crocodile stitch, worked onto the branch points from Rounds 6–7)
This is standard crocodile stitch technique: for each “scale,” work 9 dc down the post of one branch stitch, then move to the next branch and repeat. Offset each new row’s scales between the previous row’s scale points, so they overlap like layered feathers.
Work a total of 5 rows of scales across the branch points established earlier, covering the lower front of the body as shown in the reference photo.
Part 4 — Strap (braided cord technique)
Leave a 15cm starting tail. Chain 2, then work the same repeating braided-cord technique used in crocodile-stitch bag straps: sc into the previous stitch’s back stripe, twist, sc into the next protruding stripe, twist, continue.
Work to a length of about 30cm, adjusting shorter or longer as needed. Leave another 15cm tail at the end for sewing.
Part 5 — Eyes (make 2)
Round 1: Chain 2 (standing stitch), work 20 dc into a starting loop/ring — this forms a flat disc directly rather than a gradually-increasing circle. Close the ring.
Round 2: Work 20 twisted sc around the outer edge as a finished rim (switch to white yarn for contrast, matching the photo).
Fasten off, weave in ends. Press a glass eye into the center of the disc from the front, bend the wire backing flat against the back to secure it, and trim any excess wire with pliers. Repeat for a second eye.
Assembly
- Separate the magnetic snap into its two halves. Sew the smaller half to the upper portion of the body opening and the larger half to the lower portion, positioned to align when closed. Use thread matching your body color.
- Sew the strap to both sides of the body for a crossbody strap.
- Glue the two eye discs to the upper front of the body, above the feather section.
Common mistakes
| Mistake | Fix |
| Only one ear-tuft point | Remember to repeat Rows 13–24 on the remaining stitches for the second point — easy to miss since the source doesn’t explicitly restate it |
| Feathers look flat instead of layered | Each new row of scales needs to offset between the previous row’s points, not stack directly on top |
| Eye discs look too small/large for the face | Compare against the reference photo’s proportions before gluing — these are meant to dominate the upper face, owl-style |
| Twisted sc edge looks uneven | Keep the twist direction consistent on every stitch around the round |
Finishing
Weave in all remaining ends. Let the glued eye discs set fully before handling the bag regularly.