Crochet Teacup Bookmark Pattern – Easy Beginner-Friendly Crochet Book Mark
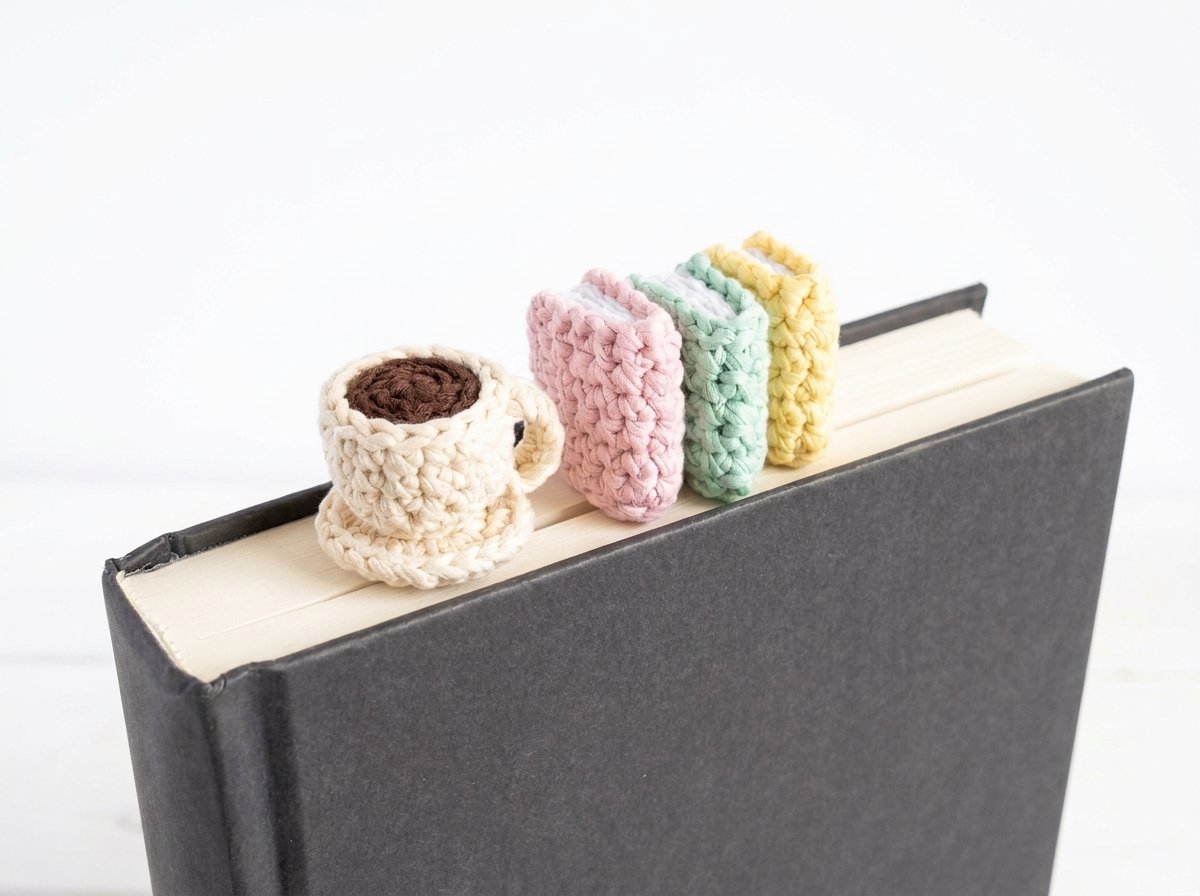
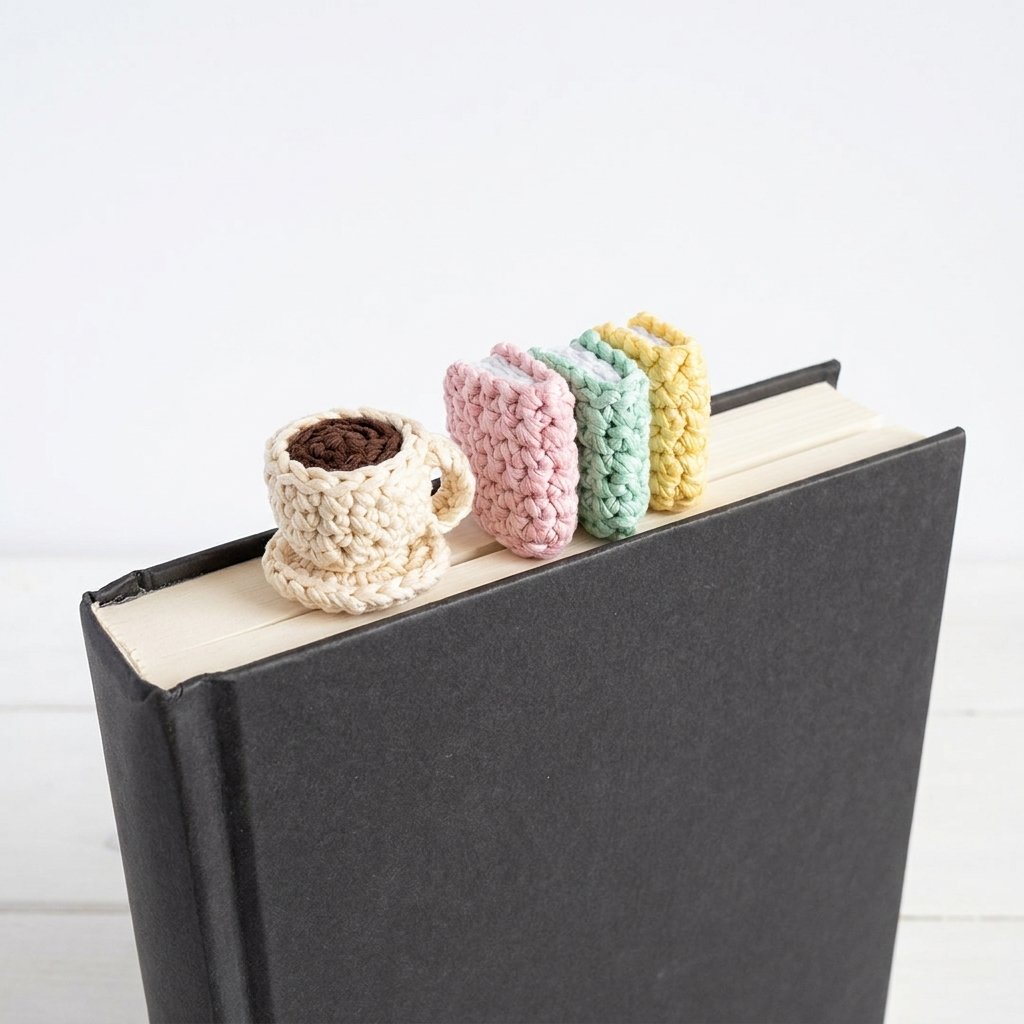
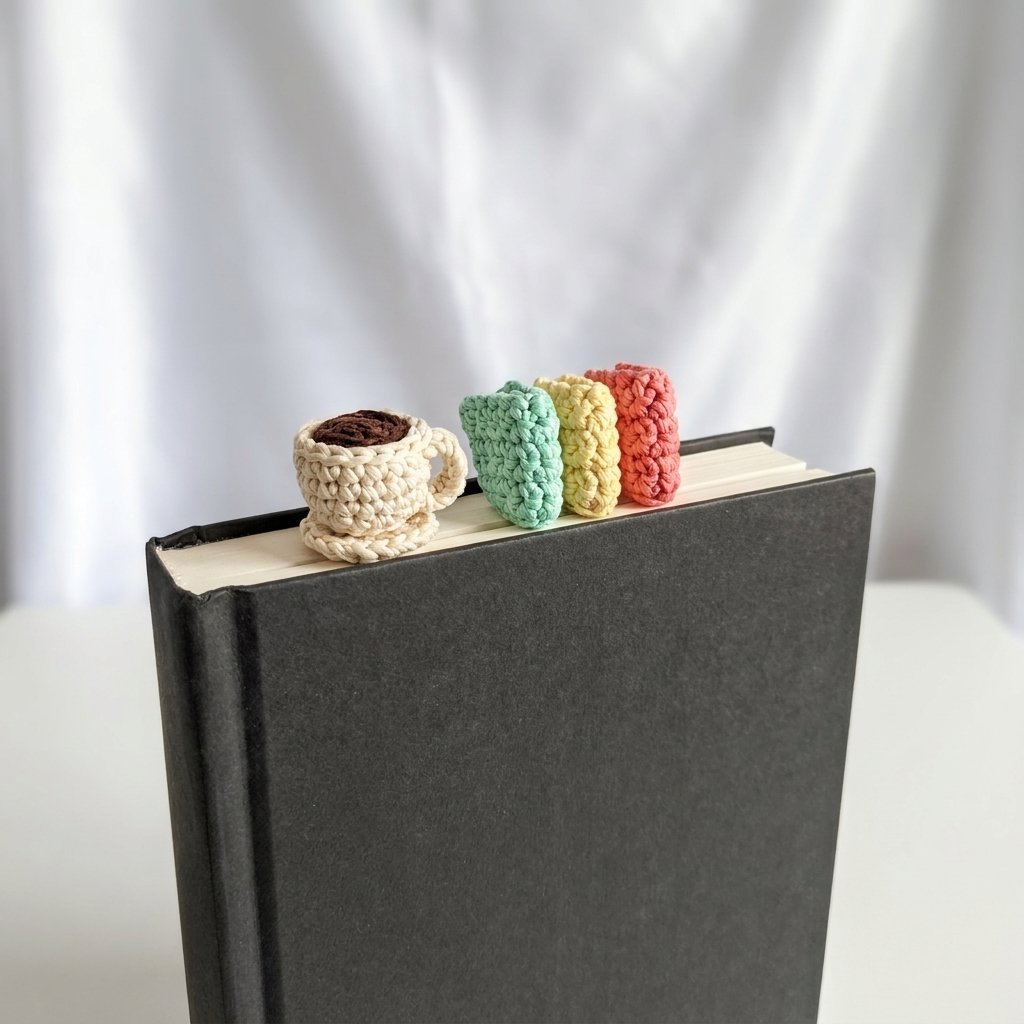
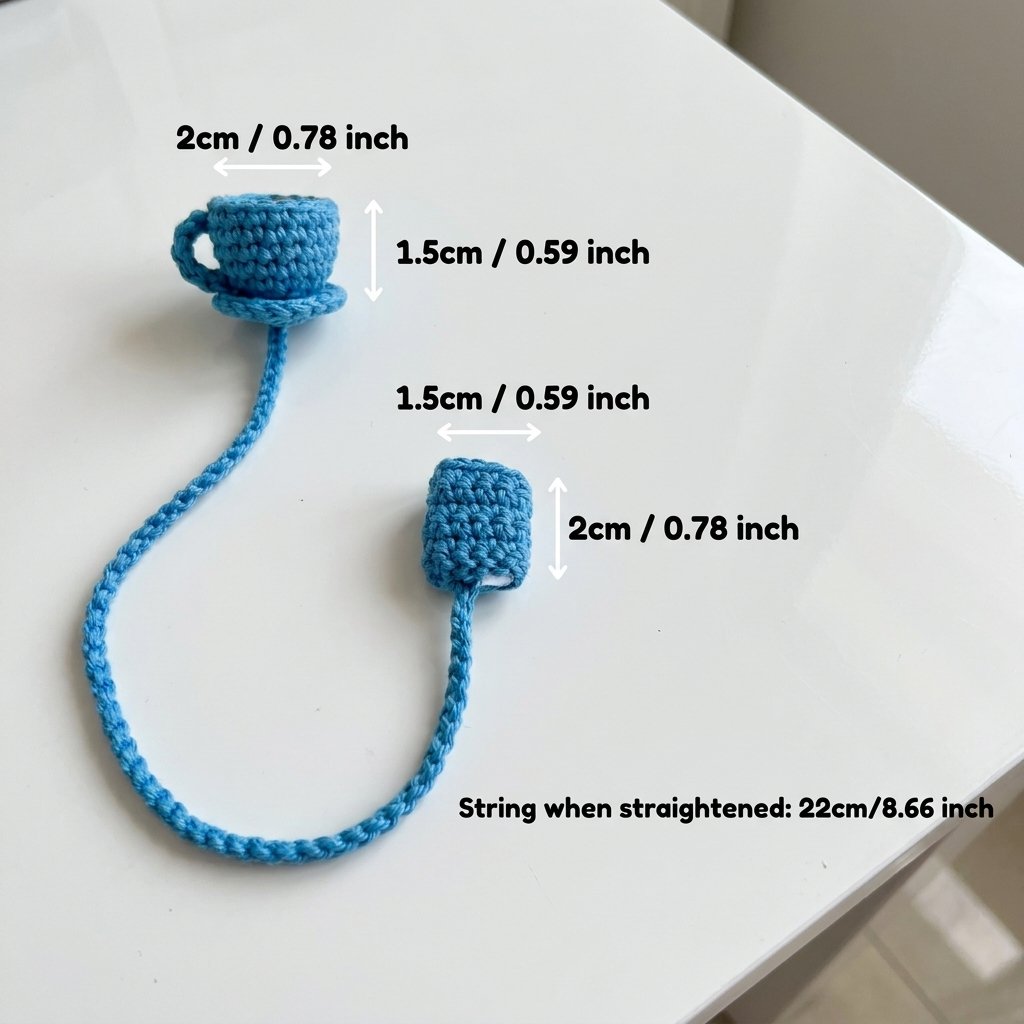
A sweet little bookmark shaped like a teacup on a saucer, dangling on a string down to a tiny crocheted book. The whole thing drapes over your page like a bookmark tag — the cup sits on top, the mini book anchors the other side.
Quick glance
| Time | Skill | Finished size | Hook |
| 1–2 hrs | Beginner | Cup ~2cm wide; string ~22cm straightened | 2.5mm |
Materials
- Thin cotton yarn (fine/fingering weight) — main color for the cup/plate/string, a contrast color for the “tea”
- 2.5mm crochet hook (a smaller hook works too, given the thin yarn)
- Small amount of fiberfill stuffing
- Yarn needle
- Craft glue (optional, for joining the book pieces or the cup to the plate)
- Stitch marker
Terms & abbreviations
| Abbrev | Term | Notes |
| ch | chain | — |
| sc | single crochet | the only stitch used throughout |
| inc | increase | 2 sc in same st |
| BLO | back loop only | used once, in the cup |
| MR | magic ring | — |
| st(s) | stitch(es) | — |
| rnd(s)/row(s) | rounds for the cup/tea/plate; rows for the book pieces | — |
Part 1 — Tea (small flat disc)
Round 1: MR, 6 sc.
Round 2: Inc around. (12 sts)
Cut yarn and finish with an invisible join: thread your tail onto a yarn needle, insert into the 2nd-to-last stitch, then back into the last stitch’s back loop only, and pull snug.
Part 2 — Cup
Round 1: MR, 6 sc.
Round 2: Inc around. (12 sts)
Round 3 (back loop only): Sc around. (12 sts — this ridge line is what separates the cup’s base from its sides)
Round 4: Sc around, both loops as normal. (12 sts)
Round 5: [sc 3, inc] x3. (15 sts)
Round 6: Sc around, plain. (15 sts)
Cut yarn, leaving a long tail for sewing, and finish with the same invisible join technique used for the tea.
Assemble the tea into the cup: Using your needle, stitch through the front loop only of the tea’s edge stitches and both loops of the cup’s edge stitches, joining them together. Add a small pinch of stuffing before closing fully.
Part 3 — Cup Handle
Slip knot, chain 6. Sc in the 2nd chain from your hook and in each remaining chain across. (5 sc total)
Cut yarn, leaving a tail for sewing. Sew the handle onto the side of the finished cup.
Part 4 — Plate
The source video shows this piece on-screen without narrating it in detail. Based on its size relative to the cup in the reference photo, a small flat disc following the same construction as the Tea piece (Round 1: MR, 6 sc; Round 2: inc around) is a reasonable match — adjust the round count if you want a wider plate.
Part 5 — Book Cover
Slip knot, chain 11. Sc in the 2nd chain from your hook and in each remaining chain across. (10 sc)
Turn (without adding a chain) and sc across each stitch. Repeat this same row until you reach a total of 6 rows.
Cut yarn and weave in ends.
Part 6 — Paper
Worked the same way as the Book Cover, but starting with chain 9 instead of chain 11. (8 sc across)
The source doesn’t restate the row count for this piece — matching the Book Cover’s 6 rows is a reasonable assumption so the two pieces align when glued together, but confirm the proportions look right for your yarn before committing.
Glue the Paper piece onto the Book Cover to complete the mini book.
Part 7 — String & Final Assembly
String: Make a slip knot, leaving a long tail (you’ll use this tail later to sew the cup and plate together). Chain to your desired bookmark length — longer chains for a longer drop. Once you’re happy with the length, slip stitch onto the book piece to attach it.
If the chain alone feels too thin, work back along it with an extra round of slip stitch or single crochet in each chain for a thicker cord.
Assembly:
- Sew or glue the plate to the bottom of the finished cup.
- Attach the cup+plate to the top end of the string.
- The book piece sits at the other end of the string (already attached during the string step).
- Drape the finished bookmark over your page, with the teacup resting on top and the book tab hanging behind.
Common mistakes
| Mistake | Fix |
| Cup wobbles or looks lopsided | Round 3’s back-loop-only round needs to be worked consistently all the way around — a missed stitch here throws off the ridge line that gives the cup its shape |
| Handle looks too short/long | 5 sc is the tested length for this cup size — adjust the starting chain length proportionally if you’ve resized the cup |
| Book pieces don’t align once glued | Confirm your Paper piece’s row count visually against the Book Cover before gluing — trim or add a row if the proportions look off |
| String looks flimsy | Add the optional reinforcing round (sc or sl st back along the chain) for a sturdier cord |
Finishing
Weave in all remaining ends. Let any glued pieces set fully before the bookmark goes into regular use.