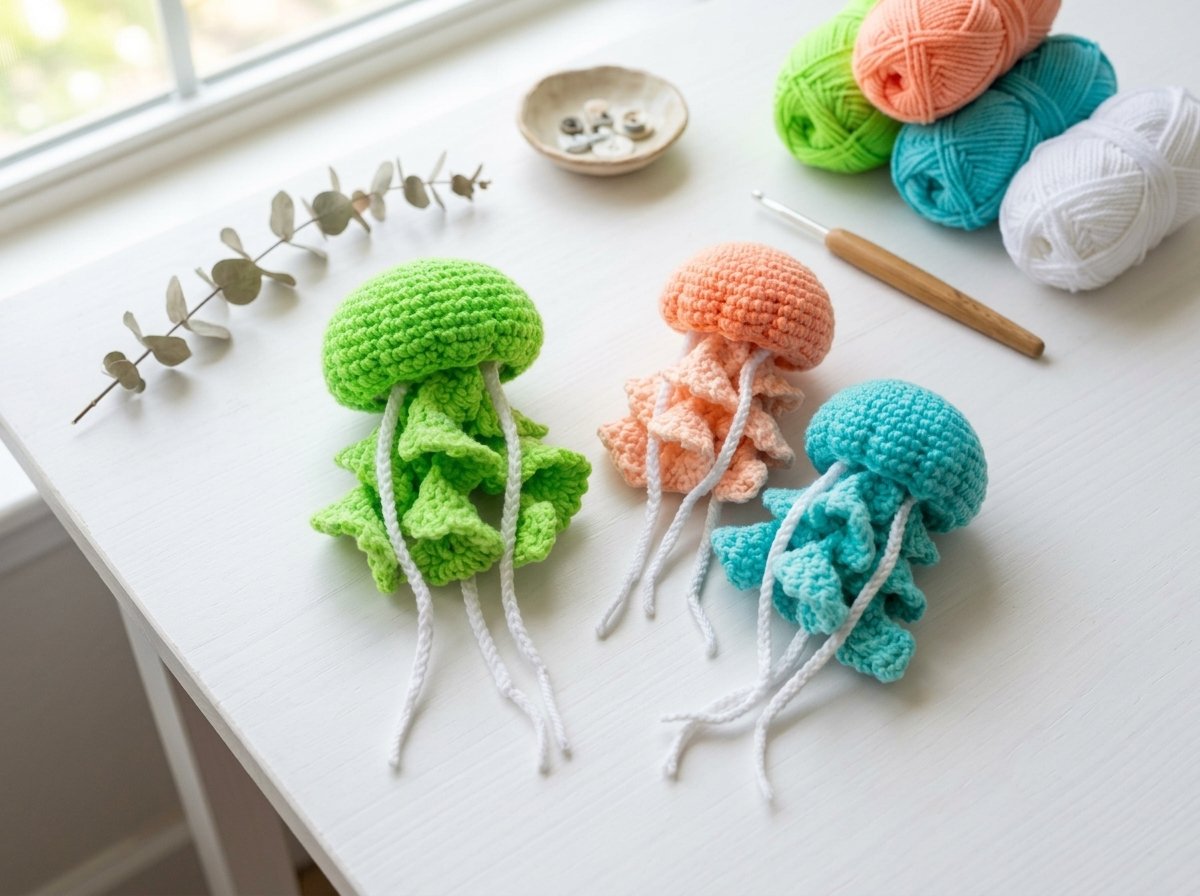
Quick & Easy Crochet Jellyfish Pattern – Cute Ocean Amigurumi Tutorial
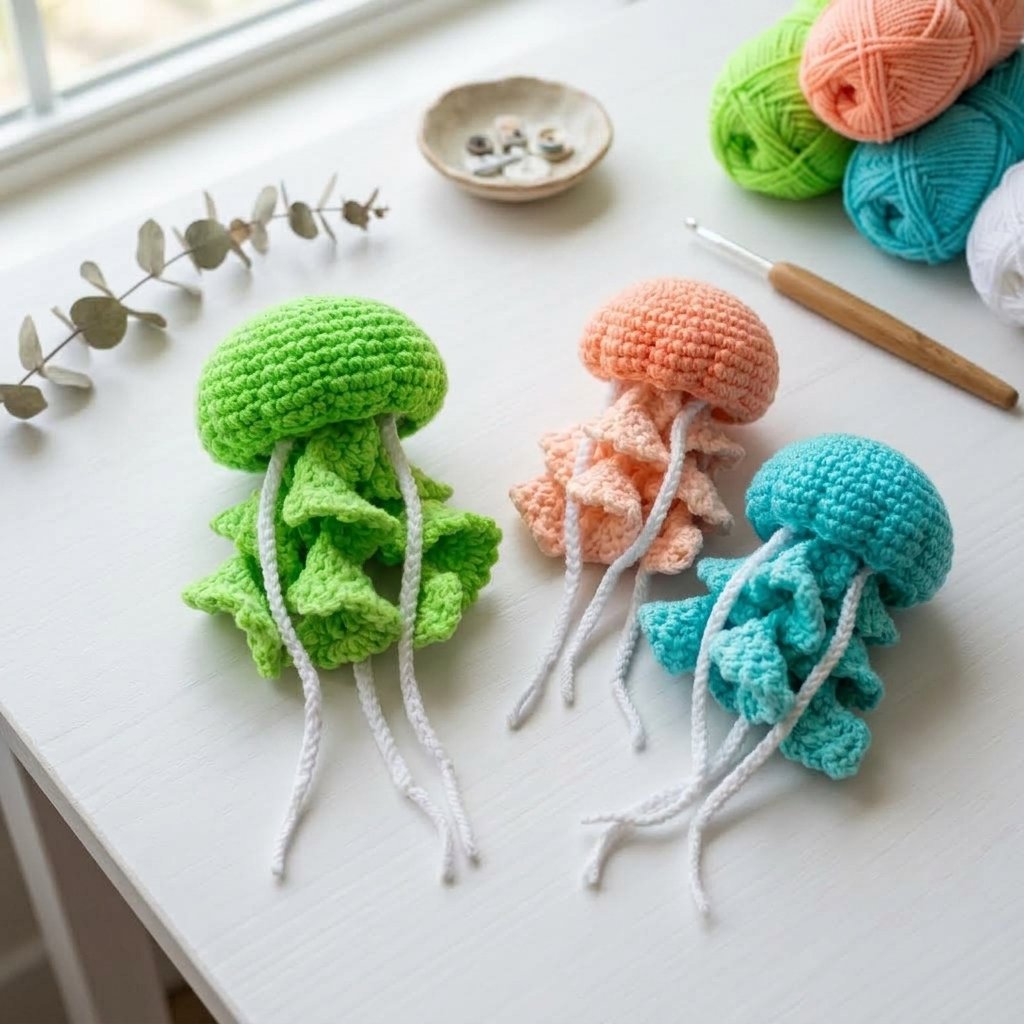
A soft, huggable little jellyfish with a ridged dome, ruffled scalloped tentacles, and thin twisted trailing strands — genuinely quick to make once you’re through the shaping rounds, and a lovely addition to any ocean-creature collection.
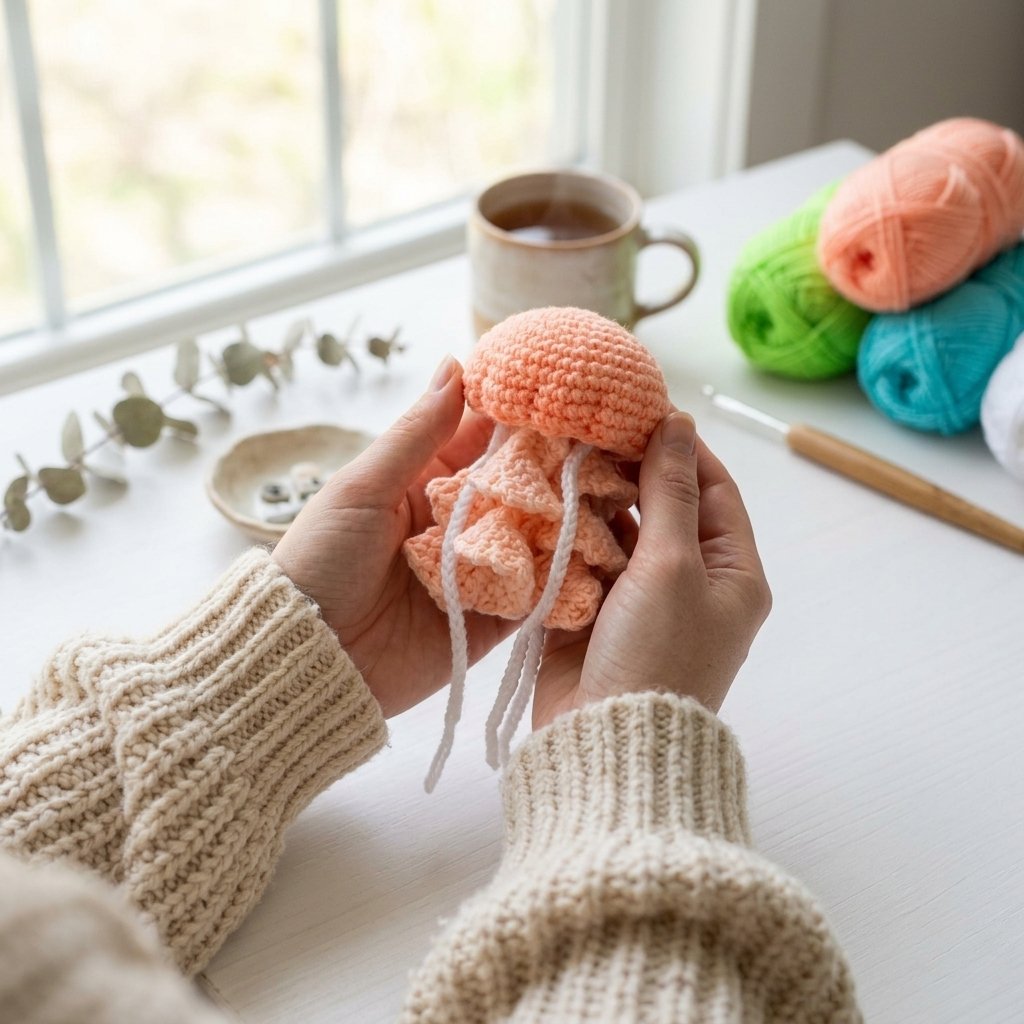
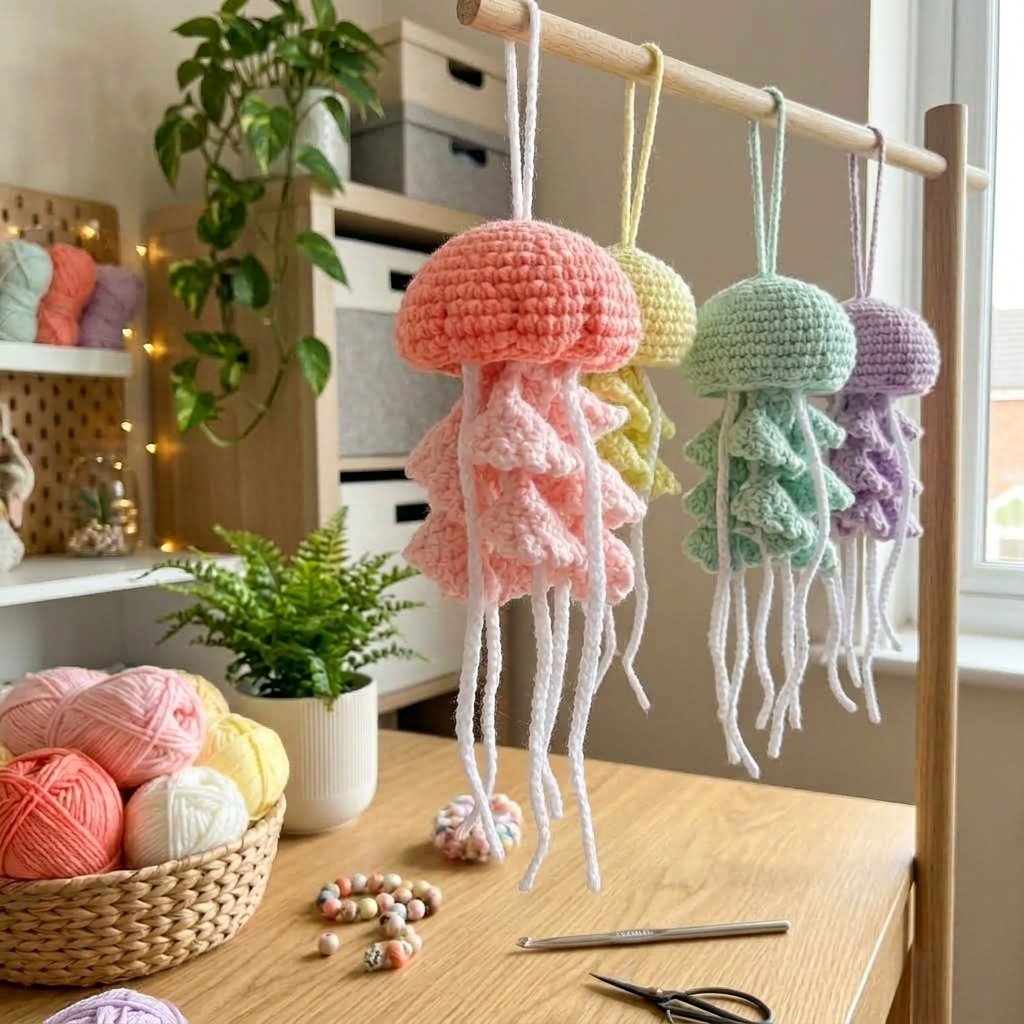
Quick glance
| Time | Skill | Finished size | Hook |
| 1.5 hrs | Intermediate | Small charm-sized jellyfish | 2.5mm |
Materials
- Milk cotton yarn: main color (body), a lighter shade of the same color (big tentacles), white (small tentacles)
- 2.5mm crochet hook
- Polyester fiberfill stuffing
- Stitch marker
- Yarn needle, scissors
- Optional: keychain ring/clasp (see note below)
A note on the “keychain” name: the source video doesn’t narrate attaching an actual keyring clasp despite the title calling these “jellyfish keychains” — if you want it to function as a keychain, attach a small jump ring or clasp to the top center of the body after finishing.
Terms & abbreviations
| Abbrev | Term | Notes |
| sc | single crochet | — |
| dc | double crochet | used only in the big tentacles |
| inc | increase | 2 sc in same st |
| dec | decrease | 2 sts worked together as 1 (front loop only where noted) |
| BLO | back loop only | used extensively in the body’s shaping rounds |
| MR | magic ring | — |
| sl st | slip stitch | — |
| st(s) | stitch(es) | — |
| rnd(s)/row(s) | rounds for the body; rows for the tentacles | — |
Part 1 — Body
| Rnd | Instruction | St count |
| 1 | 8 sc in MR | 8 |
| 2 | inc around | 16 |
| 3 | [sc 1, inc] x8 | 24 |
| 4 | [sc 1, inc, sc 1] x8 | 32 |
| 5 | sc around | 32 |
| 6 | [sc 3, inc] x8 | 40 |
| 7 | sc around | 40 |
| 8 | [sc 3, inc] x10 | 50 |
Rounds 9–11: Sc 1 plain, then work 9 sets of [1 sc in back loop only, 4 sc normal], then finish with 1 sc BLO and 3 sc normal. (50 sts, all 3 rounds — the BLO stitch at the start of each set is what creates the shaping points used later.)
| Rnd | Instruction | St count |
| 12 | sc 1 plain, then 9x [sc BLO, sc 1, dec, sc 1], then close with [sc BLO, sc 1, dec] | 40 |
| 13 | sc 1 plain, then 9x [sc BLO, dec, sc 1], then close with [sc BLO, dec] | 30 |
| 14 | [sc 1, dec] x10 | 20 |
Stuff the body now, before continuing to the closing rounds.
| Rnd | Instruction | St count |
| 15 (BLO throughout) | [sc 3, dec] x4 | 16 |
| 16 (BLO throughout) | dec around | 8 |
Leave a long tail (25–30cm) and cut your yarn. Thread the tail onto a needle and close the remaining 8 stitches by working through the front loop only of each, then pull tight to cinch closed.
Shaping the ridges
Using your remaining tail, you’ll gather the exposed back-loop points left behind from Rounds 9–13 into small pleats — there should be 5 loops per shaping point. Insert your needle through those 5 loops, then into the stitch of the last loop, and pull to gather it into a small “tent” shape. Repeat around the body to create a total of 10 pleats — this is what gives the dome its ridged, jellyfish-like texture. Secure and hide the tail once finished.
Part 2 — Big Tentacles (make 3, lighter shade)
Attach yarn to a loop from the last round of the body. Chain 22.
Row 1: Starting in the 3rd chain from your hook: *dc increase, dc 3* — repeat 5 times total. Skip the next loop on the body, then slip stitch into the third loop over. Chain 3, turn.
Row 2: *Chain 3, slip stitch into the next stitch* — repeat until you reach the end of the row, for a total of 25 times.
Chain 1, cut yarn. Weave in the tail, working in the opposite direction through a few stitches to hide it securely.
Repeat to make 2 more big tentacles, spacing each one 3 loops apart around the body. Once all three are attached, double-knot the three starting tails together, then twist them into a small decorative twisted strand before trimming.
Part 3 — Small Tentacles (make 3, white)
Attach white yarn to a loop from Round 15, positioned between two big tentacles. Chain 30. Cut yarn, leaving a tail. Repeat twice more, positioning the remaining two small tentacles between the other big tentacles.
Hide the yarn tails the same way as the big tentacles, then trim to about 3cm.
Common mistakes
| Mistake | Fix |
| Pleats don’t look even around the dome | Space your 10 gathering points evenly before pulling any of them tight — adjust placement first, then cinch |
| Big tentacle edges look flat, not ruffled | Row 2’s repeated chain-3 + slip stitch is what creates the scalloped ruffle — check you’re working into every stitch across, not skipping any |
| Small tentacles look too thick or twisted | These are worked as a plain chain with no reinforcing round — if yours look twisted, straighten gently before trimming the tail |
| Body looks lopsided | Confirm your stitch count at each checkpoint above before moving to the next round — drift compounds especially through the BLO shaping rounds |
Finishing
Weave in all remaining ends. If you’d like this to function as an actual keychain, attach a small jump ring or clasp to the top center of the finished body.