Quick & Easy Crochet Baby Crocs Pattern – Free Unisex Clog-Style Baby Booties for Newborns
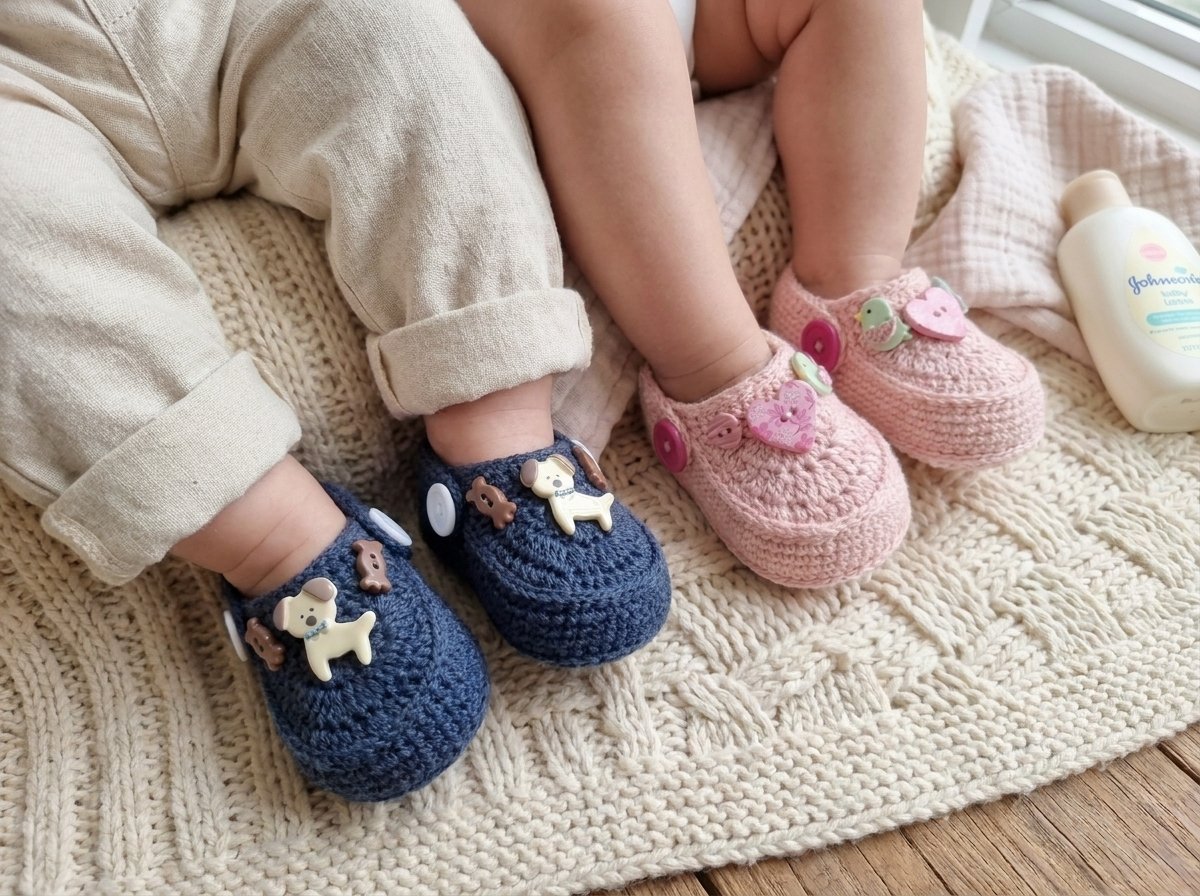
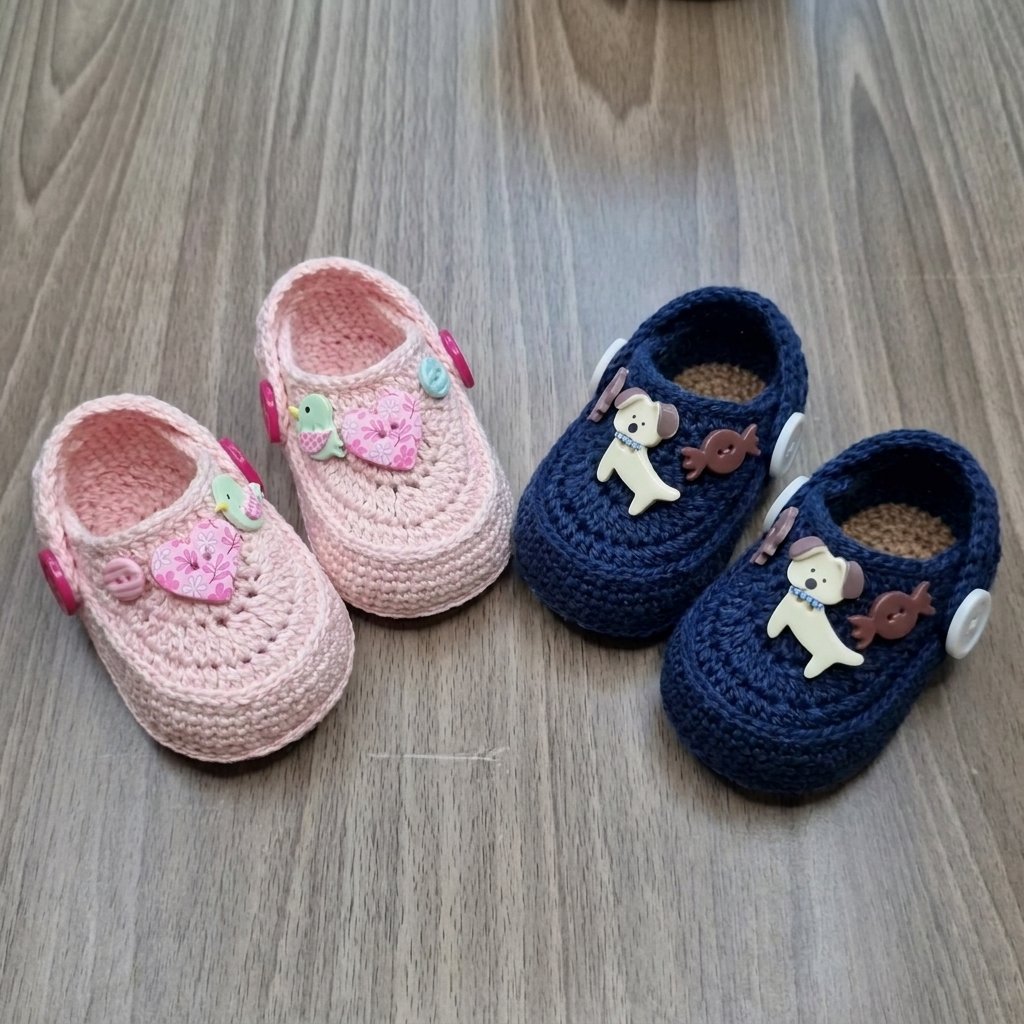
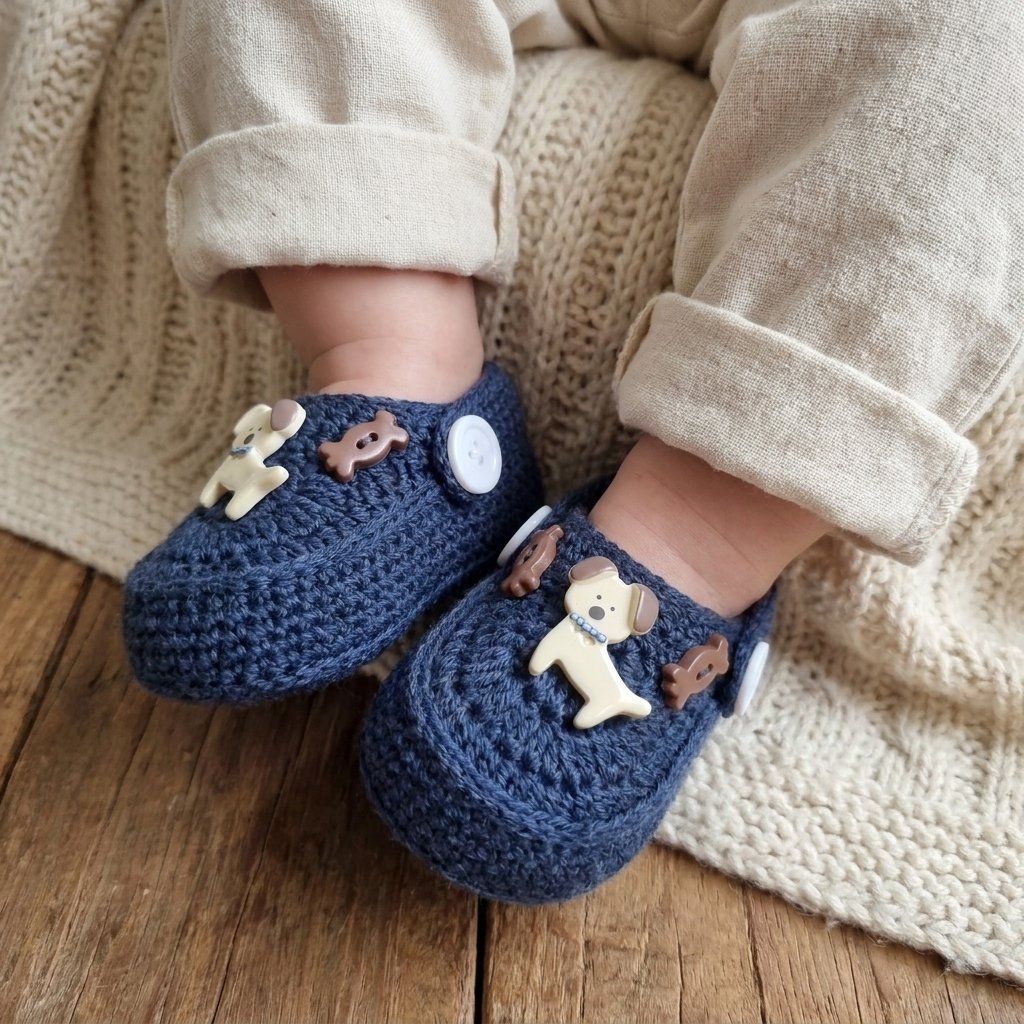
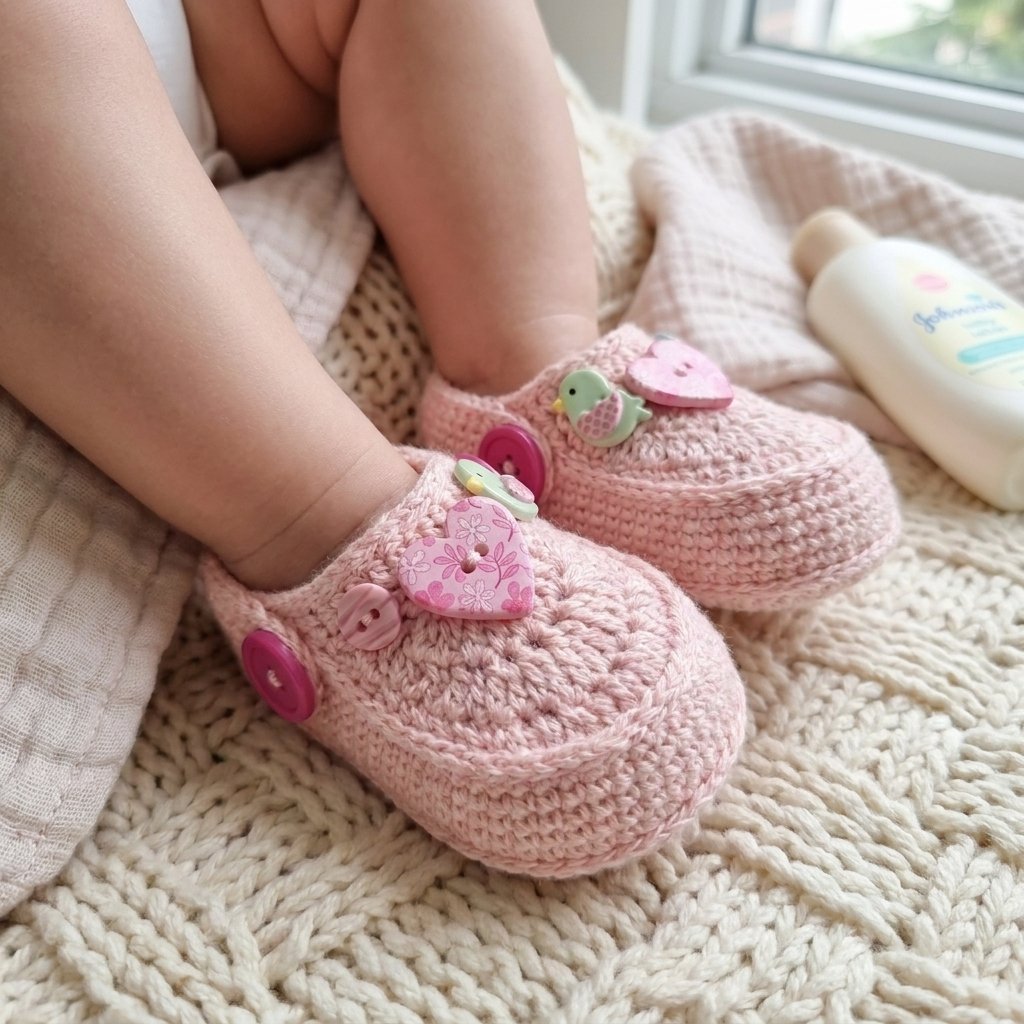
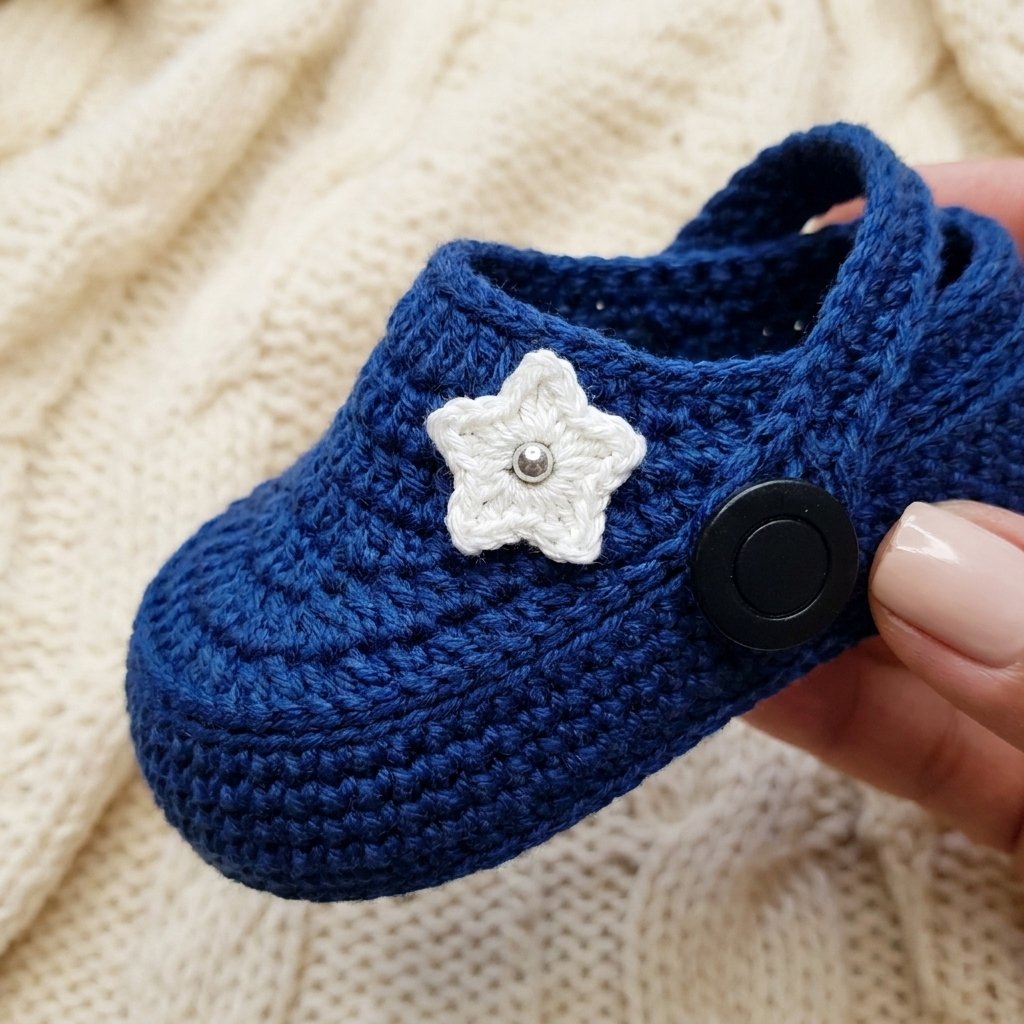
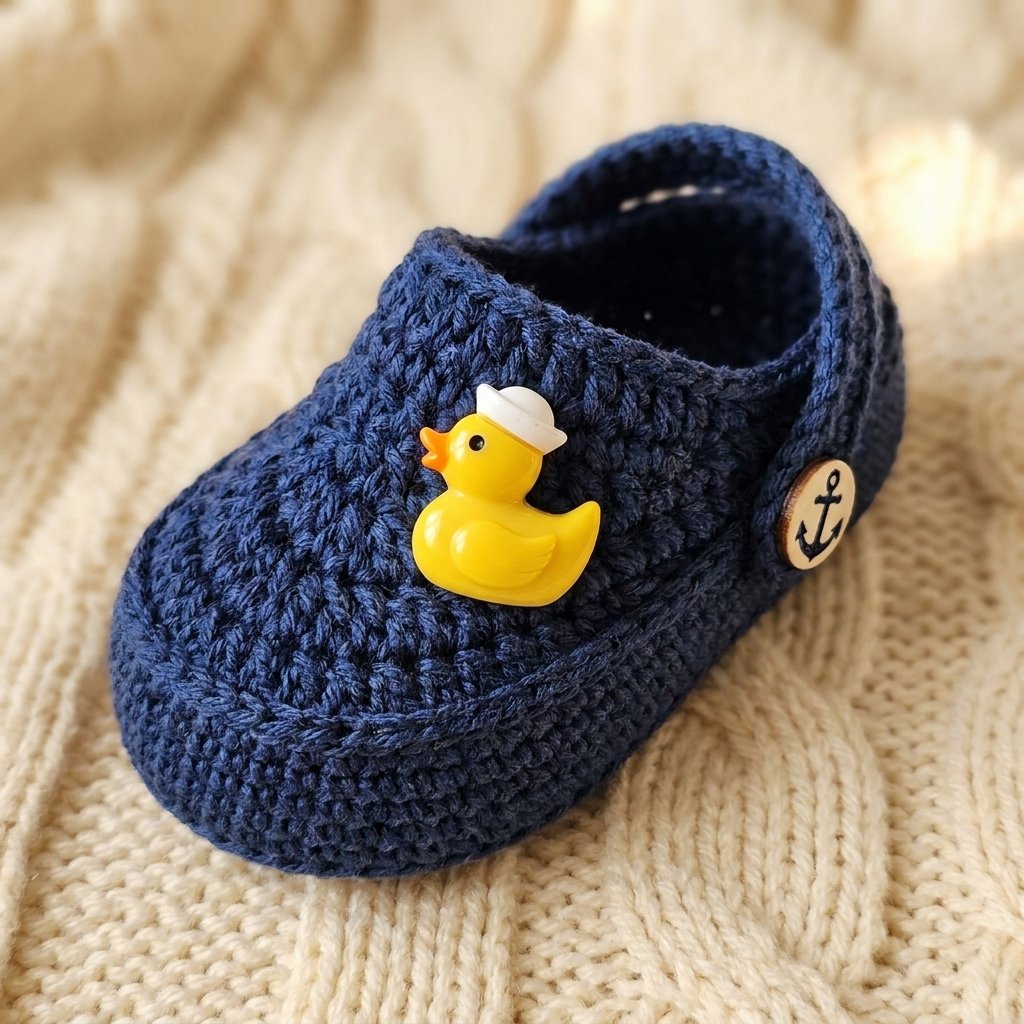
If you’re looking for a project you can start after breakfast and finish before nap time, this is the one. This little clog-style “croc” is worked entirely on a crochet sole (no rubber sole needed), comes together in just a handful of rounds, and is easy to dress up differently for a boy or a girl with nothing more than a change of charm buttons. The same base shape shown here in soft cream with pastel bird-and-heart buttons and in slate grey with a puppy-and-candy charm proves just how far one simple pattern can stretch.
Finished Size
| Age Range | Sole Length | Fit Notes |
| Newborn – approx. 3 months | 9 cm (3.5 in) | Runs a little longer or shorter depending on your baby’s actual foot shape and width |
Materials You’ll Need
| Item | Notes |
| Main color yarn (body of the shoe) | A fine cotton such as Bella Fashion (295 tex) works well — this is the yarn used for the cream and grey shoes shown. |
| Contrast/sole yarn | A slightly heavier cotton (295 tex) in a warm tone gives a nice contrast for the inner sole lining, as seen peeking out at the heel and toe opening. |
| Optional thicker cotton (around 370 tex) | Handy as a substitute any time you don’t have a finer thread on hand — the maker used it here just for one small black trim detail, but it can also be used to make the entire shoe in a single yarn if you’d rather skip the contrast altogether. |
| Small “clog charm” buttons | Novelty two-part press-in buttons (birds, hearts, dogs, candies, stars, and more) sized specifically for crochet clogs — look for these at craft/notions suppliers or online needlecraft shops. |
| Foot-shaped shoe mold or last (9 cm) | Optional but genuinely helpful — used both for shaping the finished shoe and for keeping your glue lines even. |
| Crochet hook, approx. 2 mm | Swatch first — hook sizing conventions vary by brand and region, so go by your gauge rather than the number alone. |
| A toothpick or thin knitting needle | For gently widening a stitch to push a charm-button post through, without tearing the fabric. |
| Tapestry needle (a fine one, around a size 18) and scissors | For weaving in ends and, if you’re using sew-on buttons instead of press-in ones, for stitching them in place. |
| Clear or matching sewing thread | Optional, only needed if your chosen buttons are the sew-on style. |
| Spray bottle with plain water | For blocking — no fabric softener or scented water, just water. |
| Silicone-based glue | For gluing the two sole layers together. |
| A flexible fabric glue | For gluing the base/upper — look for one that dries soft and pliable rather than stiff, so the finished shoe still flexes naturally. |
Abbreviations (US Crochet Terms)
| Abbreviation | Meaning |
| ch | chain |
| sl st | slip stitch |
| sc | single crochet |
| hdc | half double crochet |
| dc | double crochet |
| dc2tog / dc3tog | decrease — 2 or 3 stitches worked together as one |
| inc | increase |
| st(s) | stitch(es) |
| rnd | round |
How the Shoe Comes Together
- Crochet two sole layers per shoe and glue + join them into one sturdy double sole (this is the same 70-stitch, 9 cm oval sole used elsewhere in this pattern series — if you’ve made our crochet baby sneakers before, you already know this base by heart).
- Build the rounded “cup” of the upper directly from the joined sole’s edge.
- Work a set of shaping rows that taper the front opening into that classic low, scooped clog silhouette.
- Add a second inner layer to the base for a clean, finished interior, stitching it in place around the edge.
- Crochet a small dog-bone-shaped strap tab that will hold your charm buttons.
- Attach the buttons, spacing the strap so it actually holds the shoe on baby’s foot rather than just sitting decoratively.
- Block the finished shoe with water so every stitch sits neatly, then finish with whichever charms you like.
Step 1: The Sole (Make Two Layers Per Shoe)
This pattern uses a standard 70-stitch oval sole, 9 cm long. If you already have a favorite oval baby-sole pattern that finishes at 70 stitches around, feel free to use it here — otherwise, the general shape is a simple oval built from a starting chain, worked up one side in single crochet, increasing around the toe curve in half doubles and doubles, then mirrored back down the other side.
Make two identical sole layers for each shoe.
Step 2: Join the Two Soles Into One
- Apply silicone glue to both sole layers, but keep the outer rim completely glue-free — you’ll need clean, open loops there to crochet through in the next step. Gluing too close to the edge will make it impossible to get your hook through once the glue sets.
- Press the two soles together with the glued sides facing in, matching the edges and the little contour lines of the sole so everything lines up straight.
- Adjust and smooth the center of the sole while the glue is still workable, then press the two layers firmly together and let them bond.
- Switch to your main shoe color and join the two layers around the edge with slip stitches: pick up one loop from the top sole and the matching loop from the bottom sole together, and slip stitch them as a pair. Repeat all the way around.
- Keep count as you go. You’re aiming to land on stitch 70 exactly at the point where you started.
- The very last stitch gets a slightly different treatment so the join doesn’t leave a visible step: instead of the usual loop pair, you’ll bring the working thread up through the little knot at the base of the last worked stitch, then back down, effectively creating one new stitch that closes the gap without adding an extra one to your count. It’s fiddly the first time — go slowly and it will click into place.
- Once joined, bring both remaining tail threads up to the top side of the sole, ready to be woven in later.
Step 3: Start the Upper — Two Plain Rounds
Working into both loops of the stitches from your joining round:
| Round | Instructions | Stitch Count |
| 1 | 1 sc in every stitch around | 70 sc |
| 2 | 1 sc in every stitch around | 70 sc |
Join each round with a slip stitch into the first stitch, then start the next round with a chain and a single crochet in that same spot.
Step 4: The Front-Shaping Rounds
This is where the flat little cup starts to take on its clog shape — a scooped, lower front and slightly higher sides and heel. It’s worked as a series of “fan” rows: a run of straight stitches at the sides and heel, then a stretch across the front where single decreases are spaced out with a stitch or two between them, tapering the front opening down gradually.
| Round | Starts With | General Shaping | Ends With |
| 3 | 15 sc | 2 hdc, then 36 dc straight across the center, then 2 hdc | 15 sc |
| 4 | 13 sc | 4 hdc, then a spaced-out sequence of decreases (a double crochet, a decrease, another double crochet, another decrease, and so on) worked twice across the front, with a pair of decreases worked back-to-back in the middle | 4 hdc, 13 sc |
| 5 | 13 sc | 8 hdc, then a mix of straightforward decreases and one 3-stitch decrease bridging the very center front | 8 hdc, 13 sc |
| 6 | shorter sc count | 8 hdc, more spaced decreases, one 3-stitch decrease | ends around 11 sc |
| 7 | 15 sc | 2 hdc, 11 dc across the center, 2 hdc | 15 sc |
A heads-up worth knowing: in the original tutorial, the maker’s stitch count came out one off between rounds 6 and 7 (11 vs. 12), even though she’s made this exact shoe several times before. Her fix was simple — she swapped one 3-stitch decrease for two ordinary decreases to correct the difference, and everything lined up again on the next round. If your count drifts by a stitch or two through this shaping section, don’t worry: just add or remove one ordinary decrease to bring yourself back to the target count for the next round, the same way she did.
Round 7 finishes with a special, slightly different join: rather than the usual slip stitch closure, you skip the first two loops, tuck into the little knot at the base of the very last stitch (working from underneath, up through the middle), and draw the working thread through to form a new pair of loops that replace the skipped stitch. It’s the same “invisible closure” trick used to finish the sole in Step 2, just applied here at the top of the shaping section.
Step 5: The Toe Finishing Row and Trim
After the shaping rounds, work one more short row at the very front-center of the shoe: count seven stitches over from the center point, then work 2 hdc, 9 dc, and 2 hdc into that space.
From there, work a single continuous round of slip stitches all the way around the entire top opening of the shoe — heel, sides, and front — to smooth and finish the raw edge into one clean line.
Step 6: The Second (Inner) Sole Layer
To give the inside of the shoe a tidy, fully finished look:
- Starting from the second loop of your original sole-joining round, work a fresh round of 70 sc.
- Repeat for a total of 5 rounds of 70 sc, joining each round the standard way (slip stitch into the first stitch, chain and sc to start the next).
- Glue this new layer down against the inside of the shoe using your flexible fabric glue, working from the second-to-last round downward and leaving only the very last round’s edge free of glue.
- Using the same yarn (or switch to a contrast color, like black, for a decorative pop), whip- or slip-stitch that free top edge down around the shoe, matching it up to the stitches of the upper as you go. You don’t need to hit the exact same stitch every time — just work steadily around, keeping your spacing even, until the whole edge is neatly tacked down.
Step 7: The Strap Tab (for Your Charm Buttons)
This little dog-bone-shaped tab is what holds your decorative charm buttons and keeps the shoe securely on baby’s foot.
| Part | Stitch Count |
| First loop | Chain 10, join into a ring with a slip stitch |
| Bridge | Chain 15 (mark the 15th chain as you go) |
| Second loop | Chain 10 more, join into a ring right after your marked point |
Once the basic shape is chained out, work single crochet all the way around the whole outline — filling in both rings and both sides of the 15-chain bridge — so you end up with a smooth, padded, dog-bone-shaped strap with a rounded loop at each end. Finish with one more round of slip stitches around the entire piece to clean up the edge, and weave in your ends.
Step 8: Attach the Buttons
- Decide on strap placement first — it should sit at a slight diagonal from the front to the back of the shoe, angled up toward the heel rather than straight across. This is what actually keeps the shoe on a wriggly baby foot; a strap sitting flat across the top looks nice but won’t hold nearly as well.
- Use a toothpick to very gently widen the stitch where each button post will go through — don’t force it or cut the yarn, just ease the fibers apart.
- Push the button posts through both the strap tab and the body of the shoe, then snap or press the backing piece into place.
- If you’re using sew-on buttons instead of press-in ones, stitch them on with a fine tapestry needle and either matching yarn or clear thread so the stitches disappear into the fabric.
Step 9: Block and Finish
- Place the shoe on your foot mold if you have one.
- Mist the entire shoe with plain water until it’s noticeably damp — no fabric conditioner, just water — and let it sit a few seconds to soak in.
- Gently smooth and press the stitches into place by hand, paying extra attention to the front shaping rows where the decreases naturally leave small gaps. A decorative charm placed right over that spot hides it beautifully, which is part of why the buttons aren’t just decorative — they’re doing double duty.
- Let the shoe air-dry fully before handling it again.
Making It Your Own
- Boy, girl, or gender-neutral: the whole shoe stays exactly the same — only the charm buttons change. Birds and hearts for one look, a puppy and a candy for another, or keep it simple with plain round buttons in a fun color.
- One color or two: the tutorial shows a contrast-color inner sole lining, but there’s nothing stopping you from making the entire shoe — outer body, inner sole, and all — in a single yarn for a cleaner, monochrome look.
- Play with the seam color: stitching the inner sole’s final round down in a contrasting color (black against a light shoe, for example) adds a nice hand-finished detail that mimics the look of a stitched leather sole.
- Mix and match your buttons: if a set of charm buttons comes with mismatched pieces (it happens more often than you’d think), don’t be afraid to pair leftover singles from two different sets — a subtle mismatch on a tiny baby shoe usually reads as charming rather than accidental.