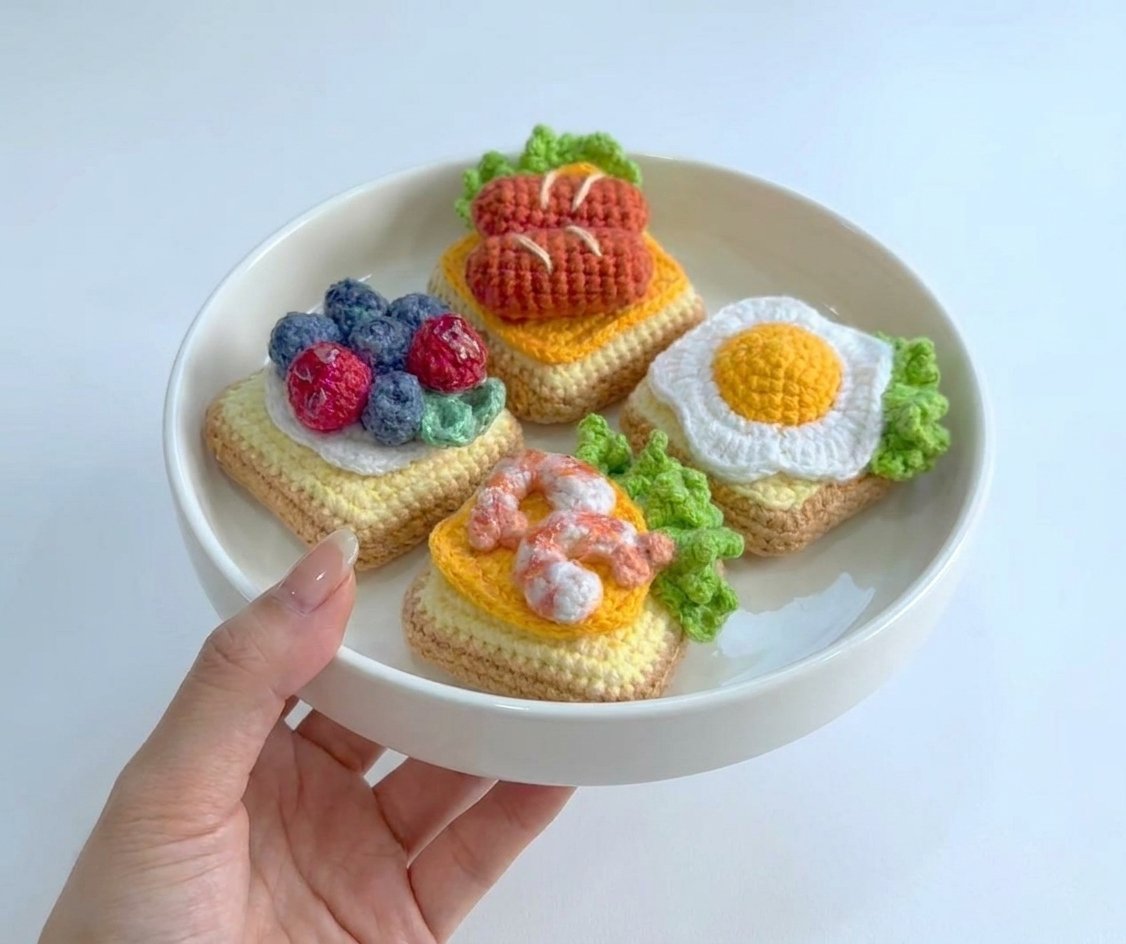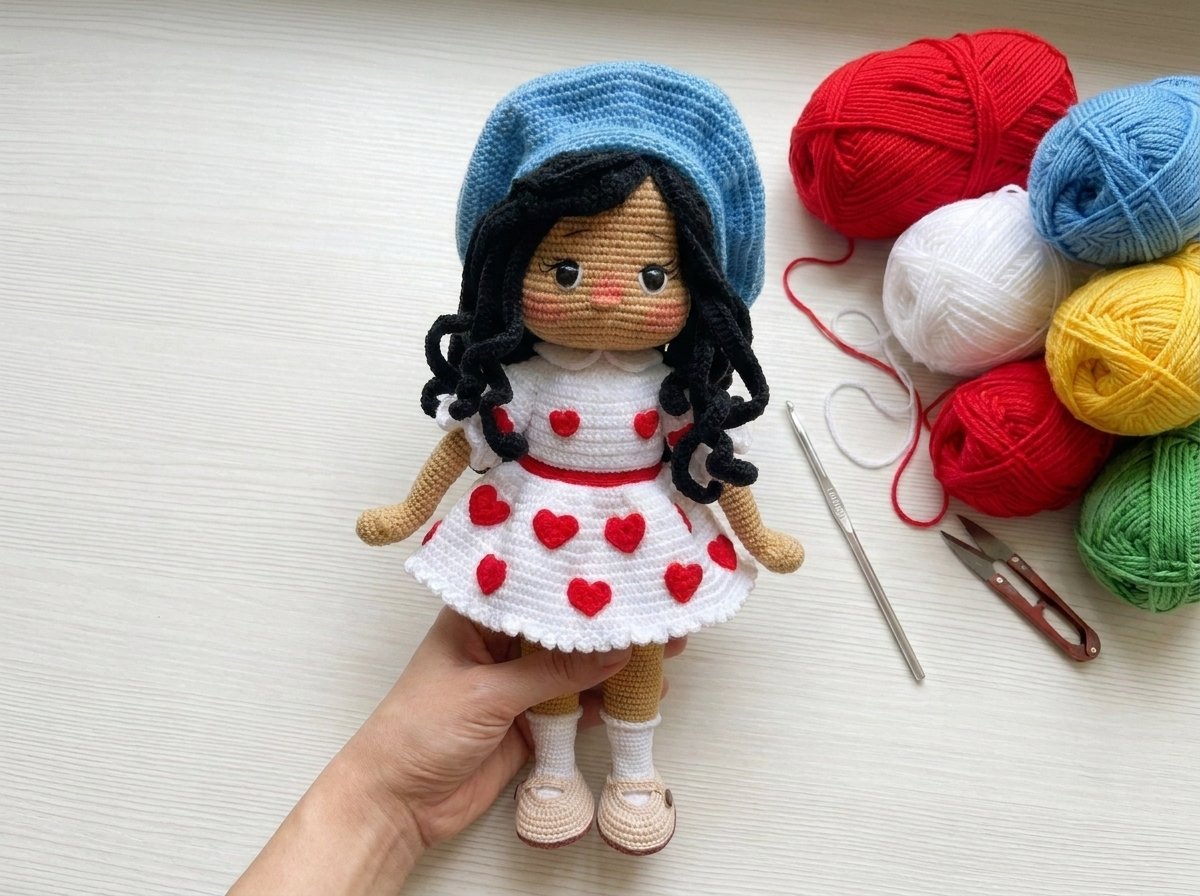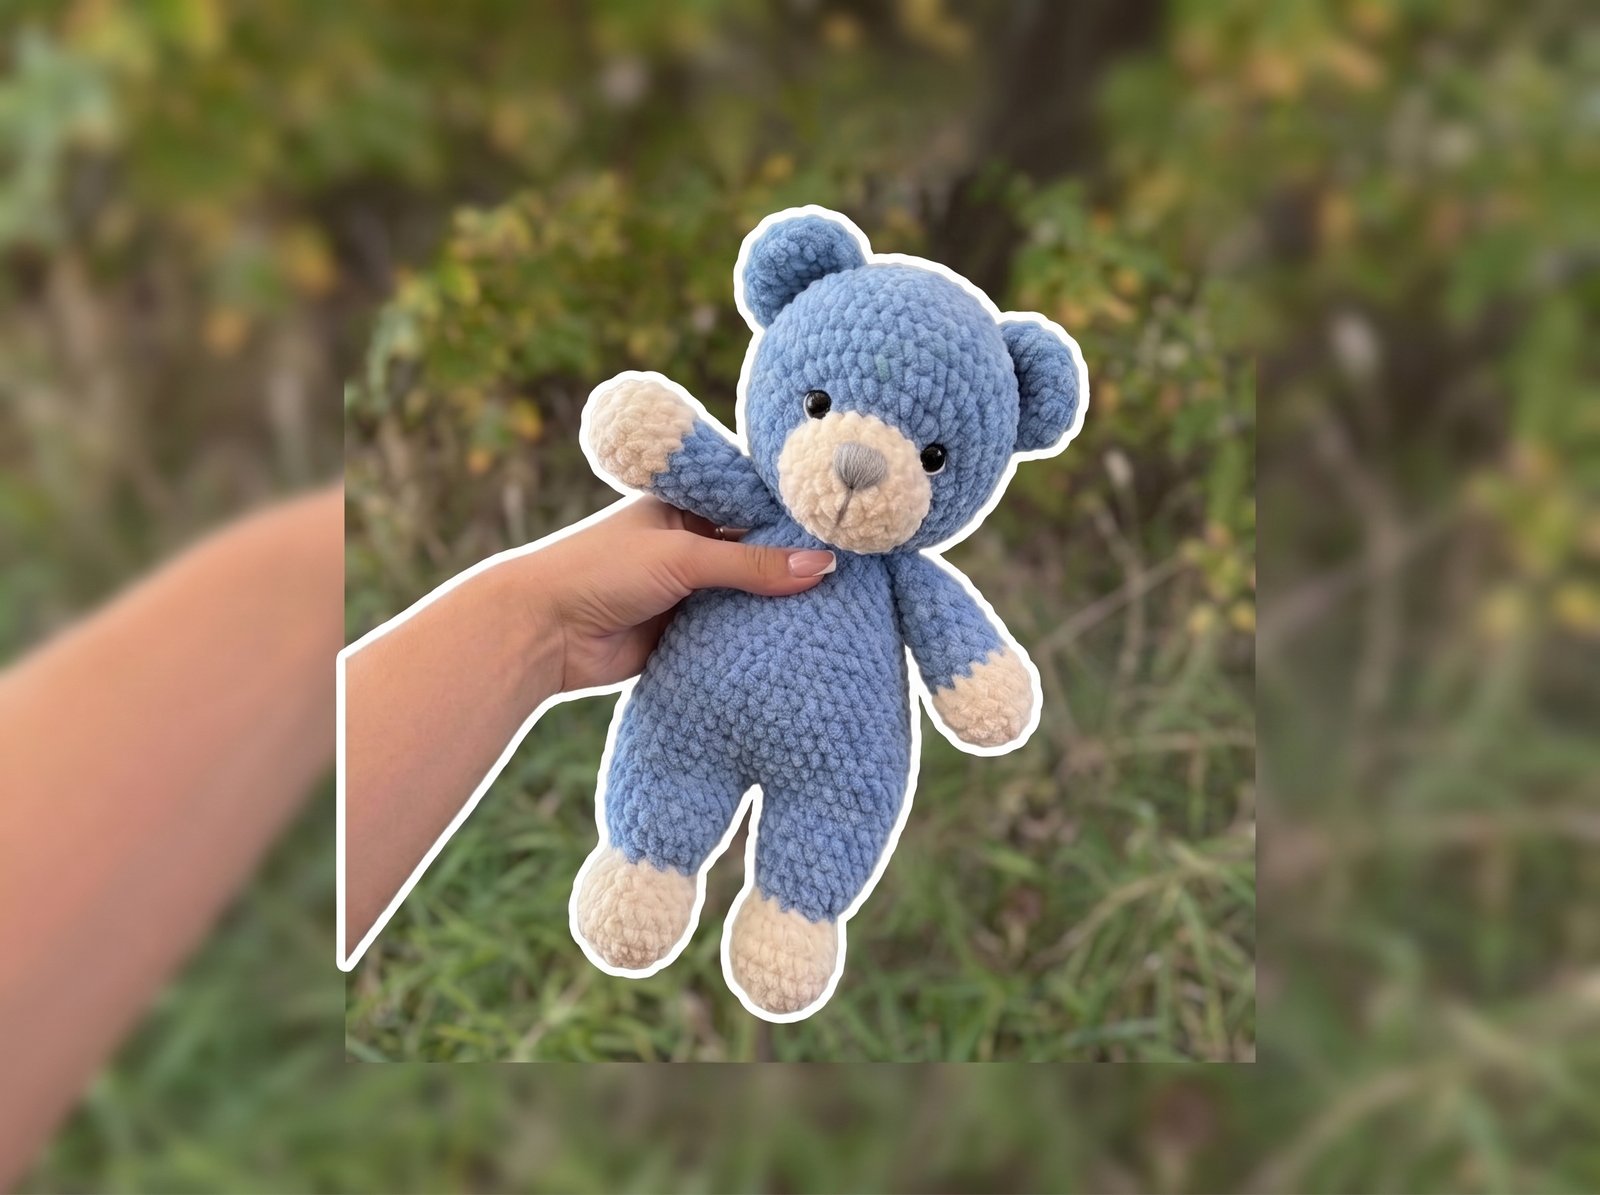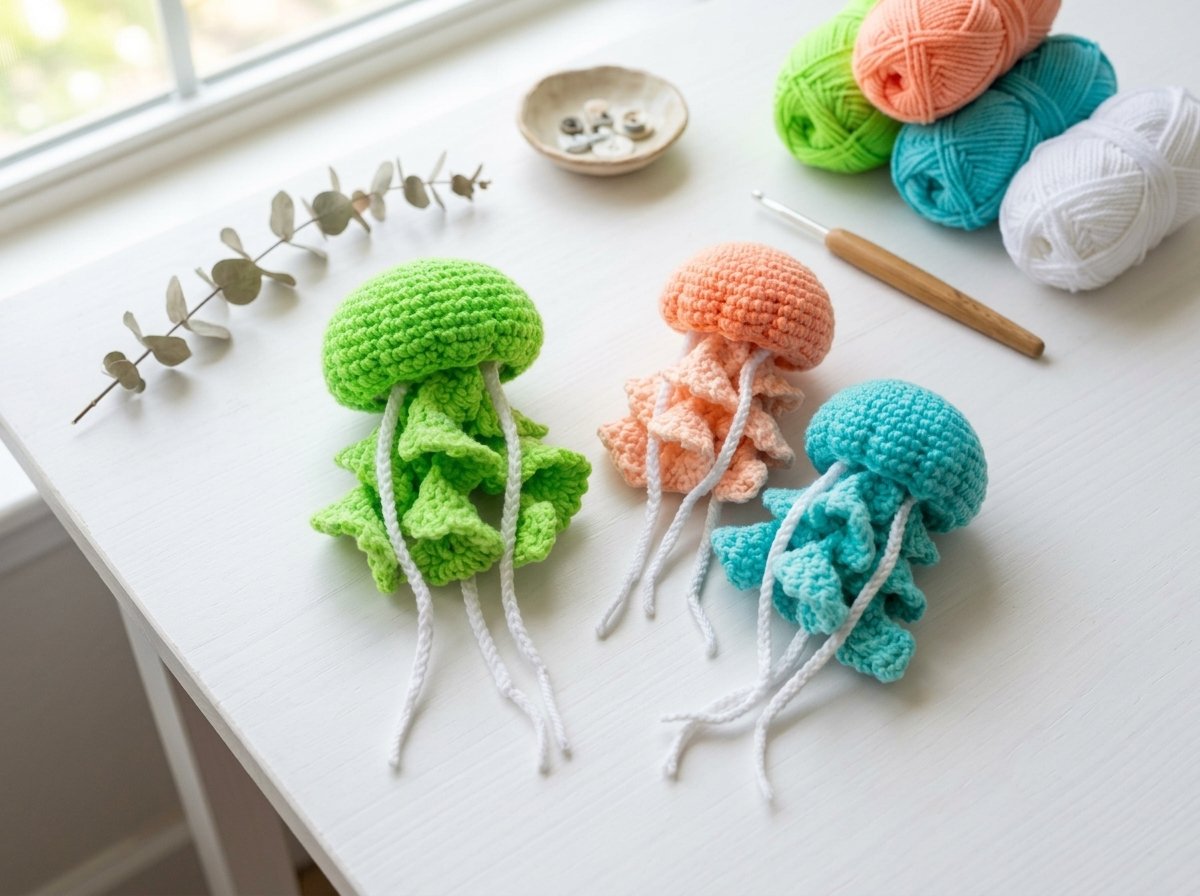
Mini No-Sew Crochet Octopus (Jellyfish-Style) Pattern
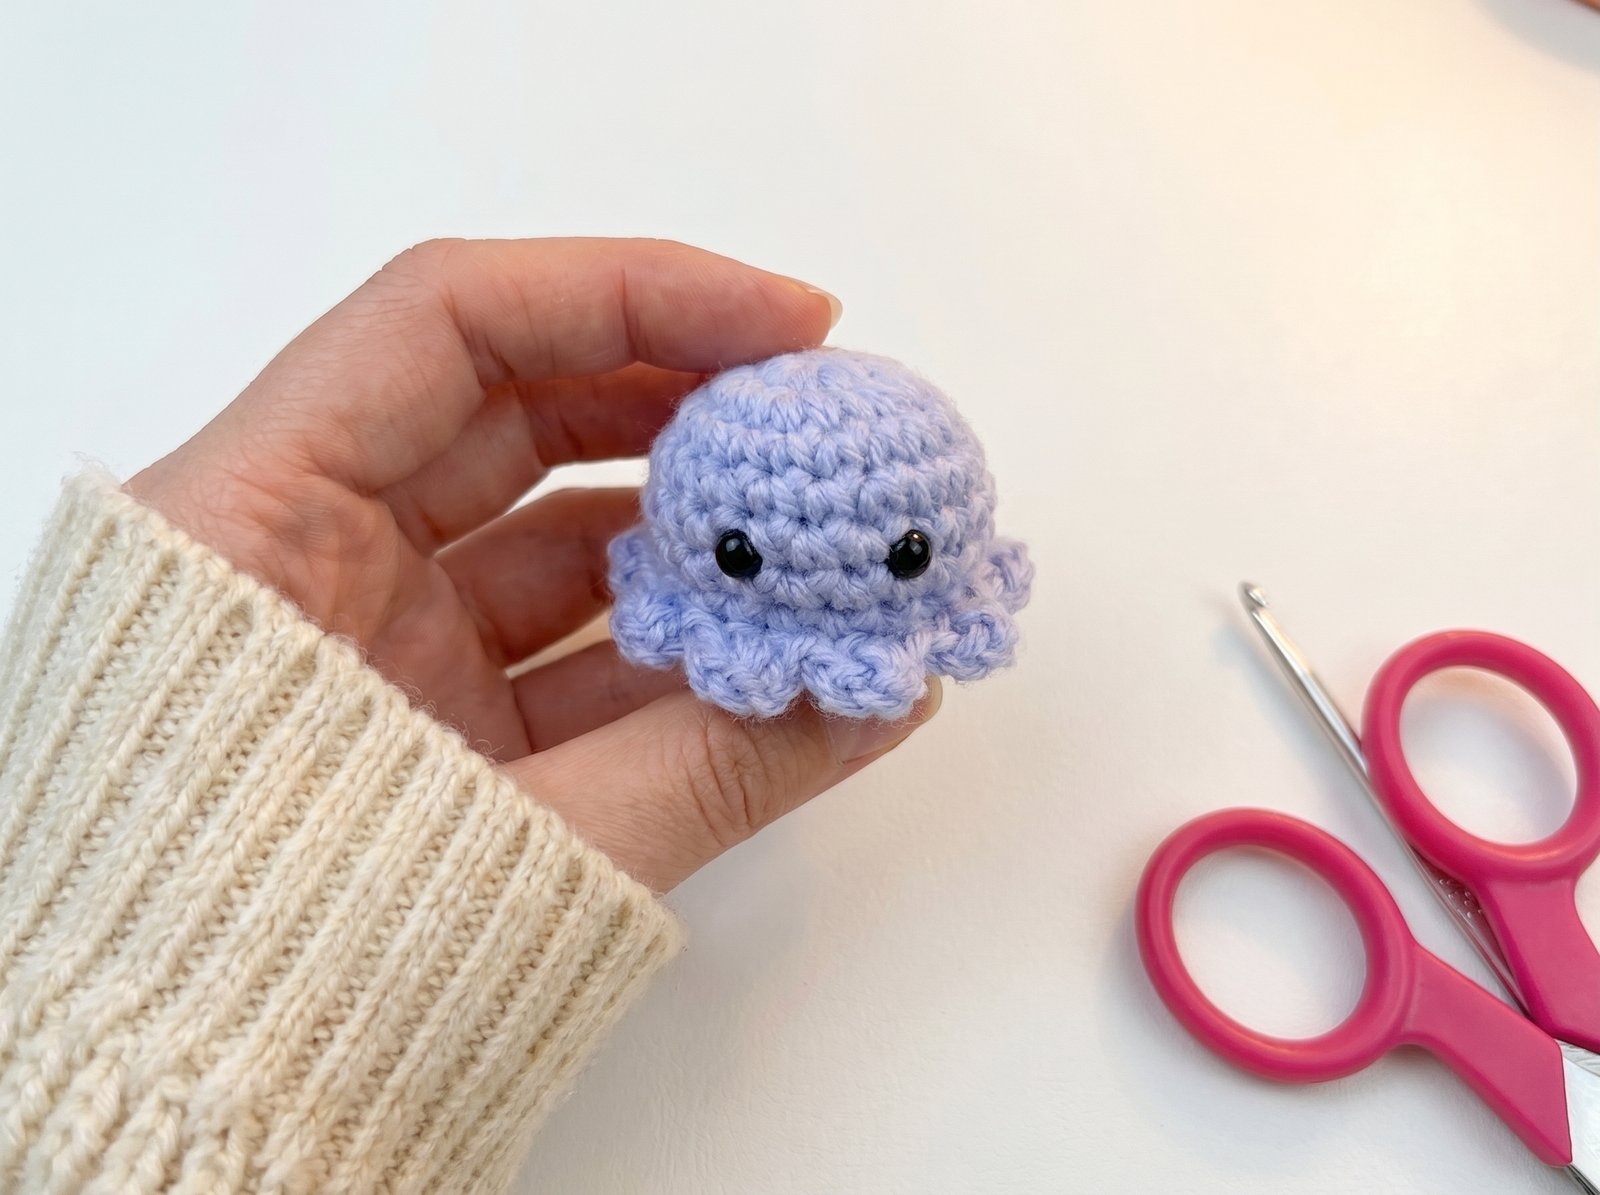
A quick, round little amigurumi that works equally well as a chibi octopus or a jellyfish depending on your color choice — twelve short tentacles ring the base, and the whole thing closes up without any separate pieces to sew together. Genuinely one of the fastest amigurumi patterns to work up, and a great way to use up yarn scraps.
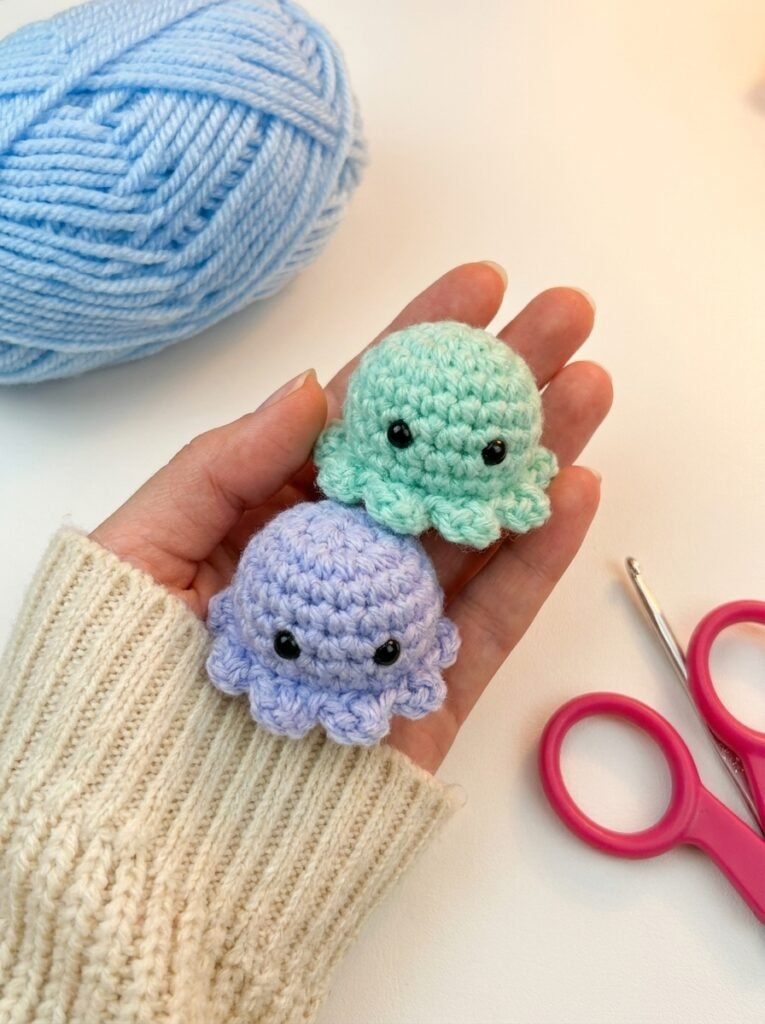
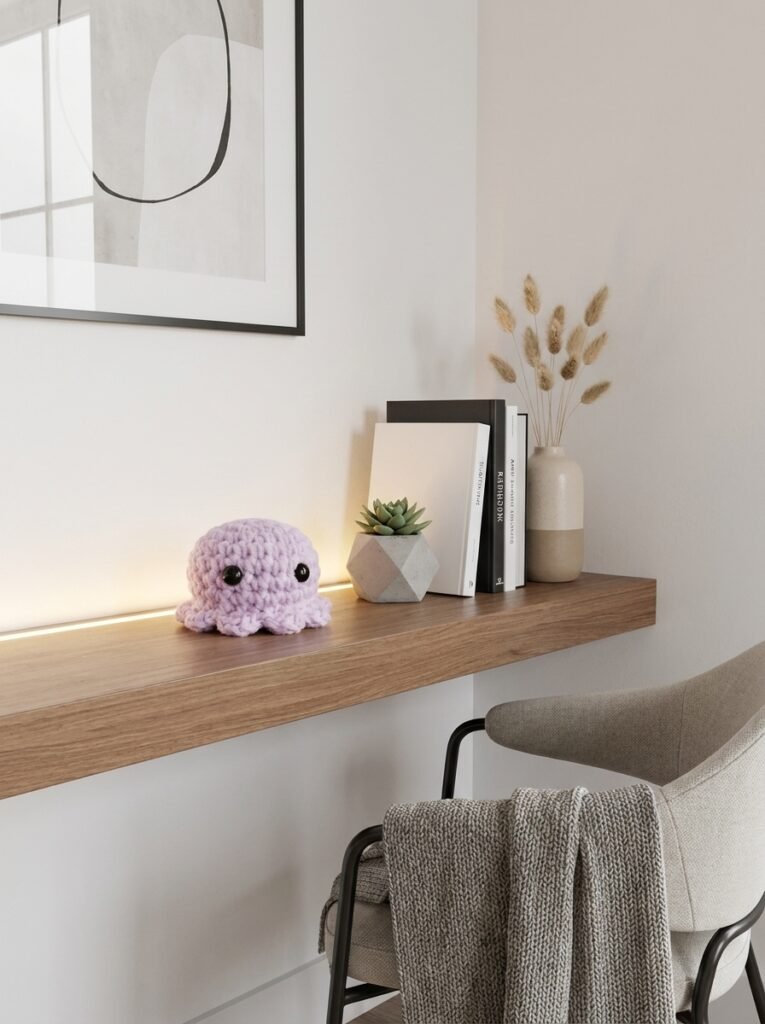
Quick glance
| Time | Skill | Finished size | Hook |
| 45 min – 1 hr | Beginner | Small (fits in your palm) | 3.5mm |
Materials
- Worsted weight acrylic yarn
- 3.5mm crochet hook
- Scissors
- Tapestry needle
- Small amount of black yarn (for the eyes)
- Filling — polyfill, or yarn scraps if you don’t have any on hand
Terms & abbreviations
| Abbrev | Term | Notes |
| ch | chain | — |
| sc | single crochet | the only stitch used throughout |
| inc | increase | 2 sc in same st |
| dec | sc2tog (decrease) | 2 sc worked together as 1 |
| sl st | slip stitch | closes every round |
| BLO | back loop only | used for the closing round |
| st(s) | stitch(es) | — |
| rnd(s) | round(s) | joined rounds, not continuous spiral |
Pattern
Faux magic ring start: Chain 2 (the 2nd chain is where you’ll work into — this beginner-friendly method skips the true magic ring). Work 6 sc into that first chain. Pull the starting tail to tighten the circle, then slip stitch into the first sc to close. (6 sts)
Round 2: Chain 1 (doesn’t count as a stitch). Inc in every stitch around. Slip stitch to close. (12 sts)
Round 3: Chain 1. *Inc, sc 1* — repeat around. Slip stitch to close. (18 sts)
Round 4: Chain 1. Sc around (plain, no shaping). Slip stitch to close. (18 sts)
Repeat Round 4 for 3 more rounds, for 7 total rounds worked so far (Rounds 1–7). Each of these plain rounds stays at 18 sts. You’ll notice the piece start to curl upward, which is exactly what you want at this stage.
Round 8 (first decrease round): Chain 1. *Sc 1, dec* — repeat around. Slip stitch to close. (12 sts)
Add your filling now — polyfill or yarn scraps both work — before closing the last opening.
Round 9 (closing round): Chain 1. Working in the back loop only of every stitch, decrease all the way around (no plain sc this round — every stitch is part of a decrease). Slip stitch to close. (6 sts)
If a small gap remains after this round, close it with one extra slip stitch worked into the stitch directly across from your last slip stitch. Fasten off: chain 1, cut your yarn, pull it through, and weave the tail into the center of the piece.
Tentacles
You’ll be working into the front loops you skipped during Round 9’s back-loop-only round — that full ring of unused loops is what the tentacles attach to.
Reattach your yarn to any one of those front loops.
Each tentacle: Chain 5. Work 1 sc into each chain, starting in the 2nd chain from your hook. (4 sc per tentacle) Slip stitch into the next front loop to move to the next position.
Repeat this all the way around — you’ll make a total of 12 tentacles, one for each remaining front loop. Finish the round with a slip stitch into the last loop, then chain 1, cut your yarn, pull through, and fasten off. Trim and weave in both tails.
Stitch count checkpoints
| Round | St count |
| 1 | 6 |
| 2 | 12 |
| 3 | 18 |
| 4–7 | 18 (all 4 rounds) |
| 8 | 12 |
| 9 | 6 |
| Tentacles | 12 total, 4 sc each |
Adding the Eyes
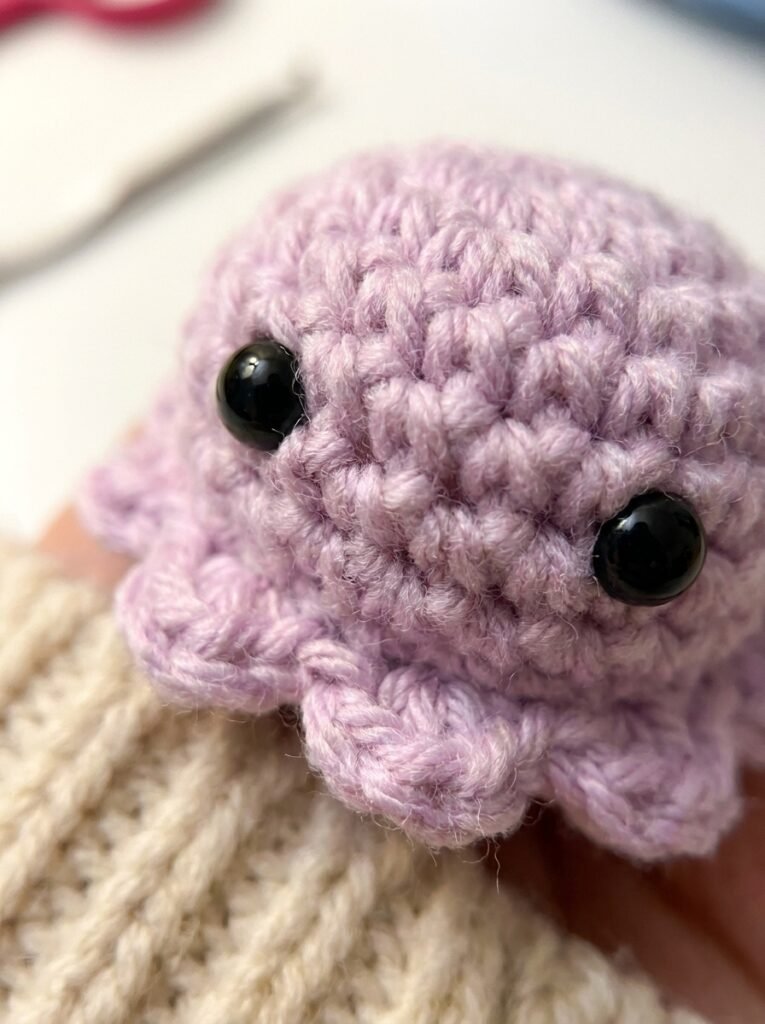
Thread black yarn onto your tapestry needle.
- Insert the needle in from the side of the project, and bring it out where you want the bottom of the first eye to sit. Don’t pull all the way through — leave a tail hanging.
- Go up one row, then across, and bring the needle out where you want the bottom of the second eye to sit. That completes your first eye.
- Go up one row again, then bring the needle back out through that same stitch you just entered — this mirrors the stitch to complete the second eye.
- Cut your yarn, tie a knot close to the surface, then trim the tails and use the side of your hook to push the knot into the project so it’s hidden.
Common mistakes
| Mistake | Fix |
| Piece doesn’t curl upward by Round 4 | Check your increases in Rounds 2–3 landed on the correct stitch counts — a miscount there flattens the shape instead of cupping it |
| Visible hole after the closing round | Add the extra slip-stitch closure across from your last stitch — this is a normal part of the pattern, not a sign something went wrong |
| Tentacles come out uneven lengths | Keep every tentacle chain at exactly 5 — even one extra or missing chain is noticeable at this small scale |
| Eyes look mismatched | Both eyes are worked from a single continuous thread path — keep the “up one row, across” measurement consistent between the first and second eye |
Finishing
Weave in any remaining ends. This pattern closes entirely through slip stitches and loop placement, so there’s no separate sewing step at any point — a genuinely quick make once you’ve done one.
Write a review
 no image