How to Crochet Calla Lily Flowers – Easy Crochet Flower Bouquet Pattern
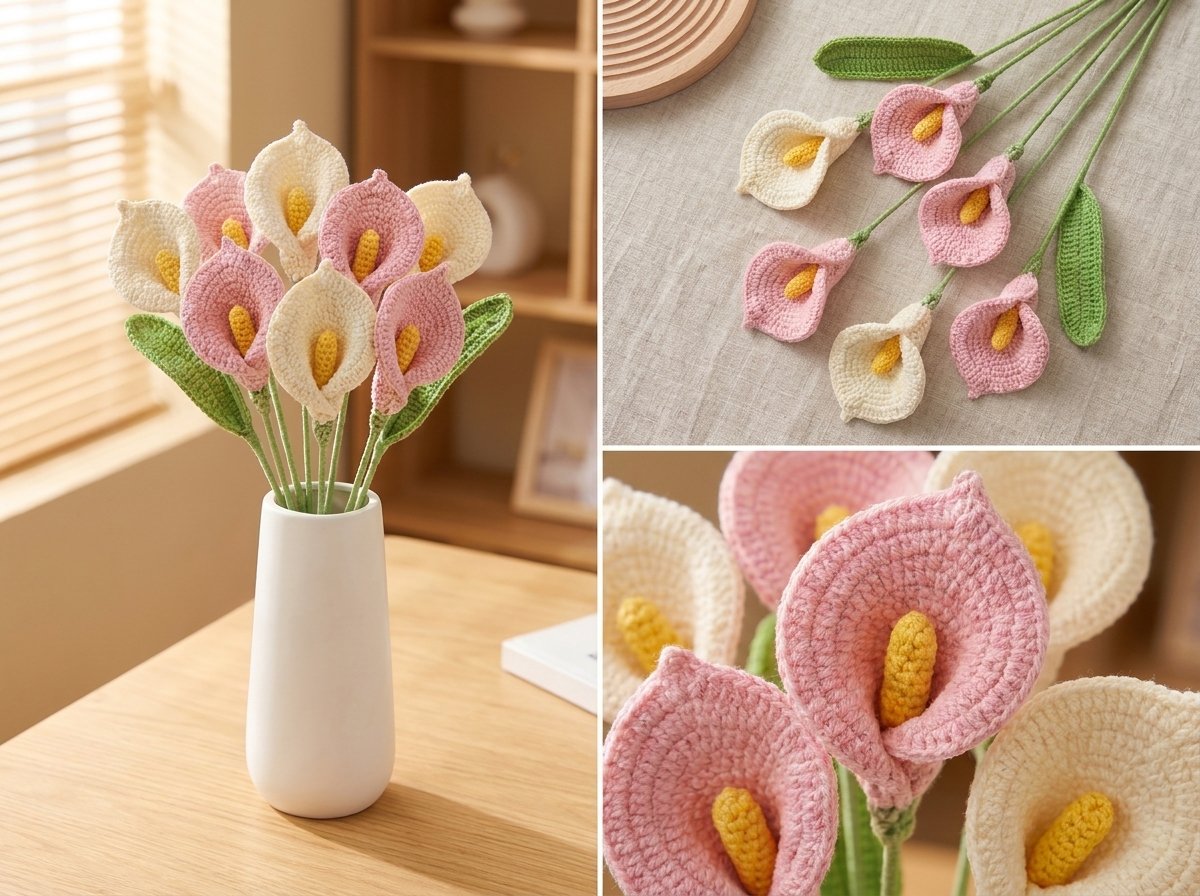
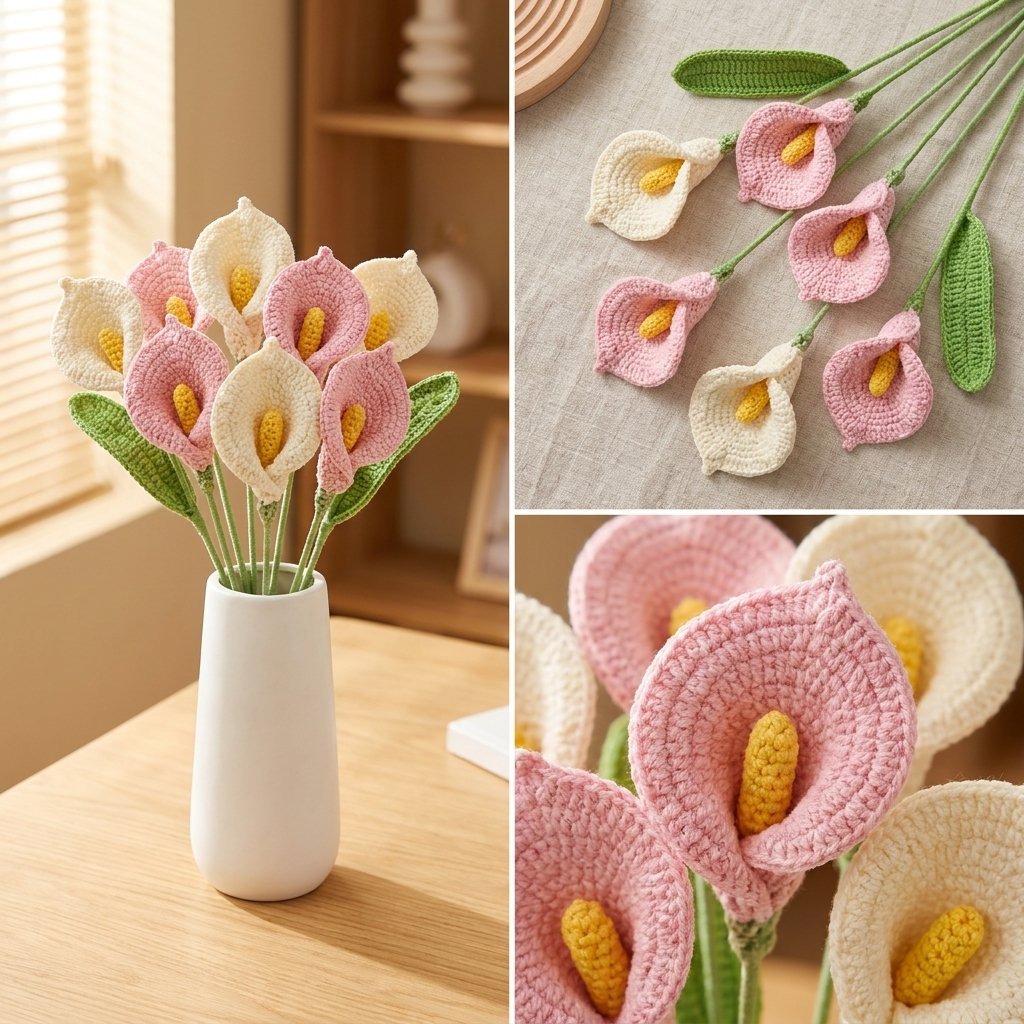
Calla lilies have always felt like the most elegant flower to me — that single graceful curl of a petal wrapped around a slim golden center — and I love that something so refined turns out to be genuinely simple to crochet. Each flower is really just one curled petal, a tiny yellow spadix tucked inside it, a little green calyx at the base, and a wire-supported stem. Make a handful in white, and you’ve got yourself a bouquet that will never need water.
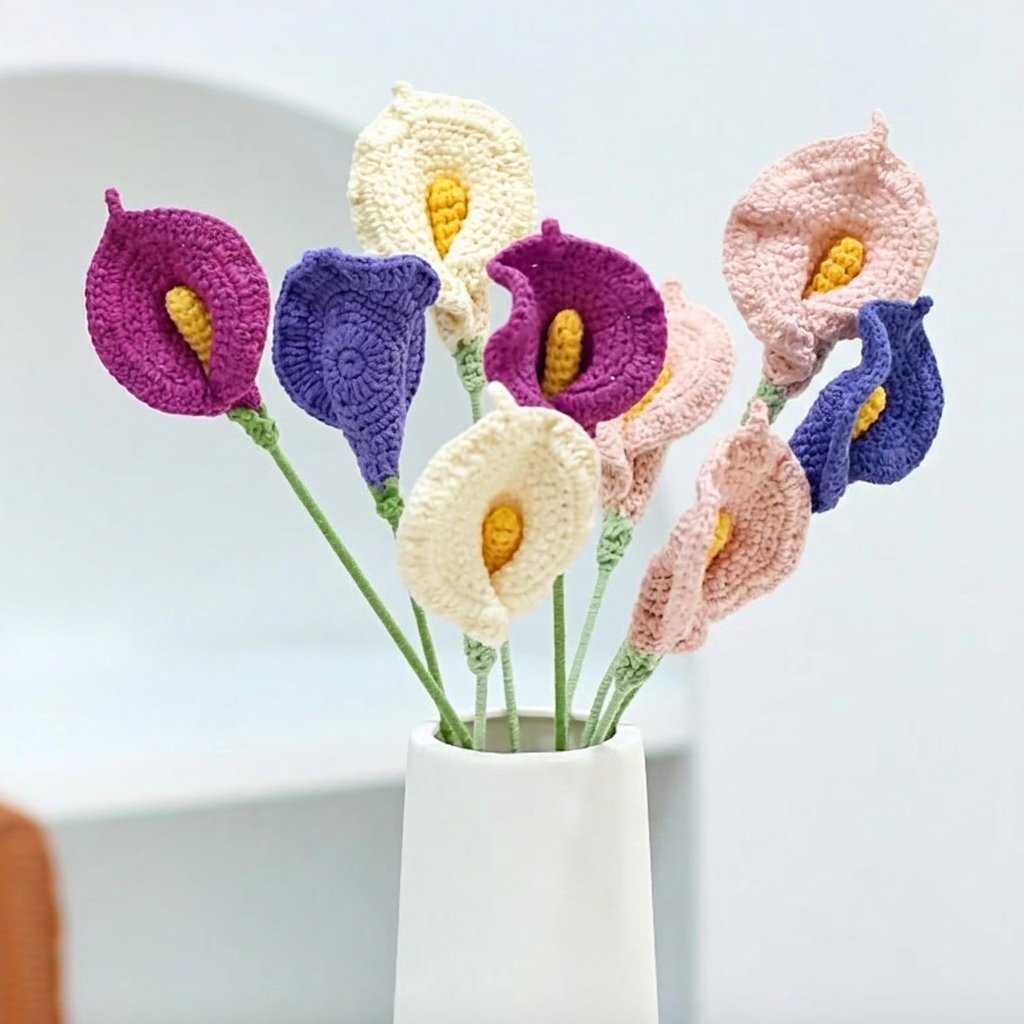
I’m demonstrating in white with a yellow center here, but this shape works beautifully in pink, cream, or a soft blush too — pick whatever feels right for your arrangement.
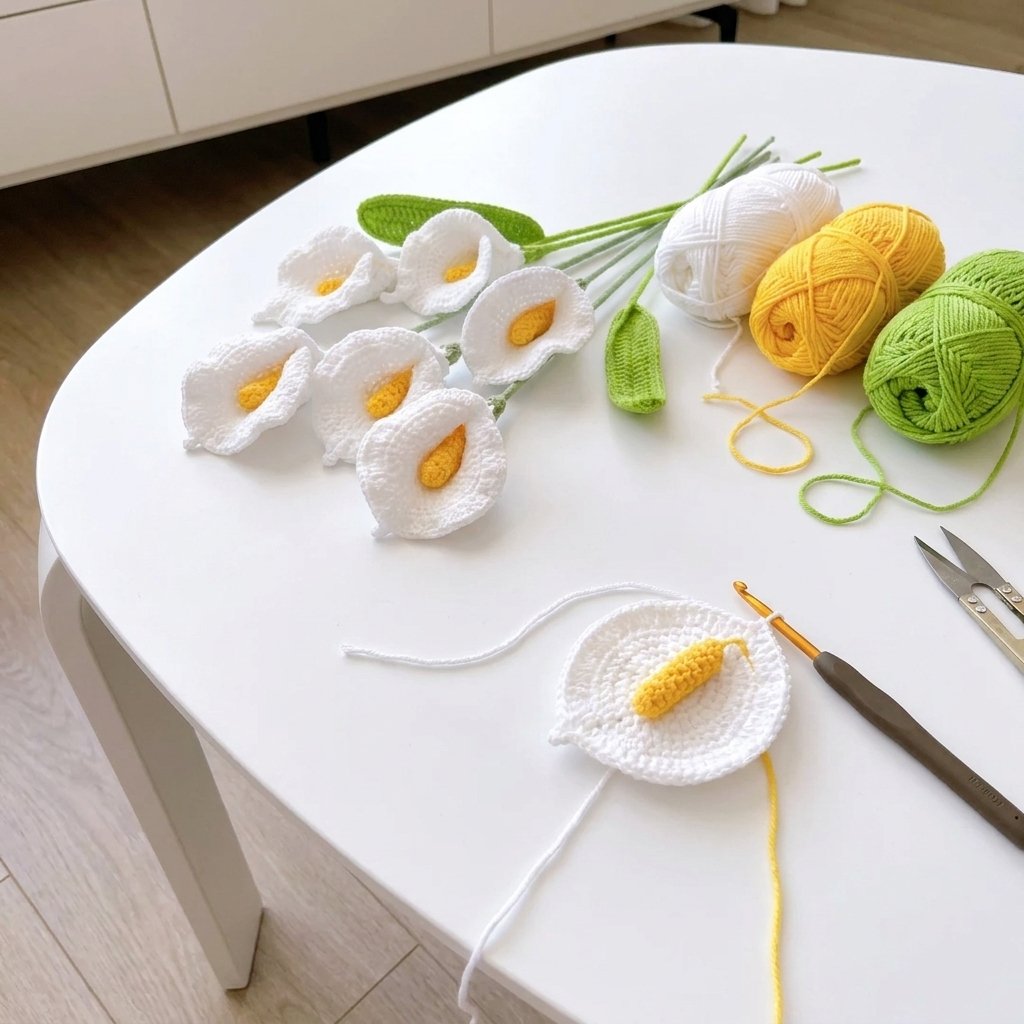
Materials
All terms below are US crochet terms.
| Item | Notes |
| 4ply milk cotton yarn, white | For the petals |
| 4ply milk cotton yarn, yellow | For the spadix (the little center spike) |
| 4ply milk cotton yarn, green | For the calyx, leaves, and wrapping the stems |
| 2.5mm crochet hook | |
| Craft wire, 0.5mm | The thin wire that gets encased in stitches around the leaf’s edge |
| Floral stem wire, 2mm × 30cm | The thicker, pre-cut wire that forms the core of each flower’s stem |
| Hot glue gun | For securing the wire ends and assembling the pieces |
| Small, sharp embroidery scissors | |
| Small amount of stuffing (optional) | A little goes into the spadix if you’d like it extra plump |
Abbreviations (US Terms)
| Abbreviation | Meaning |
| MR | magic ring |
| ch | chain |
| sl st | slip stitch |
| sc | single crochet |
| hdc | half double crochet |
| dc | double crochet |
| tr | triple/treble crochet |
| inc | increase |
| st(s) / sp(s) | stitch(es) / space(s) — I use these interchangeably below to mean the stitch you’re working into |
How This Bouquet Comes Together
- Crochet the petal — one curled, flared piece per flower.
- Add a small green calyx to the base of each petal.
- Crochet a tiny yellow spadix to tuck into the center.
- Make two leaves, wire-supported for a bit of natural bend.
- Wrap wire stems and assemble everything into a finished flower.
Part 1: The Petal
This single piece is the whole bloom — it starts as a flat circle and flares out into that signature calla lily shape with a delicate curled point.
| Round | Instructions |
| 1 | 10 sc in a magic ring. Close the ring and slip stitch into the first stitch to close the round. |
| 2 | Ch 2 (doesn’t count as a stitch). Work an increase (2 dc) into every stitch around — you’ll end this round with 20 stitches. Slip stitch to close. |
| 3–5 | Ch 1 to start (not counted). Continue increasing gradually with single crochet, spacing your increases evenly around each round so the piece grows wider while staying flat — the increases sit a little further apart with each round. There’s no need to be exact here; just distribute them evenly and keep checking that your circle lies flat rather than cupping or rippling, adjusting as you go. Close each round with a slip stitch. |
| 6 | Ch 2 (not counted). Work 6 hdc across the first 6 stitches, then 1 hdc increase into the next stitch. Continue in a rhythm of 3 hdc followed by 1 increase, repeating this around to finish the round evenly. Slip stitch to close. |
| 7 (the shaped edge and curled tip) | Ch 2 (not counted). Work 8 dc across the first 8 stitches. Then work a dc increase into each of the next 16 stitches — this flares the petal out into its wide, rounded shape. Next comes the pointed curl: work 1 tr into the following stitch, chain 4, then work 1 sl st into the 2nd chain from your hook and 2 more sl sts into the remaining chains (this little chain-and-slip-stitch tip is what creates that delicate curled point). Work one more tr back into that same stitch. Finish the round with a dc increase into each remaining stitch. |
Fasten off — your petal is complete.
Part 2: The Calyx (Green Base)
This small flap tucks in at the base of the petal, right where the stem will attach.
- Switch to green yarn and join it a couple of stitches in from one end of the petal’s base edge.
- Ch 2 (not counted), then work 1 hdc into the current stitch and 4 more hdc across the next 4 stitches (5 hdc total in this short row).
- Chain 2, turn to the other side of that same starting point, skip the first stitch, and work 1 hdc into the 2nd stitch plus 4 more hdc across (another 5 hdc, mirroring the first side).
Cut your yarn. This little green tab sits neatly at the back of the petal’s base.
Part 3: The Spadix (Yellow Center)
This tiny tube becomes the golden spike nestled in the curl of the petal.
- In yellow yarn, make a magic ring and work 6 sc into it. Slip stitch to close this first round, then chain 1.
- From here, work in a continuous spiral (no joining or turning) — 6 sc per round for about 9 rounds, simply working around and around.
- Turn the little tube right side out. From here, either continue a round or two more to reach the length you’d like, or stuff it very lightly and close it off. A tiny stub of wire tucked inside adds a bit of sturdiness if you’d like the spadix to hold its shape well.
Tuck the finished spadix into the curled center of your petal and tack it in place at the base.
Part 4: The Leaves (Make 2)
Each leaf is a flat, pointed oval shape, reinforced with wire so it holds a natural, gentle curve.
- Chain 28.
- Starting in the 2nd chain from your hook: 1 sc, 1 sc, then 1 hdc in each of the next 2 chains, then 1 dc in each of the next 20 chains. In the final 3 chains, work 1 hdc, then 1 sc, then 3 sc all into the very last chain (the tip of the leaf) — this gradual change from taller to shorter stitches is what tapers the leaf to a point.
- Continue working back down the other side of your foundation chain, mirroring the first side: 1 hdc, then 1 dc in each of the next 20 chains, weaving in your tail as you go.
- Slip stitch into your very first stitch to close the round.
- Chain 1 (not counted). Lay a length of your thin 0.5mm craft wire alongside your work, then work 1 sc into every stitch around, crocheting right over the wire to encase it as you go. Slip stitch to close.
Position your yarn so the wire sits at the back of the leaf, fully wrapped and hidden. Cut the yarn. Repeat for a second leaf.
Part 5: Stems and Assembly
For sturdy, poseable stems, wrap a length of green yarn evenly and snugly around one of your 30cm lengths of floral stem wire, securing the yarn at both ends with a small knot and a dot of hot glue to keep it from slipping. Make one wrapped stem for each flower.
- Insert one end of a wrapped stem into the base of a flower’s calyx and secure it with a little hot glue.
- Attach your leaves partway down two of your stems, wherever looks best in your arrangement, wrapping or gluing their base securely into place.
- Gently curl the outer edge of each petal inward, echoing that classic calla lily furl, and arrange your finished flowers together into a bouquet.
And that’s a calla lily that will look just as lovely a decade from now as it does today. I love making a small bunch of these in different shades to tuck into a vase on a shelf — no water, no wilting, just a little handmade bit of spring whenever you want it.