Lacy Crochet Cuffs Pattern – Easy Fall Crochet Accessory for Beginners
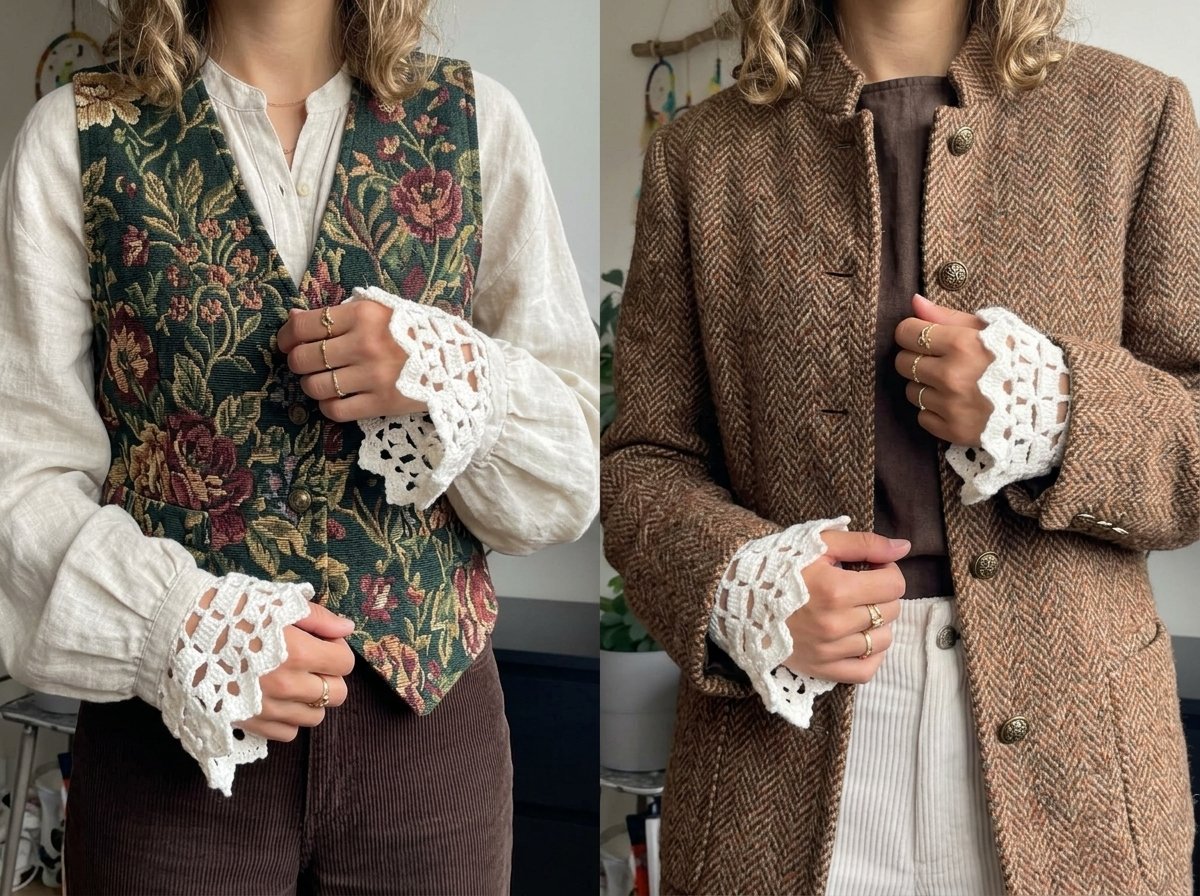
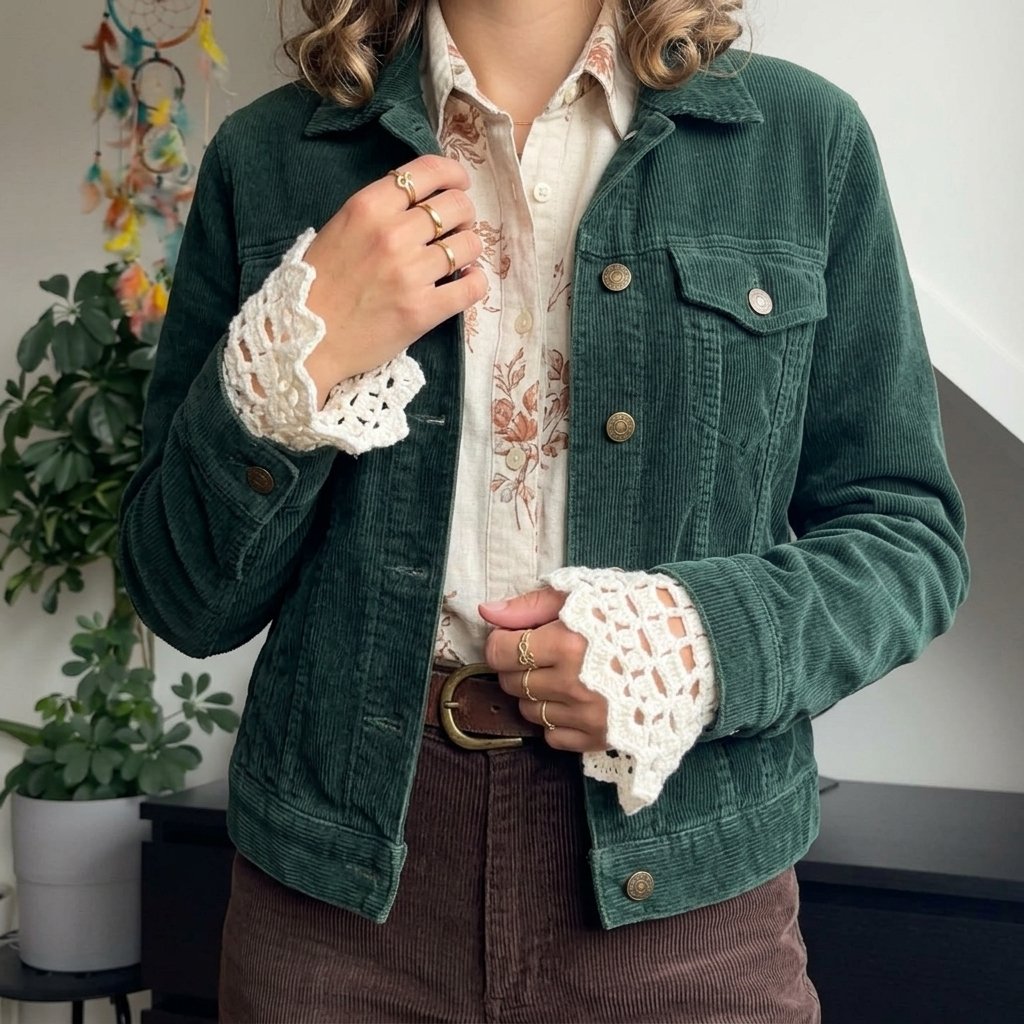
These little cuffs have become one of my favorite “finishing touch” makes. They take barely any yarn, work up in an afternoon, and they instantly make a plain blazer, jacket, or shirt look like it came with delicate lace detailing built in. I love that they’re not really a garment — they’re an accessory you can slip on and off depending on the outfit, which makes them endlessly wearable through fall and winter.
I’ll walk through both versions here: a shorter cuff, and a longer one that adds two extra rows of chain mesh. The longer version is genuinely useful if you’re layering under sleeves that already sit low on the wrist, where a short cuff would barely peek out.
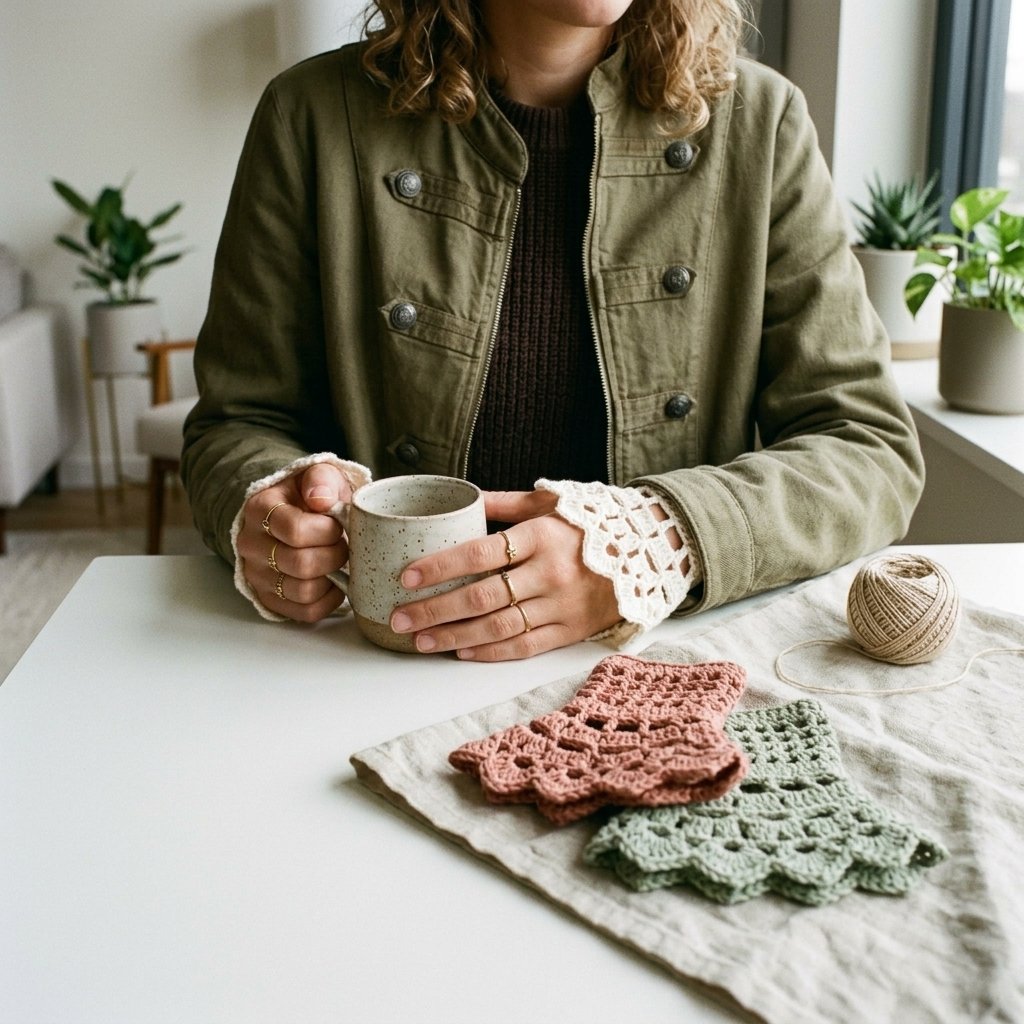
Materials
| Item | Notes |
| Lightweight cotton yarn | A crisp cotton holds the lace shape beautifully — white or cream is classic, but any color works |
| 3mm crochet hook | |
| Tapestry needle | |
| 6 small buttons (optional) | Only needed if you’re doing the button closure rather than the tie closure |
Abbreviations (US Terms)
| Abbreviation | Meaning |
| ch | chain |
| sl st | slip stitch |
| sc | single crochet |
| dc | double crochet |
| tr | treble crochet |
| dc3tog | 3 double crochets worked together as one cluster |
| picot | ch 1, then sl st into the top two loops of the stitch just made |
| st(s) | stitch(es) |
| sp(s) | space(s) |
Sizing Note
Your starting chain needs to be a multiple of 6, sized to fit snugly around your wrist. I chained 30 for mine. Make it genuinely snug — the fabric loosens as you work, so what feels slightly tight at the start will settle into a comfortable fit by the end. Give the yarn a little stretch as you wrap it around your wrist to check.
The Cuff (Make 2)
Rows 1–6: The Wrist Band
| Row | Instructions | Notes |
| Foundation | Ch a multiple of 6 (I used 30), then ch 3 more | |
| 1 | Dc in the 3rd ch from the hook, then dc in each ch across | You should end with a multiple of 6 + 1 — count carefully here, it matters for everything that follows. Mine came to 31. |
| 2 | Ch 4, turn. Dc in the 3rd st. Then ch 1, skip 1 st, dc in the next st — repeat across | This starts the mesh section. At the end of the row, make sure your final dc goes into the last stitch and not into the turning chain. |
| 3 | Ch 4, turn. Dc in the next dc from the previous row. Then ch 1, dc in the next dc — repeat across | |
| 4–5 | Repeat Row 3 | If you’d like a longer wrist band, just keep adding mesh rows here — I found 4 total was right for me. |
| 6 | Ch 2 (turning chain), turn. Dc in the first st, dc in the ch-1 gap, dc in the next st — continue dc across the entire row | This closes the mesh back into a solid row of double crochet. |
Row 7: Starting the Lace (and Joining into a Round)
- Ch 6 (this counts as a dc plus a ch-3).
- Skip 3 sts, dc in the 4th st.
- Ch 3, skip 2 sts, dc in the 3rd st. Repeat this ch 3, skip 2, dc in the 3rd st pattern across the row.
- After your final ch 3, instead of working one last dc, slip stitch into the 3rd chain of your beginning ch-6 to join the piece into a circle.
Why we join here and not earlier: the wrist band section is worked flat on purpose, because a closed band that snug wouldn’t fit over your hand. From this row onward the piece is wide enough that working in the round is no problem.
Rows 8–12: The Lace Skirt
| Row | Instructions |
| 8 | Sl st into the first ch-3 gap. Ch 3 (counts as a dc), then work 4 more dc into that same gap (5 dc total). Ch 1, work 5 dc into the next ch-3 gap — repeat around. After your final ch 1, sl st into the top of the beginning ch 3. |
| 9 | Ch 5. Sc into the next ch-1 gap (the one sitting between the 5-dc clusters). Ch 5, sc into the next ch-1 gap — repeat around. At the very last gap, instead of ch 5, ch 3 and work a dc right where you began your first ch 5. |
| 10 | Ch 3 (counts as a dc), then work 2 more dc together in the same gap to form a cluster. Ch 3, dc3tog in the next ch gap, ch 3, dc3tog in that same gap — repeat around, so each chain gap gets two clusters with ch 3 between them. When you reach the gap you started in, work one final dc3tog, then ch 1 and dc into the top of your first cluster. |
| 11 | Exactly the same as Row 9: ch 5, sc into the next ch-3 gap, repeat around. At the last gap, ch 2 and dc into the stitch where you began your first ch 5. |
| 12 (final) | Ch 1. Into the next chain gap: 3 dc, 1 tr, a picot, 1 tr, 3 dc. Then ch 1, sc into the next chain gap, ch 1, and repeat that same shell-and-picot sequence into the following gap. Continue around. After your last ch 1, sl st into your first stitch, fasten off, and weave in your ends. |
That ch-3-and-dc trick at the end of Rows 9, 10, and 11 is worth understanding rather than just following: it positions your working yarn at the top of the chain loop instead of at its base, so the next row starts from the right height. It’s a small thing that keeps the whole lace panel sitting evenly.
Making the Longer Version
If you want the longer cuff, you’ll add two extra rows — one after Row 9, and one after Row 11.
Each extra row: ch 6, then sc into the next ch-5 gap. Ch 6, sc into the next gap — repeat around. At the end, instead of ch 6, ch 3 and work a dc into the beginning of your first ch 6.
It’s identical to Row 9, just with ch 6 instead of ch 5, which adds a bit more length and drape.
Closing the Cuff
You’ve got two options here, depending on how fussy you want to be.
Option 1 — the tie closure (easiest): cut a long piece of yarn and weave it in and out through the mesh squares of the wrist band, like a lacing. Simple to make, though a little fiddlier to tie one-handed on your own wrist.
Option 2 — button loops (my preference): along the edge where the extra double crochets stick out, attach your yarn at the bottom corner. Ch 3 (this becomes your button loop), then sl st somewhere along the top of that double crochet row to anchor it. Add another sl st or two to travel a little further along, then ch 3 again for your next loop. Keep alternating ch 3 and slip stitches until you’ve made all the loops you need and reached the end of the row.
Then sew your buttons onto the opposite edge, lining each one up with its matching loop.
Make a second cuff exactly the same way, and you’re done. I wear mine under blazers, jackets, and shirts — they’re one of those small pieces that works with far more of your wardrobe than you’d expect, and they always get a comment.