Crochet 3-in-1 Amigurumi Lip Balm Holder (Frog, Bear & Bunny)
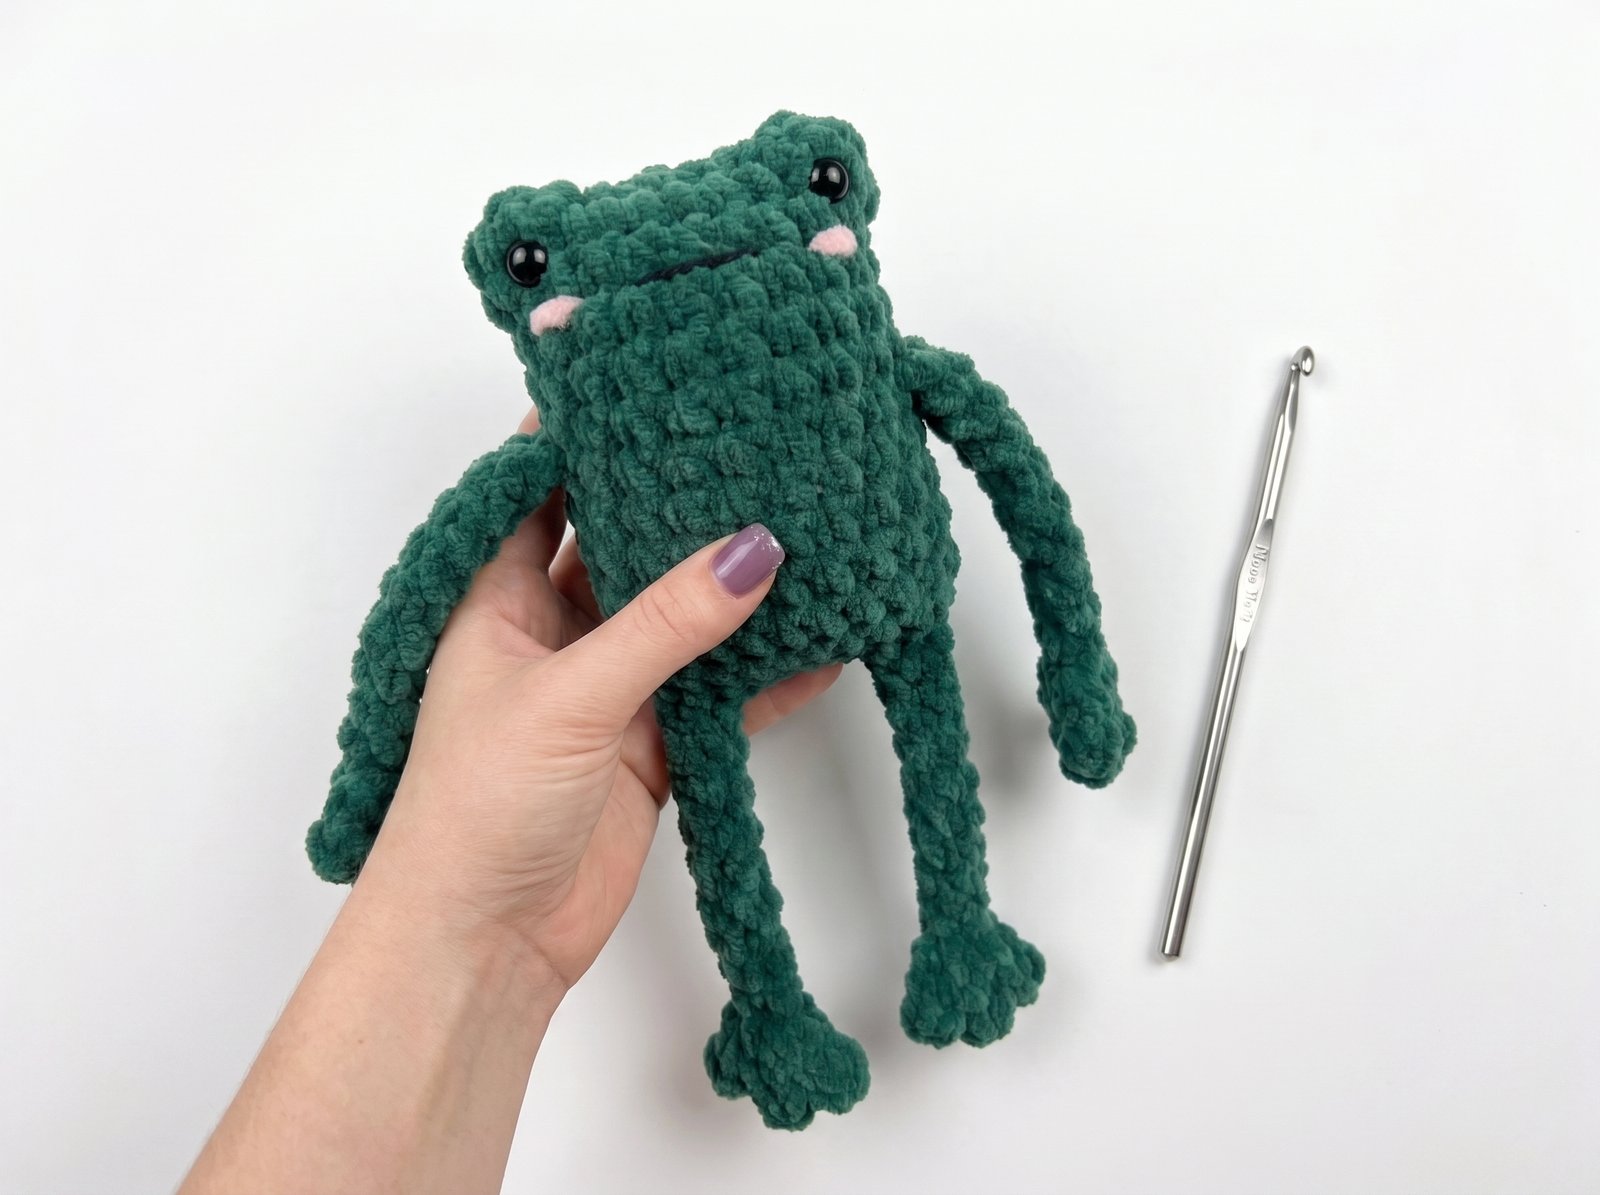
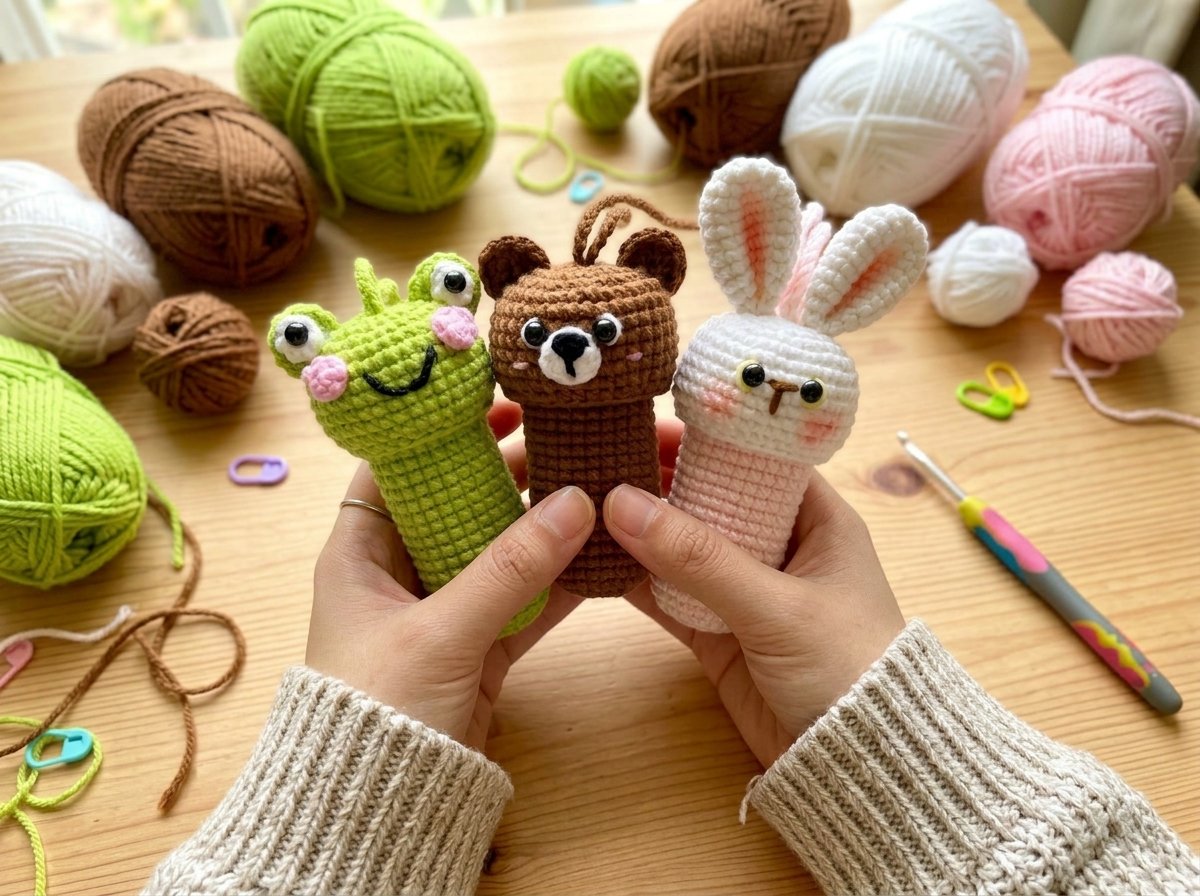
Three sweet animal lip balm holders built from the same shared body-and-head construction, each finished with its own ears, face details, and personality. A genuinely practical little project — cute enough to be a bag charm, small enough to actually carry your lip balm around in.
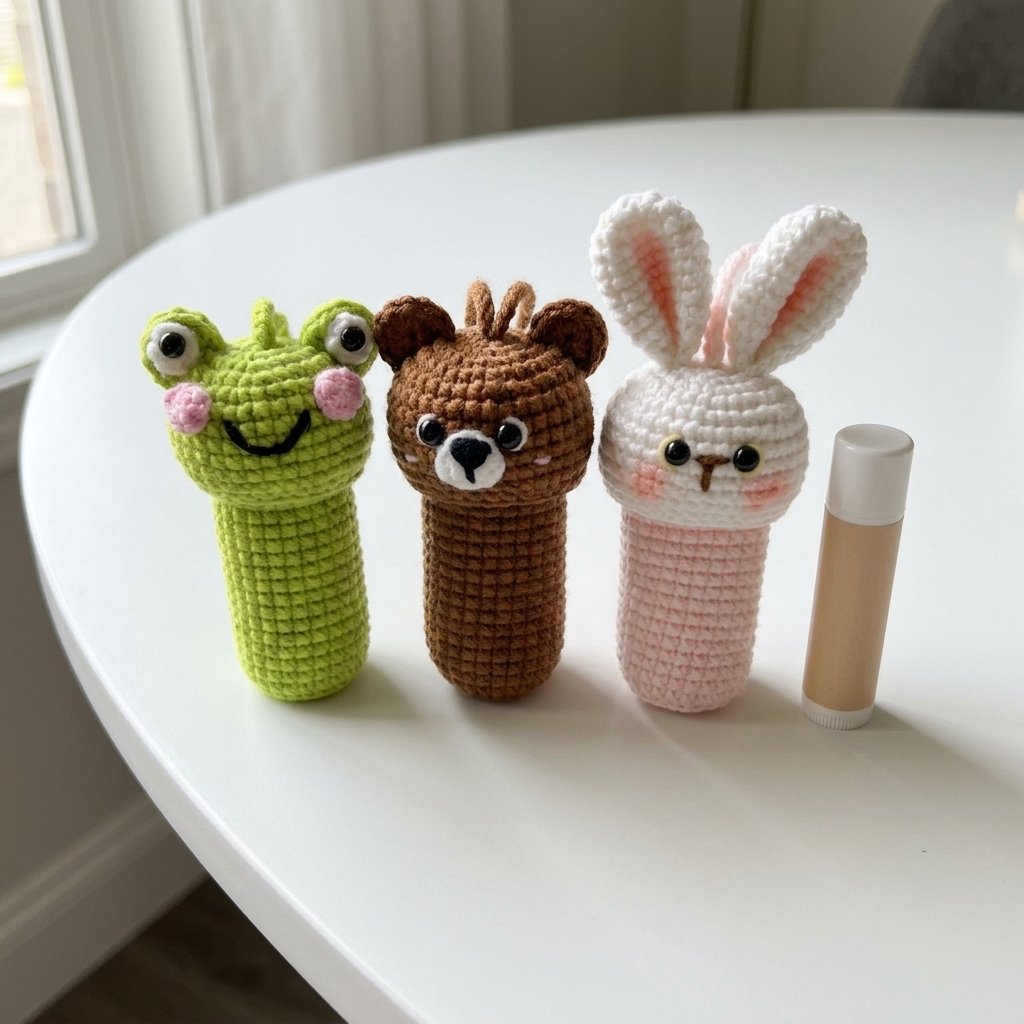
Quick glance
| Time | Skill | Finished size | Hook |
| 2–3 hrs per animal | Beginner–Intermediate | Small lip balm holder | 2.5mm |
Materials
- Cotton milk yarn (2mm, 5ply) — or any yarn of similar 2mm/1.5mm weight
- Green, brown, light pink, and white yarn (plus small amounts of black, pink, and yellow for facial details)
- 2.5mm crochet hook
- Six 6mm safety eyes
- Scissors, yarn needle, stitch marker
- Hot glue stick
Terms & abbreviations
| Abbrev | Term | Notes |
| sc | single crochet | the primary stitch throughout |
| hdc | half double crochet | used only for the frog’s eyes |
| inc | increase | 2 sc in same st |
| dec | decrease | 2 sc worked together as 1 |
| MR | magic ring | — |
| st(s) | stitch(es) | — |
| rnd(s) | round(s) | — |
Part 1 — Shared Body (make one per animal, in that animal’s body color)
| Rnd | Instruction | St count |
| 1 | MR, 8 sc | 8 |
| 2 | inc around | 16 |
| 3 | [sc 1, inc] x8 | 24 |
| 4–25 | sc around (22 rounds, constant) | 24 |
Add more rounds here if you want a longer body — the pattern scales easily.
Cord: Chain 47. Cut yarn, leaving a long tail. Sew the chain onto the opposite side of the body’s top opening (this forms the hanging loop/strap). Hide the tail.
Part 2 — Shared Head (make one per animal, in that animal’s head color)
| Rnd | Instruction | St count |
| 1 | MR, 8 sc | 8 |
| 2 | inc around | 16 |
| 3 | [sc 1, inc] x8 | 24 |
| 4 | [sc 3, inc] x6 | 30 |
| 5 | sc 2, inc, then [sc 4, inc] x5, then sc 2 | 36 |
| 6–11 | sc around (6 rounds, constant) | 36 |
| 12 | [sc 4, dec] x6 | 30 |
Cut yarn, hide the tail.
Part 3 — Frog Details
Eyes (green, make 2): MR, ch 1, 8 hdc into the ring. Chain 1, cut yarn leaving a long tail. Pull the ring’s tail tight to close.
Eyeballs (white, make 2): MR, ch 1, 6 sc. Pull tail tight, bring the tail to the front, slip stitch into the first sc, chain 1, cut yarn. Tie the two tails together and trim short.
Blush (pink, make 2): Same construction as the eyeballs above — MR, ch 1, 6 sc, then finish the same way.
Assembly: Glue the white eyeballs onto the green eye stalks, then attach a 6mm safety eye onto each eyeball. Glue the blush pieces between Rounds 5–7 of the head. Using black yarn, embroider the mouth across Rounds 7–8. Join the head to the body by inserting your hook into the head’s magic-ring point and pulling the body’s leftover yarn tail through — this is a no-sew join.
Part 4 — Bear Details
Repeat the Body and Head sections in brown yarn. The same 8-hdc-in-ring piece used for the frog’s eyes becomes the bear’s ears instead (make 2, same construction, positioned and glued/sewn as ears rather than eye stalks).
Nose (white): MR, ch 1, 6 sc. Pull tight, bring the tail forward, slip stitch into the first sc, chain 1, cut yarn, tie the tails together, trim short.
Using black yarn, embroider a V-shape onto the nose, fill in the V, then stitch a small straight line just below it for the mouth.
Assembly: Attach 6mm safety eyes between Rounds 7–8, and position the nose between Rounds 8–10. Stitch a white outline around the eyes. Stitch pink blush between Rounds 9–10. Join the head to the body the same way as the frog — pull the body’s tail through the head’s magic-ring point.
Part 5 — Bunny Details
Body in light pink, head in white, using the same shared construction from Parts 1–2.
Ears (white, make 2):
| Rnd | Instruction | St count |
| 1 | MR, 6 sc | 6 |
| 2 | inc around | 12 |
| 3 | [sc 1, inc] x6 | 18 |
| 4–10 | sc around (7 rounds, constant) | 18 |
| 11 | [sc 1, dec] x6 | 12 |
Round 12: Fold the ear flat and work 6 sc through both layers simultaneously to close it flat. Chain 1, cut yarn, leaving a long tail for sewing. Repeat for a second ear. Add a touch of blush to the center of each ear.
Assembly: Sew the ears onto Round 2 of the head. Using brown yarn, embroider the nose across Rounds 8–9, about 2 single crochets wide. Attach 6mm safety eyes between Rounds 7–8, on either side of the nose. Stitch a yellow outline around the eyes, and add blush to the face. Join the head to the body the same no-sew way as the other two animals.
Common mistakes
| Mistake | Fix |
| Head doesn’t sit securely on the body | Make sure the tail is pulled snugly through the magic-ring point before trimming — a loose join will let the head wobble |
| Facial features look off-center | Place safety eyes and glue-on pieces loosely first and check the look from the front before committing them permanently |
| Ears/eye stalks come out mismatched | Make both pieces back to back, comparing them directly, rather than finishing one fully before starting the second |
| Body looks too short or too long | Rounds 4–25 are fully adjustable — add or remove rounds evenly before starting the cord |
Finishing
Weave in all remaining ends and let any glued pieces set fully before regular handling. Each animal makes a great small gift, bag charm, or simply a cute way to keep lip balm on hand.