Adorable Crochet Pikachu — Free Amigurumi Pattern
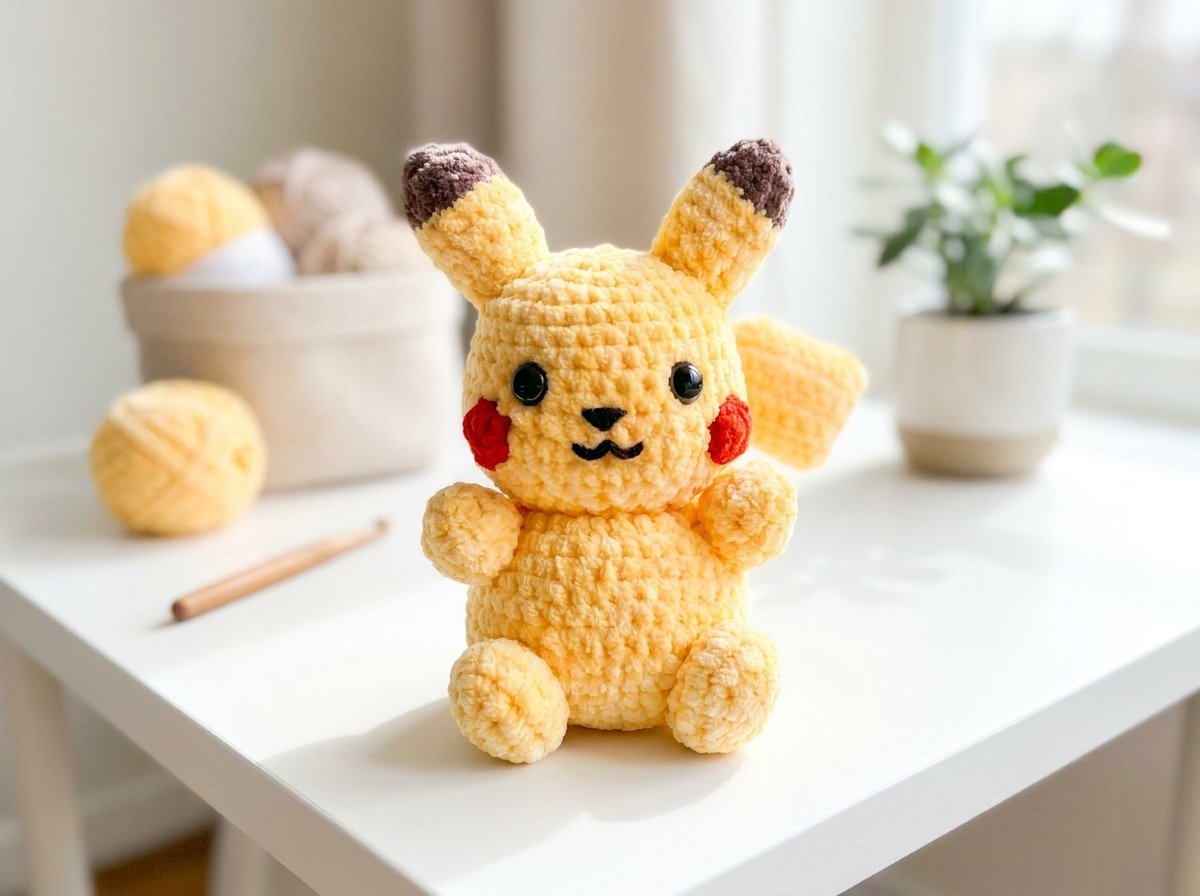
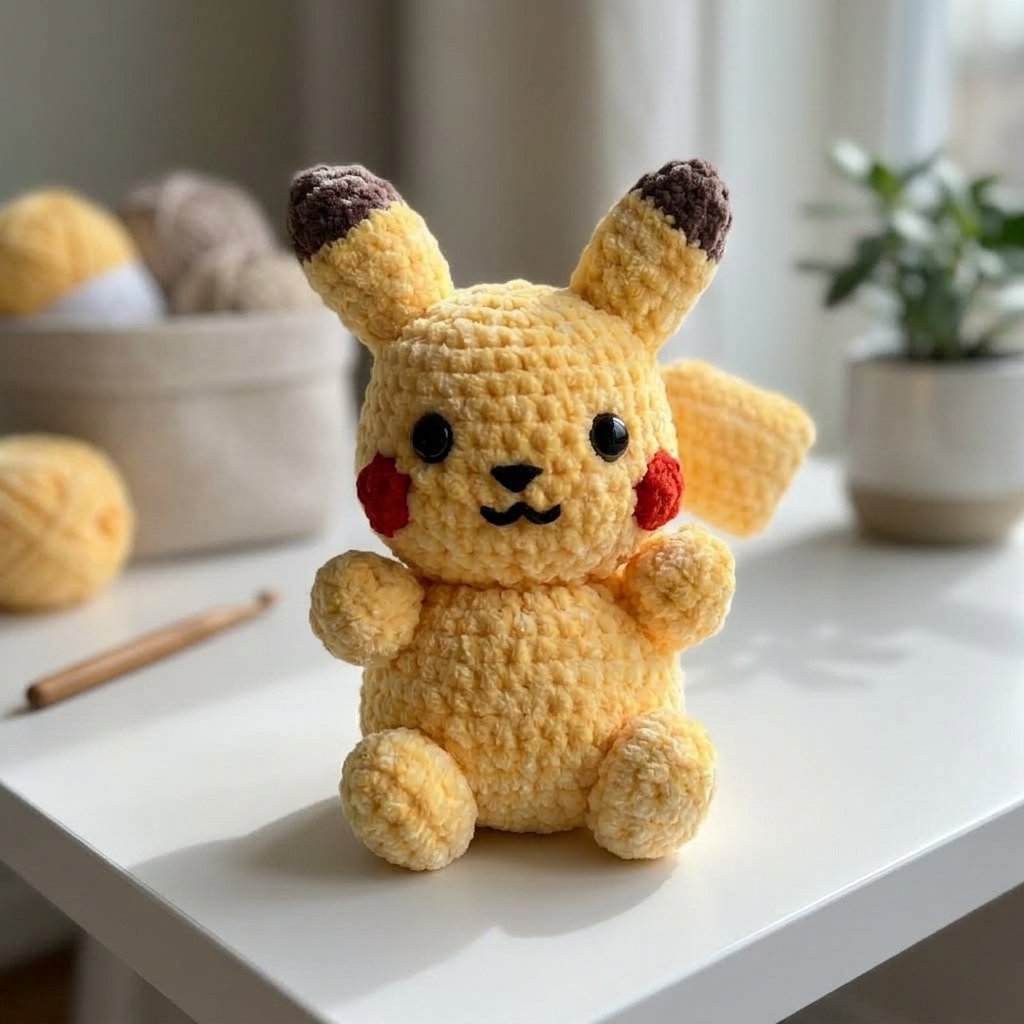
There’s nothing quite like the moment your yarn starts turning into a beloved character right in your hands, and this little Pikachu is one of the most rewarding amigurumi projects I’ve put together. With rounded cheeks, perky ears, and that signature lightning-bolt tail, this pattern captures all the charm of the original character in soft, huggable stitches.
This is a fan-made project made purely for fun and out of love for the character — Pikachu and all related names and designs belong to their original creators, and this pattern is simply my own interpretation worked up in yarn.
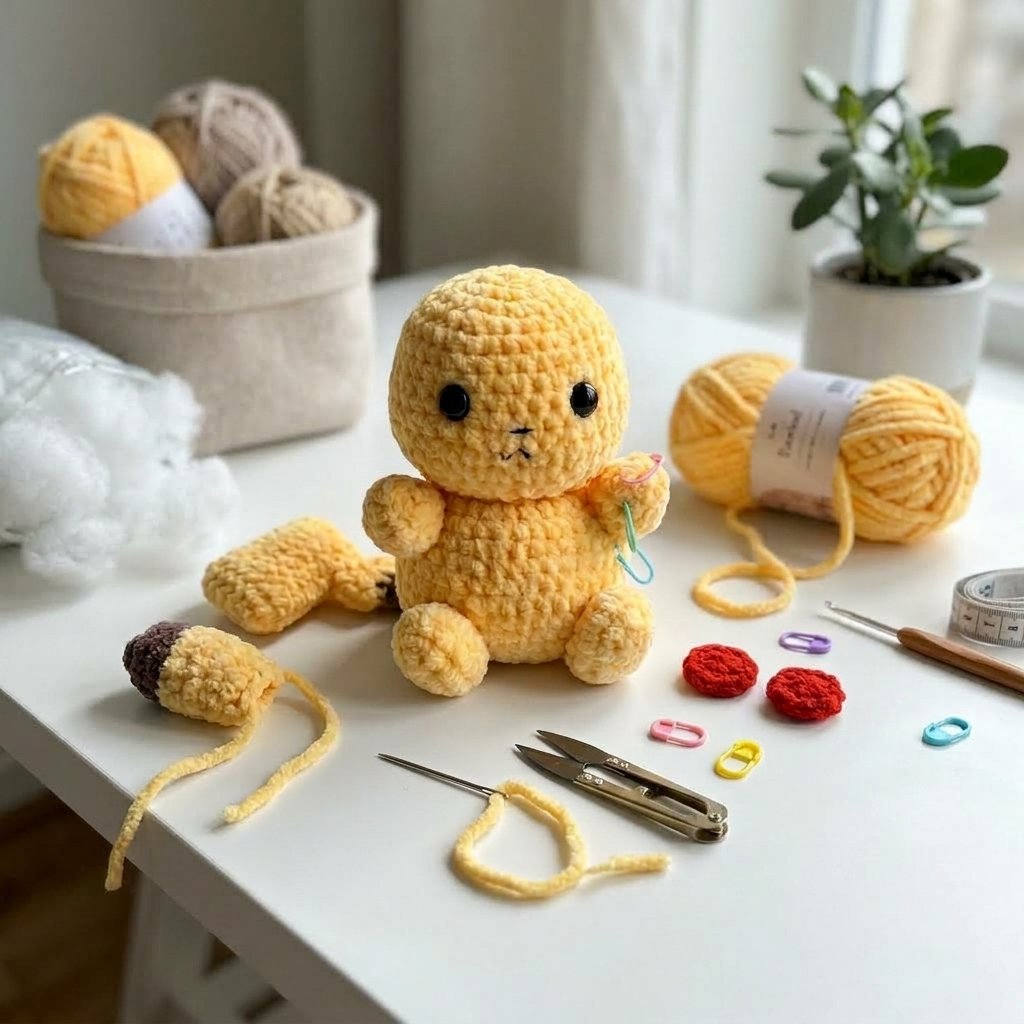
Materials
- Yellow yarn (main body color)
- Brown yarn (ear tips and tail)
- Red yarn (cheeks)
- Black yarn or small amount of felt (for the nose/mouth details, if not using felt for the whole face)
- 5mm crochet hook (or a size appropriate to your yarn weight)
- Stitch marker
- Safety eyes, two sizes to test before committing — small eyes give a more subtle look, larger eyes make for a chunkier, more cartoonish face
- Polyester stuffing
- Yarn needle for sewing pieces together
Abbreviations
- sc = single crochet
- inc = increase (2 sc in one stitch)
- dec = decrease (single crochet 2 stitches together)
- st(s) = stitch(es)
- sl st = slip stitch
- ch = chain
Head & Body
Work in continuous rounds (no joining) unless otherwise noted. Place a stitch marker in the last stitch of each round to keep track of where you are.
- Make a magic ring and work 7 sc into it. (7 sts)
- Inc in every st around. (14 sts)
- Sc 1, inc repeat around. (21 sts)
- Sc 2, inc repeat around. (28 sts)
- Sc 3, inc repeat around. (35 sts) 6–10. Sc around with no increases for 5 rounds. (35 sts)
- Sc 5, then inc 6 times in a row (this begins forming one cheek), sc 4, inc 6 times in a row again (second cheek), sc 14 to finish the round. (47 sts). If your stitch count doesn’t come out to 47, it’s worth unraveling back to the start of this round and trying again rather than padding the gap with extra random increases — it will throw off the shape of the cheeks.
- Sc around with no changes. (47 sts)
- Sc 5, dec 6 times in a row, sc 4, dec 6 times in a row, sc 14 to finish the round. (35 sts) — this is where those chubby cheeks really start to show.
- Sc 3, dec repeat around. (28 sts)
- Sc 2, dec repeat around. (21 sts)
- Sc 1, dec repeat around. (14 sts)
Do not fasten off — the body is worked continuously from here.
Adding the eyes: Before continuing, stuff the head so you can see how it will look, making sure to pack the cheeks well. Place your safety eyes between the cheeks, roughly on rounds 9–10, with about 6 stitches of space between them (adjust to taste). It’s easiest to secure the eye backings with the stuffing removed, then re-stuff once they’re in place.
- Inc in every st around. (28 sts) — this round is fiddly since the stitches are close together; a slightly smaller hook can help you get through each stitch.
- Stuff the head fully before continuing to the body. 19–22. Sc around with no changes for 4 rounds. (28 sts)
- Sc 5, inc repeat around. (49 sts)
- Sc around with no changes. (49 sts)
- Sc 5, dec repeat around. (42 sts)
- Sc 4, dec repeat around. (35 sts)
- Sc 3, dec repeat around. (28 sts)
- Sc around with no changes. (28 sts)
- Sc 2, dec repeat around. (21 sts) — begin stuffing the body firmly at this point and continue adding stuffing as you close it up.
- Sc 1, dec repeat around. (14 sts)
- Dec around. (7 sts)
- Dec around 3 times, then sl st into the final stitch to close. Fasten off, leaving a long tail for closing up any small gaps and weaving in.
Use the tail to stitch closed any remaining gaps at the base before weaving the end inside the body.
Feet (make 2)
- Chain 5. Starting in the second chain from the hook, sc 1, then 2 sc in the next 2 stitches, then place 2 sc into the final stitch. Turn and work back along the other side with sc 1 across the next 3 stitches, placing 2 sc in the last stitch. (10 sts total) Place your stitch marker here to mark the start of the round.
- Inc in every st around. (20 sts)
- Sc around with no changes. (20 sts)
- Dec in every st around. (10 sts)
Sl st to close and fasten off, leaving a longer tail for sewing the foot to the body later. Make two feet total.
Arms / Hands (make 2)
- Make a magic ring and work 4 sc into it. (4 sts)
- Inc in every st around. (8 sts)
- Sc 1, inc repeat around, four times. (12 sts)
- Sc around with no changes. (12 sts)
- Sc 1, dec repeat around — this begins shaping the hand.
- Sc around with no changes for the final round.
Stuff the hand before sl st to close. Fasten off, leaving a tail for sewing to the body later. Make two.
Cheeks (make 2)
Using red yarn, work 4 sc into a magic ring, then sl st into the first stitch to round it off neatly. Fasten off, leaving a long tail for sewing onto the face later.
Ears (make 2)
- Using brown yarn, work 6 sc into a magic ring. (6 sts)
- Inc in every st around. (12 sts)
- Sc around, changing to yellow yarn on the final stitch of the round. 4–5. Sc around, working only into the back loops for a cleaner color transition between brown and yellow. (12 sts)
- Sc around as normal. (12 sts)
- Sc 4, dec repeat twice. (10 sts)
- Sc around with no changes for the final round.
Stuff the ear lightly, sl st to close, and fasten off leaving a longer tail for attaching to the head later.
Tail
This section is worked in rows rather than rounds, so pay close attention to which side you’re facing as you go.
- Chain 6. Starting in the second chain from the hook, sc across. (5 sts)
- Chain 1, turn your work so you’re facing the back of the stitches, and sc across. Make sure your very first stitch goes into the first stitch from the hook, or the tail will come out slanted. You’ll know you’re on the back side when the tail at the bottom sits to the right.
- Chain 1, turn, and sc along the front side. (5 sts)
Continue alternating chain 1, turn, sc across for rows 4–6, keeping 5 stitches per row and alternating front and back sides as above. At the end of row 6, add one extra sl st into the last stitch and fasten off the brown yarn.
- Join yellow yarn into the same last stitch, pull tight, and sc across. (5 sts)
- Chain 1, turn to the back side, sc across. (5 sts)
- Chain 1, turn to the front side, sc across (5 sts), then chain 3 more at the end of the row.
- Chain 1, turn (make sure your first stitch lands back in that same first stitch), and sc along the back side. (8 sts)
- Chain 1, turn, sc along the front side. (8 sts)
- Chain 1, turn, sc along the back side. (8 sts)
- Chain 1, turn, sc along the front side. (8 sts)
- Chain 1, turn, and sc only 4 stitches along the back side. Then chain 1, turn, sc those same 4 stitches again, and chain an additional 5 at the end. (9 sts)
- This sets you up for the next row — sc across what you now have.
- Chain 1, turn, sc 9 across the back side.
- Chain 1, turn, sc 9 across the front side — you’ll start to see the zigzag shape of the tail emerging here.
- Chain 1, turn, sc 9 across the back side.
Rows 19–21: repeat the same chain 1, turn, sc 9 pattern.
- Chain 1, turn, and sc 8 along the final row, finishing with a sl st in the last stitch.
Make two tail pieces total, then stitch them together around the edges and stuff lightly before closing, to give the tail some dimension and squish. (A single layer works too, if you’d prefer a flatter tail.)
Assembly
With your head and body, two feet, two arms, two ears, two cheeks, and your tail piece(s) ready, it’s time to bring your Pikachu to life. Placement is really where you can make this project your own — try pinning or loosely stitching each piece in a few different spots before committing, since even small shifts in position change the whole expression and personality of the finished plushie.
Attach the feet and arms first, then the ears (their angle and spacing makes a big difference in the final look), followed by the cheeks. For the face details, black felt or embroidered stitches both work well for the nose and mouth — cutting a paper template first can help you settle on a shape you like before committing to felt or yarn. Finally, attach the tail wherever you like using brown yarn to blend the seam.
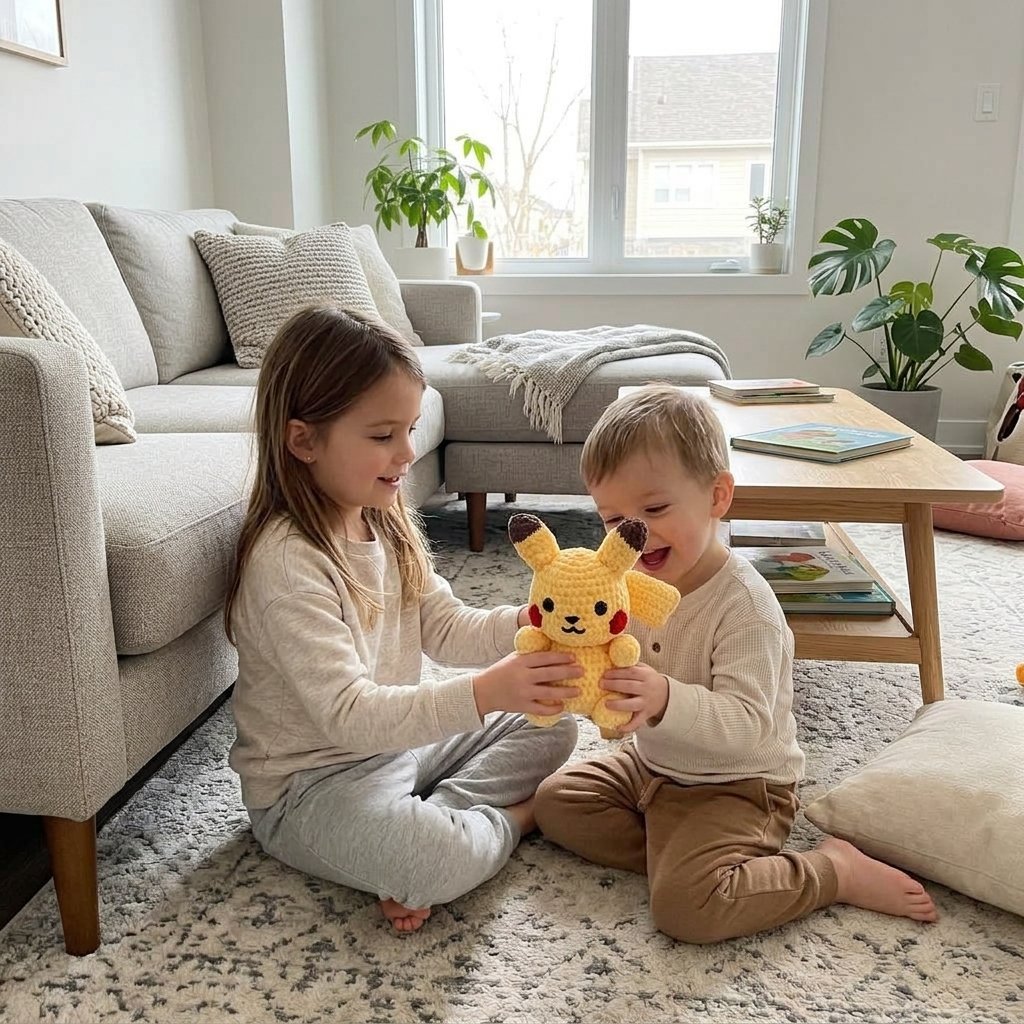
And that’s it — your very own handmade Pikachu, ready to be squeezed, displayed, or gifted to a fellow Pokémon fan.